
You’ve determined to attempt a Chromebook, have you ever? Maybe you’re sick of Windows or macOS. Or perhaps your previous laptop computer died and you wanted a budget-friendly replacement. I personally assume Chromebooks are nice for on a regular basis use and exception worth for the cash.
But to get essentially the most out of a Chromebook, that you must set it up correctly and optimize the settings to suit your particular wants and needs. After you’ve signed in along with your Google account and gone by means of the first-boot walkthrough, there are a number of further steps I like to recommend taking to verify your Chromebook expertise is sweet as it may be.
Here are the important thing first steps any Chromebook beginner or first-timer ought to take, however be happy to skip any you don’t assume apply to you.
Find and obtain helpful apps
Dave Parrack / Foundry
The very first thing you need to do is get some apps in your system! And regardless that you may simply use a bunch of browser tabs to run your favourite internet companies, they might be obtainable as apps—and if they’re, you could as properly obtain and set up them for comfort.
Your Chromebook ought to come pre-installed with a handful of Google apps, together with Chrome, Gmail, and YouTube. But if you wish to obtain others, merely open the Google Play Store and seek for the apps you wish to set up. Alternatively, scroll the favored apps, featured apps, and different app classes.
Modern Chromebooks can set up Android apps, so you must have the ability to set up nearly something you see on the Google Play Store. (The solely exception is in case you have an older mannequin Chromebook.) Many Chromebooks can also run Linux apps natively, however this requires extra technical know-how and familiarity with the command line.
As for gaming? Well, that’s a very separate situation that’s past the scope of this text. I like to recommend trying out our guide to the pros and cons of gaming on a Chromebook.
Connect your Chromebook to your Android cellphone
Dave Parrack / Foundry
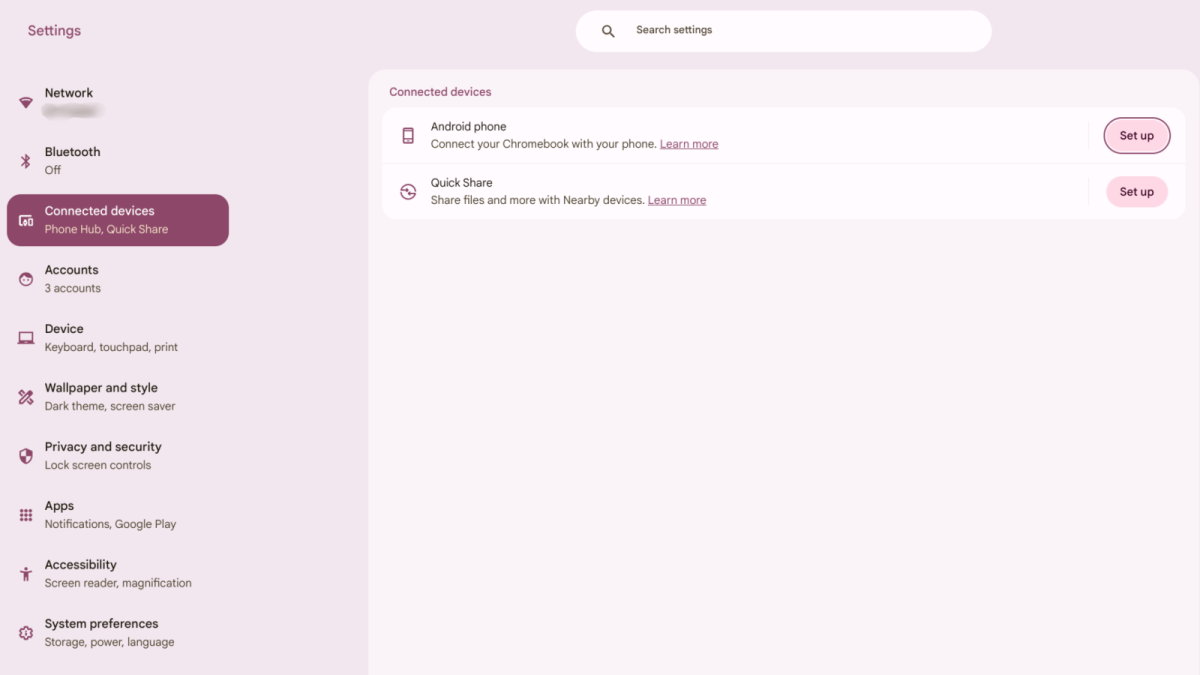
ChromeOS allows you to join your Chromebook to your Android cellphone, which grants a number of superior advantages like unlocking your Chromebook along with your cellphone, connecting your Chromebook to your cellphone’s community, sending and receiving textual content messages out of your Chromebook, and syncing your chat notifications and pictures.
If you skipped connecting your Chromebook to your cellphone throughout preliminary setup, you possibly can at all times join it afterward. Just go to the system Settings > Connected gadgets and search for Android cellphone. Then, click on Set up and comply with the on-screen directions.
Note that ChromeOS’s settings are separate from the Chrome browser’s settings! The former may be discovered within the bottom-right of the ChromeOS desktop, whereas the latter is accessible from the three-dot menu discovered within the top-right of the browser itself.
Set a method, wallpaper, and screensaver
Dave Parrack / Foundry
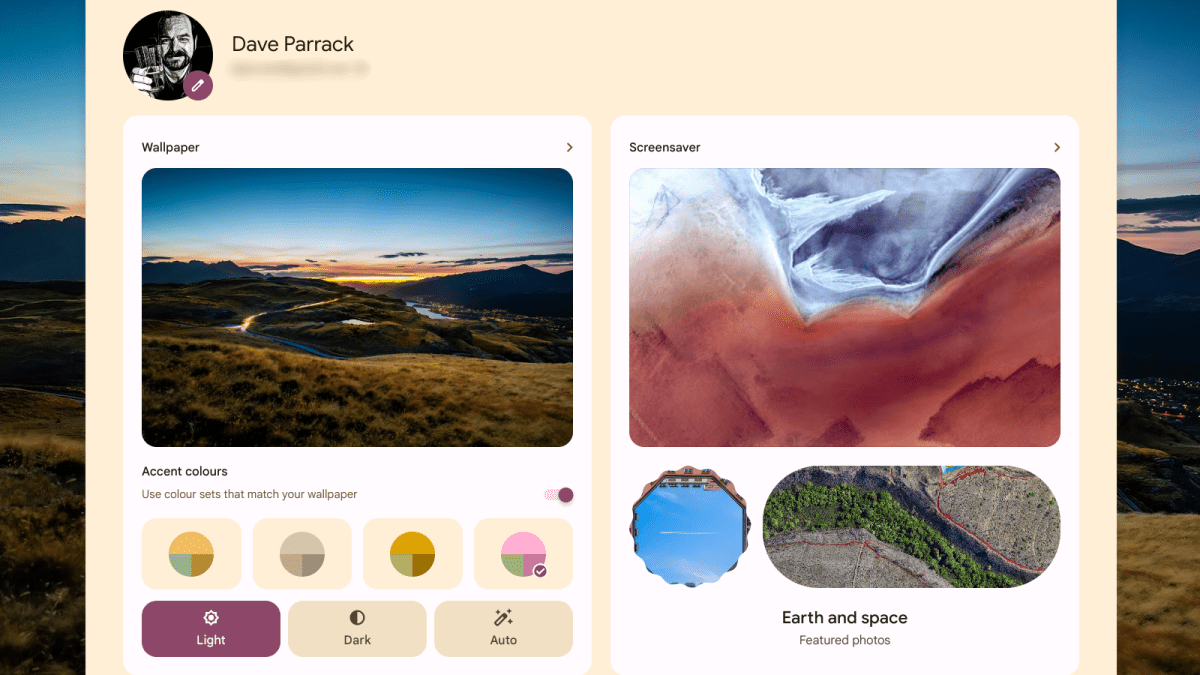
If you wish to customise the look of the machines you employ day by day, know which you could change the model, wallpaper, and screensaver in your Chromebook. You can entry these both by right-clicking anyplace in your desktop and choosing Wallpaper and elegance, or navigating to Settings > Wallpaper and elegance > Set your wallpaper and elegance.
For wallpapers, you’ve gotten a number of choices to select from, together with Landscapes, Art, and your personal photographs on Google Photos. You can select to choose a solitary picture to show, refresh the one you at the moment have set, or allow the “Change daily” choice.
There are a small variety of types to select from, too, or you possibly can choose to match your accent colours to the present wallpaper. You may select from gentle or darkish settings, or have it change routinely primarily based on the time of day as you employ your Chromebook.
For screensavers, you possibly can select an animation model, picture supply, and the way lengthy the screensaver will present whereas your gadget is charging.
Organize your own home display screen shelf
Dave Parrack / Foundry
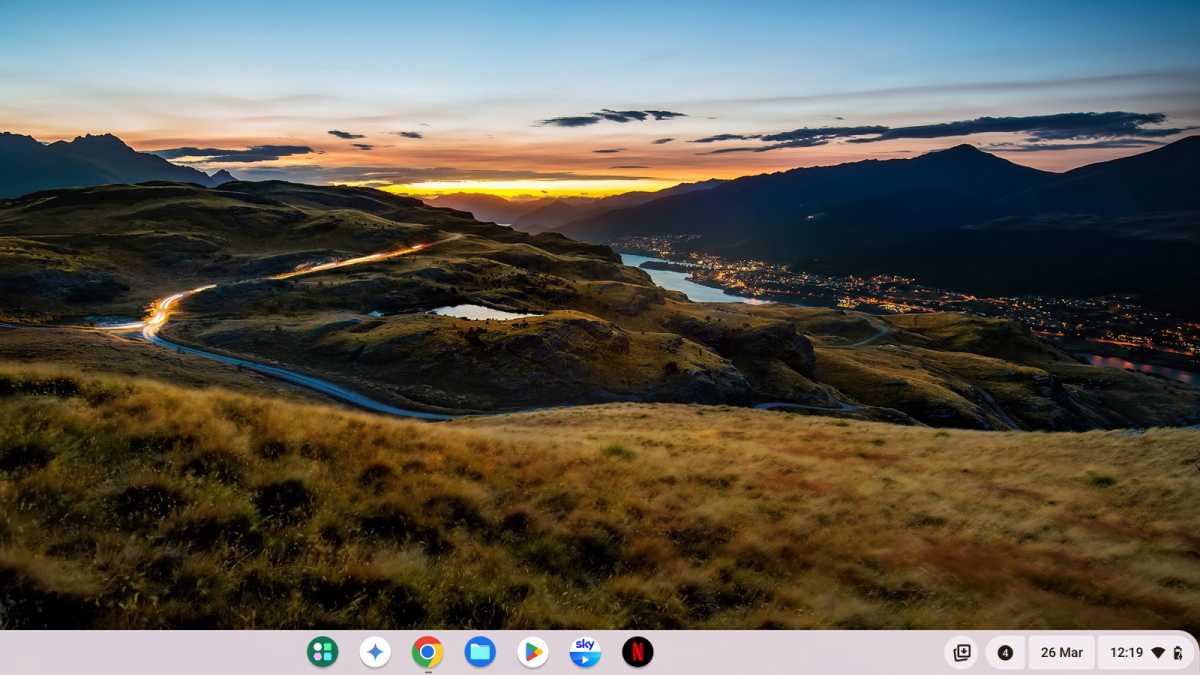
The ChromeOS residence display screen is purposely easy. Apart from the wallpaper, all the things is accessible through the “shelf,” which homes an app launcher, pinned apps, pinned paperwork, a easy calendar, and fast entry to the ChromeOS menu and settings.
To make your ChromeOS expertise as nice as potential, you must customise the shelf. The most blatant manner to take action? Pin the apps you employ frequently and shift their positions round in no matter manner makes essentially the most sense for you and your wants.
If you right-click on the shelf, you’ll have the ability to select between Always present shelf (i.e., the shelf will stay seen always it doesn’t matter what you’re doing) and Autohide shelf (i.e., the shelf will disappear when ChromeOS deems it pointless to show). You may change the shelf’s place from the underside to both left or proper sides.
Tweak your privateness and safety settings
Dave Parrack / Foundry
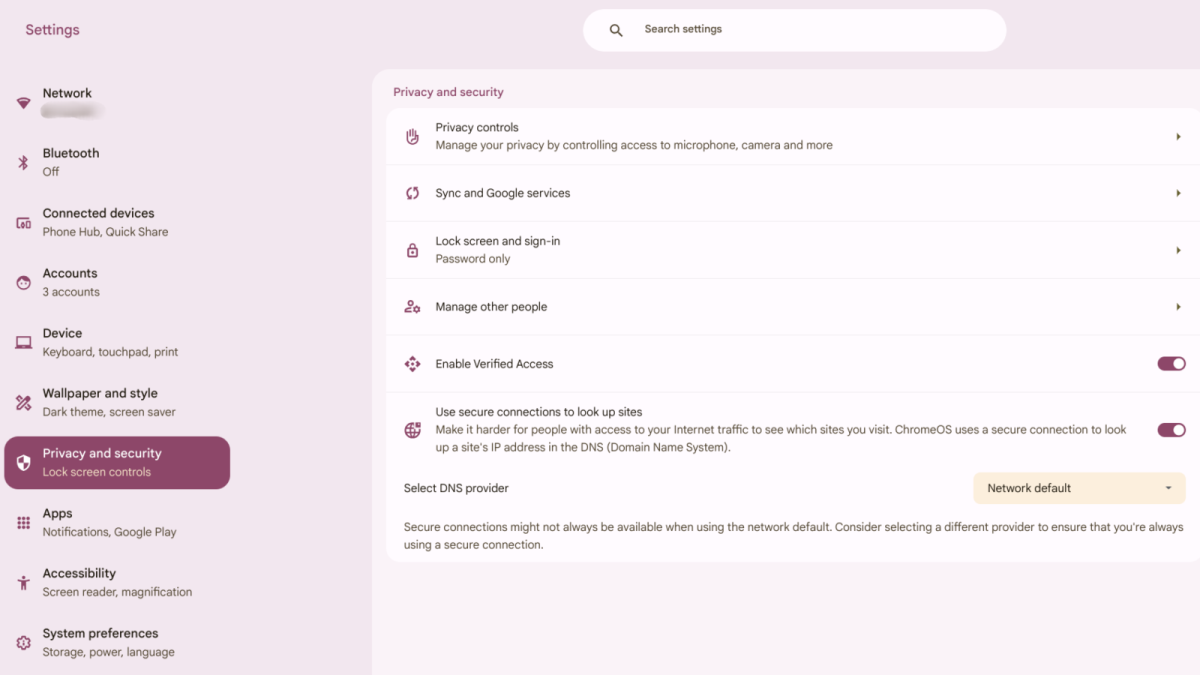
One factor you must undoubtedly do on day one in every of proudly owning a Chromebook is nail down your privateness and safety settings. To accomplish that, click on the Settings cog from the menu within the bottom-right nook of the desktop, then click on Privacy and safety.
You ought to see the choice to tweak your “Privacy controls,” assessment and handle “Sync and Google services,” modify your “Lock screen and sign-in” choices, and extra. I like to recommend clicking on every of those in flip till you’re blissful along with your choices.
These are simply a few of the built-in safety features that make Chromebooks so secure right out of the box.
Set up extra consumer accounts
Dave Parrack / Foundry
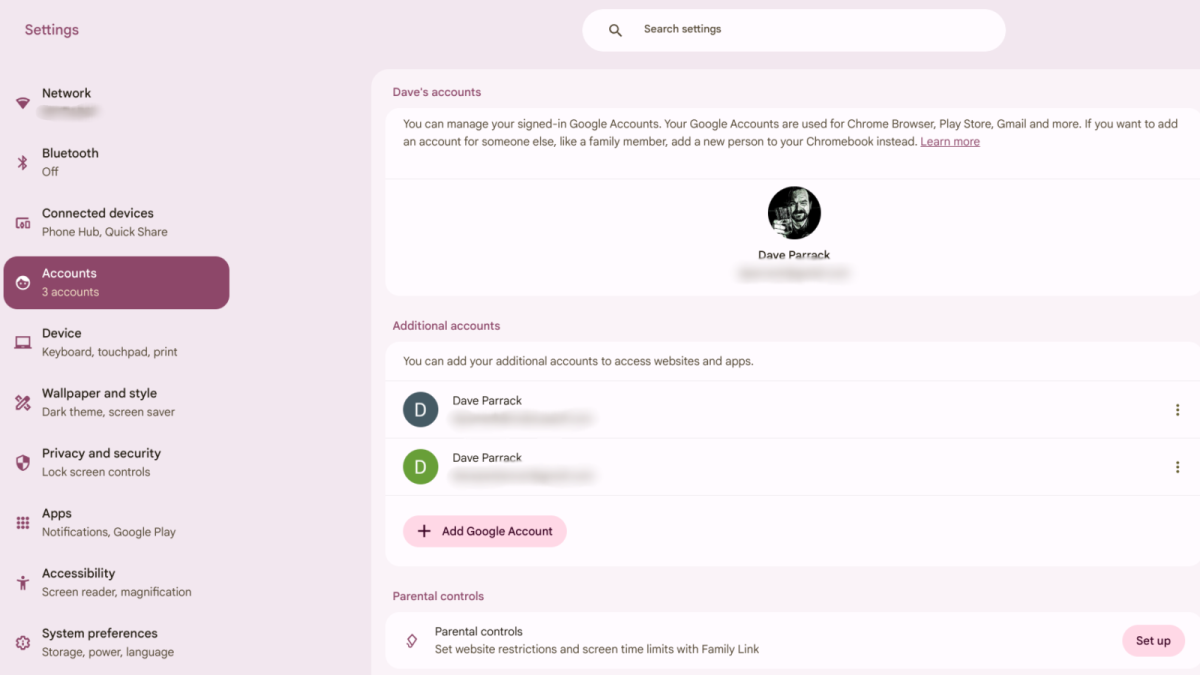
By default, you’ll have one consumer account in your Chromebook: your essential Google account. However, you possibly can add extra accounts for your self and/or add new folks (corresponding to members of the family who’re going to share the gadget) to your Chromebook.
Adding an account for your self is so simple as clicking Settings > Accounts, after which tapping Add Google Account. You can then change between your varied accounts (e.g., one for work and one for play to keep up work/life stability). Each account is separate with its personal knowledge, together with apps, bookmarks, internet companies, and so on.
User accounts are particularly helpful for youngsters since you possibly can allow parental controls, limiting display screen time and entry to web sites.
Learn to make use of Guest searching mode
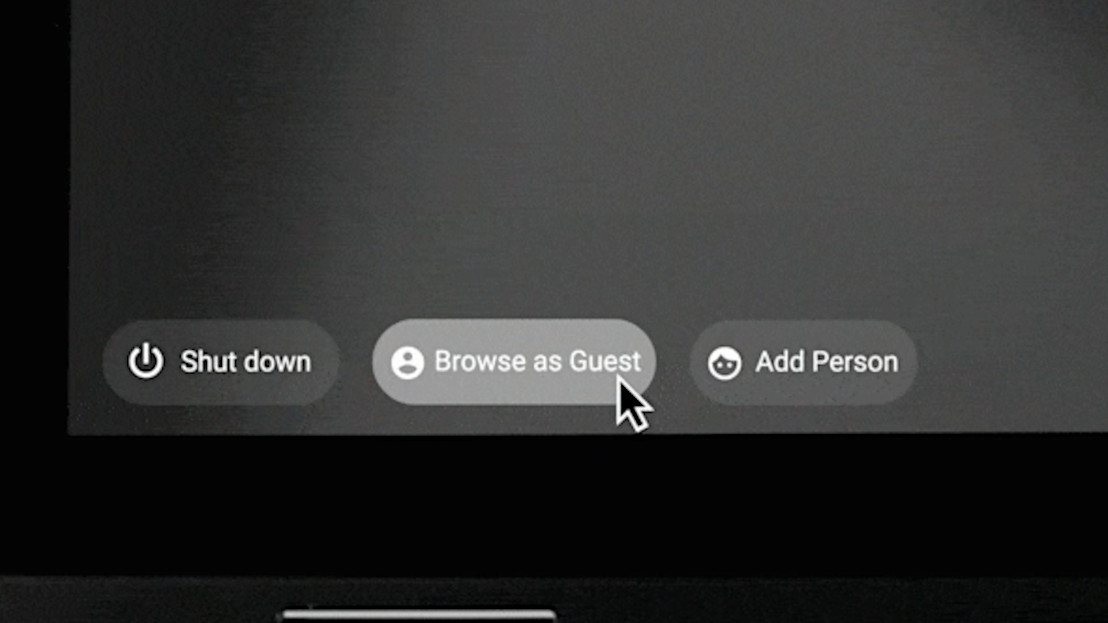
What if you wish to grant somebody one-time entry to your Chromebook? Instead of making an entire new account for them, you possibly can change over to Guest searching mode. To do this, signal out to the login display screen, then you must see Browse as Guest on the backside.
Browsing as a visitor is the best choice for informal, occasional use as a result of all the things from that session will get erased as quickly as they sign off of Guest searching mode. If that somebody goes to be utilizing your Chromebook weekly and even month-to-month, contemplate including them as a consumer (see above).
Turn on related accessibility options
Dave Parrack / Foundry
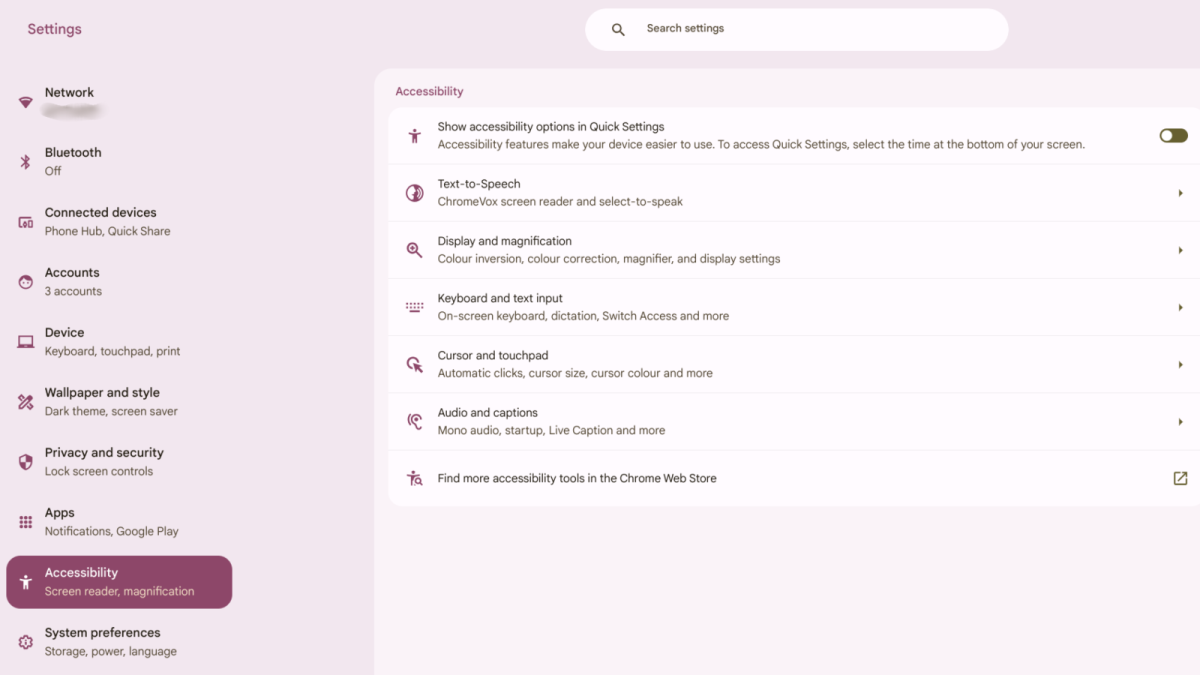
ChromeOS boasts a bunch of accessibility options in Settings > Accessibility. Features embrace a display screen reader offering text-to-speech, a full-screen magnifier, voice dictation, and even the choice to make use of head actions and facial expressions to manage your Chromebook.
Even when you don’t have a bodily situation that requires any of those accessibility options, it’s nonetheless value exploring them in full. Some are simply plain handy and might make your gadget simpler to make use of, interval.
Adjust your energy settings
Dave Parrack / Foundry
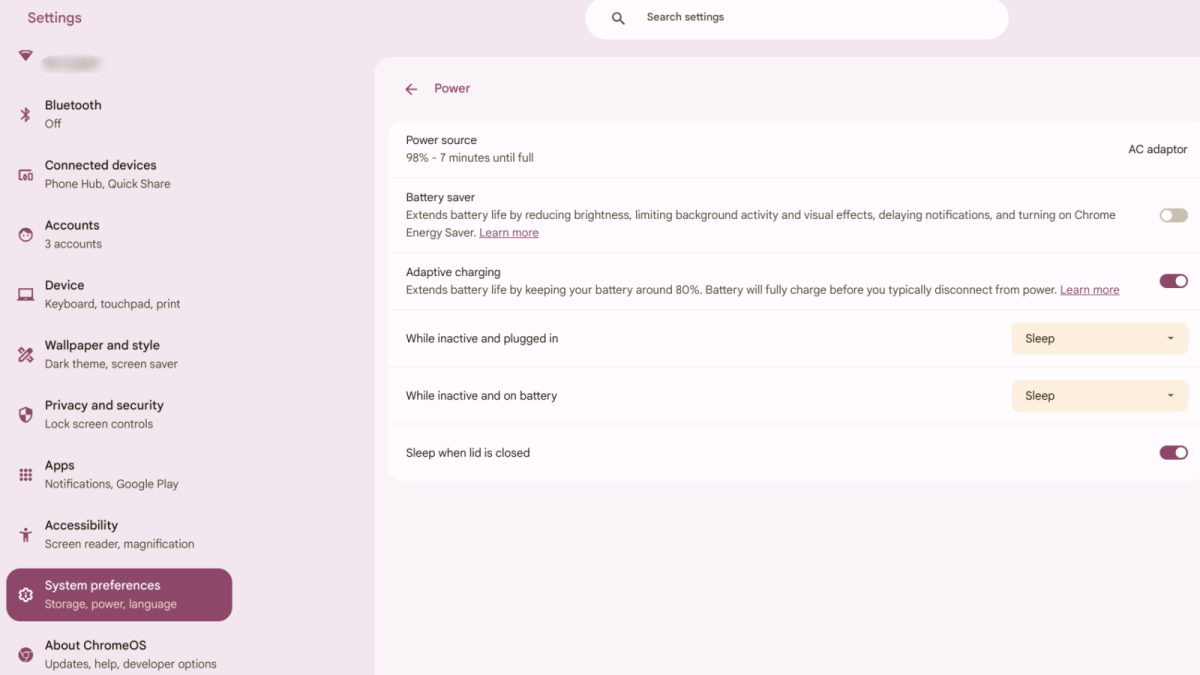
Last however not least is the necessity to modify your energy settings. To entry them, click on Settings > System preferences > Power. Here, you possibly can allow or disable the “Battery saver” and “Adaptive charging” choices, plus the power to “Sleep when lid is closed.”
You may modify what occurs below two totally different eventualities: “While inactive and plugged in” and “While inactive and on battery.” The choices being “Sleep,” “Turn off display,” and “Keep display on.” I’ve set mine to Sleep at each alternative to protect my Chromebook’s battery.