
Most of us have some somewhat delicate information on our PCs. Whether it’s our tax returns, monetary information, password lists (critically, simply use a password manager already), or simply information you don’t need anybody to see underneath any circumstances, all of us have our causes for wanting a bit extra safety. This signifies that it’s time to get into encryption, which is the place a drive, file, or folder is encoded (encrypted) in order to make it unreadable to anybody besides the individual with the best key to decrypt it. The upside is that anybody making an attempt to entry it with out the password will fail, and the draw back is that should you lose the encryption key (normally a password), no matter you had encrypted can be gone ceaselessly, until there’s a solution to get well it.
Luckily, in Windows you might have choices on how to do that for completely no price in anyway. Windows 10/11 Pro customers have encryption instruments constructed into the OS; whereas customers of the Home variant should use a free third-party utility. Whether you need full-drive encryption, or only a safe area to maintain your necessary information, one in all these instruments will match the invoice.
How to make use of Bitlocker for full-drive encryption
Windows 10 or 11 Pro presents two built-in encryption instruments: There is this simple tool, which can be utilized to encrypt any file—nevertheless, in our testing we had points with it, so we suggest utilizing the opposite choice, Bitlocker. Bitlocker presents full-drive encryption solely, nevertheless, however fortunately you’ll be able to select between encrypting the complete drive, or simply the area that’s getting used. Encrypting a whole drive does incur a efficiency penalty, but when it’s your work laptop computer and every part you might be engaged on is in your C:/ drive, it’s a great choice to contemplate. It’s additionally a great choice for exterior drives, as most of us have misplaced a couple of of these over the course of our lives, and lord is aware of what we had on them once we did so. Setting up Bitlocker is comparatively painless, so observe alongside.
If you simply sort the phrase Bitlocker in Windows search it’ll seem, or you’ll find it within the Control Panel listed as Bitlocker Management. When you open it, you’ll be introduced with an inventory of your connected storage gadgets, each inner and exterior. We’re going to put in it on our exterior drive, F.
Josh Norem/IDG
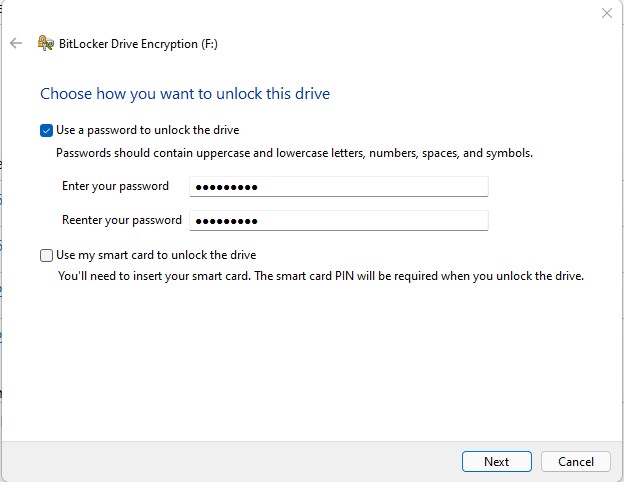
After you’ve enabled Bitlocker on the drive of your alternative, Microsoft will ask you the way you need to unlock the drive, both by way of a password or with a Smart Card; we selected a password. If you select a Smart Card you’ll want a USB drive, which can be paired with a PIN code to unlock the drive.
Josh Norem/IDG
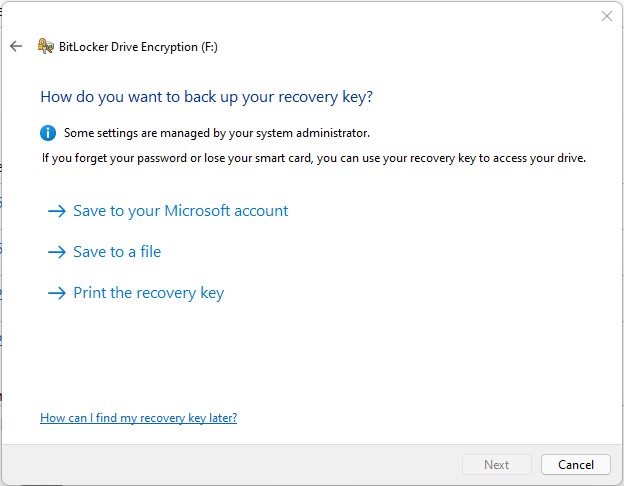
Next, Microsoft will ask you the way you need to restore the restoration key, which might save your behind should you ever neglect your password, or lose your Smart Card. We selected to have the restoration key accessible by way of our Microsoft Account, as that appears to be essentially the most safe methodology of storing it, and positively smarter than printing it out!
Josh Norem/IDG
One of the final steps is deciding how a lot of the drive to encrypt: all of it, or simply the used area. We selected simply the used area just because it ought to lead to sooner drive efficiency.

Josh Norem/IDG
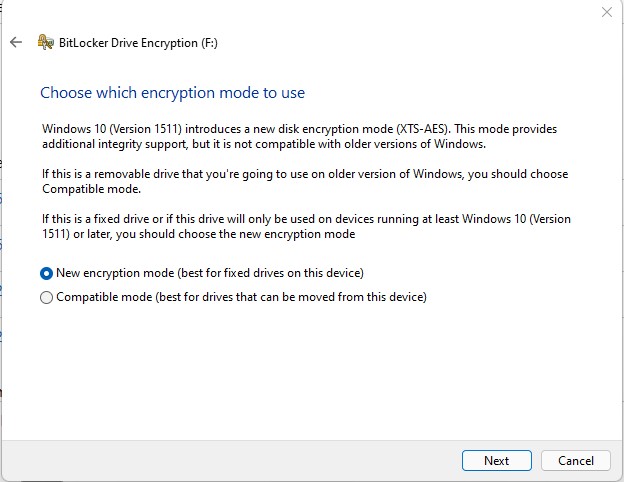
You’ll even have to decide on which encryption mode you need: one which works with newer PCs, or one which’s appropriate with older variations of Windows. Since we solely have Windows 10/11 PCs in our home, we selected the newer model.
Josh Norem/IDG
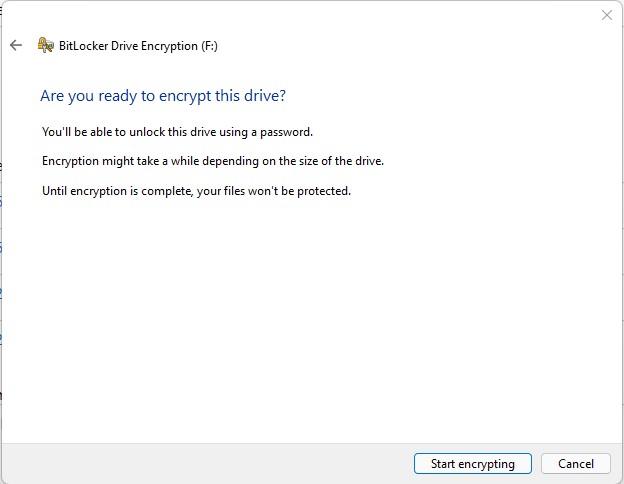
We’re all set now, so go forward and click on Start Encrypting. On our 256GB check drive, the encryption course of took only a few seconds. Once it’s full, your knowledge is now encrypted.
Josh Norem/IDG
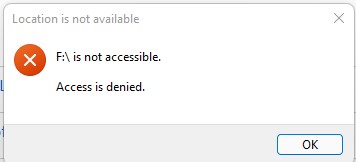
Going ahead, inserting the now-encrypted drive ends in the error seen under, as a substitute of simply routinely opening prefer it does for exterior storage.
Josh Norem/IDG
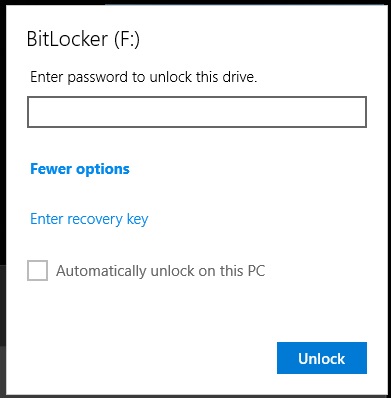
You’ll additionally get a pop-up from Windows asking you to sort the encryption password, or the restoration key. Thankfully, Windows offers you the choice of routinely unlocking on a sure PC, which is useful should you’re utilizing it so much on a house PC versus a laptop computer.
Josh Norem/IDG
If you’re utilizing Windows Home, or simply need an encrypted folder
If you might have the Home model of Windows, you’ll be able to nonetheless get in on the encryption recreation with Veracrypt, which is a free utility that may encrypt a folder, drive, or partition. This useful instrument allows you to mount an “encrypted virtual disk” in Windows, MacOS, and Linux. When you enter your password the “disk” is mounted and your information seem, however if you shut this system, the disk unmounts and the information are now not accessible. We didn’t check the disk or partition encryption, so these directions solely apply to creating an encrypted folder. Let’s bounce in, we could?
To get began, obtain the free utility and hearth it up. To start, you’ll must create the encrypted quantity, so click on on Create Volume.

Josh Norem/IDG
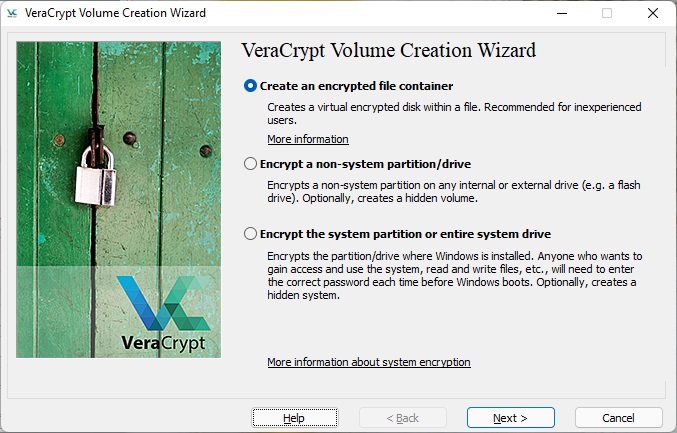
On the subsequent display screen we selected Create an encrypted file container, as we’re simply on the lookout for a repository for our delicate paperwork and media.
Josh Norem/IDG
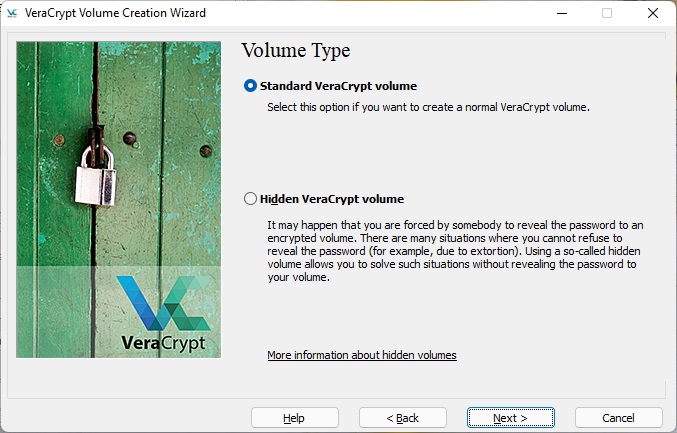
Next we selected Standard Veracrypt quantity because it’s high quality for the overwhelming majority of residence customers.
Josh Norem/IDG
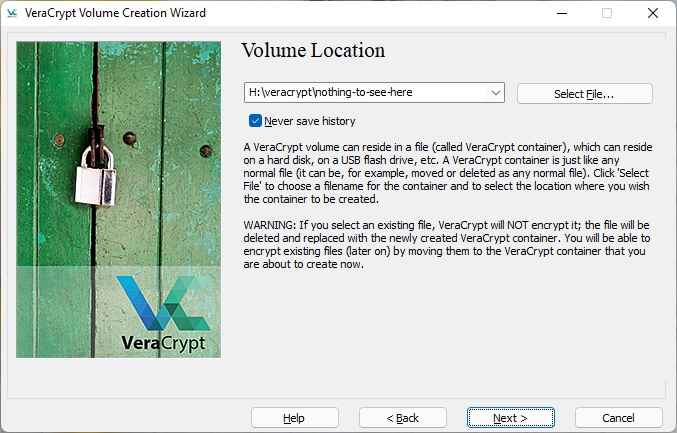
Next you need to select the placement for this file, so contemplate the scale of the “folder” you’ll create, and ensure your storage machine has sufficient room to carry it. We made a folder on one in all our exhausting drives labeled “Veracrypt” since we’re good at hiding issues, after which typed the identify of the file into the dialogue field that appeared, leading to what you see within the screenshot. Also observe you’ll be able to create this quantity on a detachable drive too.
Josh Norem/IDG
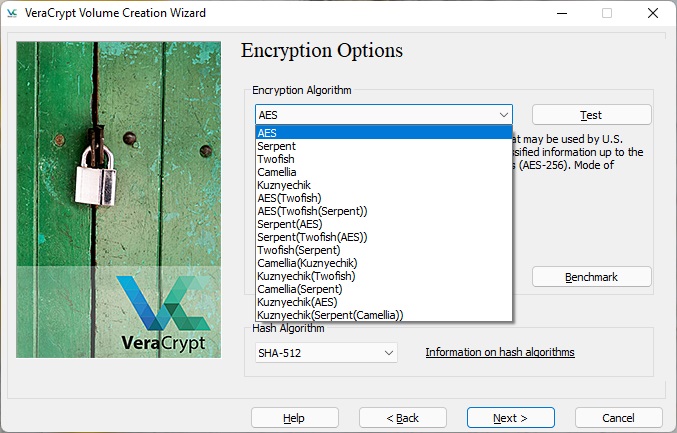
Next you might have a variety of encryption choices, however simply choose AES and click on by means of. AES-256 encryption is taken into account the strongest type of encryption and can’t be cracked with brute energy, so it ought to work on your functions.
Josh Norem/IDG
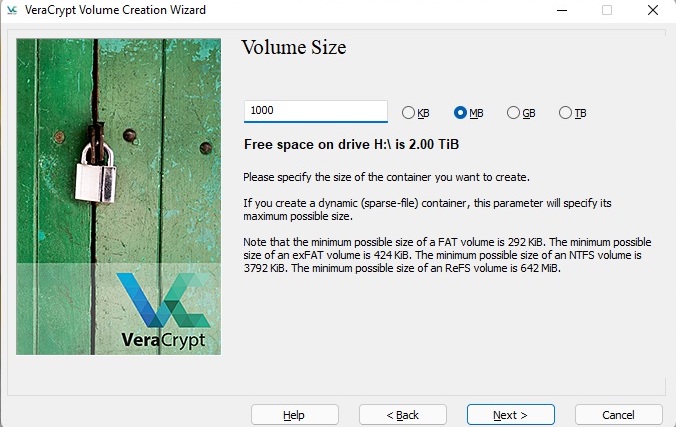
Now determine how huge you need your container to be. You can’t return and make it greater later, so shoot for the moon, assuming you might have sufficient room. We determined to make ours 1GB.
Josh Norem/IDG
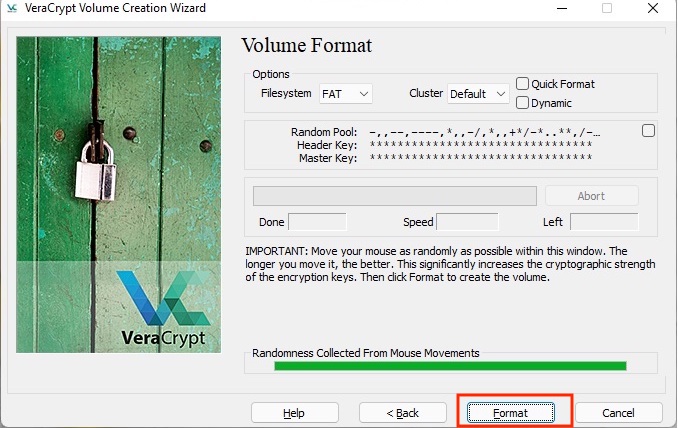
With that info inputted, this system is able to create the amount in your drive. Don’t be afraid by all of the “hacker” wanting stuff on the display screen, simply click on Format and also you’re off to the races.
Josh Norem/IDG
Once the method is accomplished, it’s going to present you that the amount is prepared.
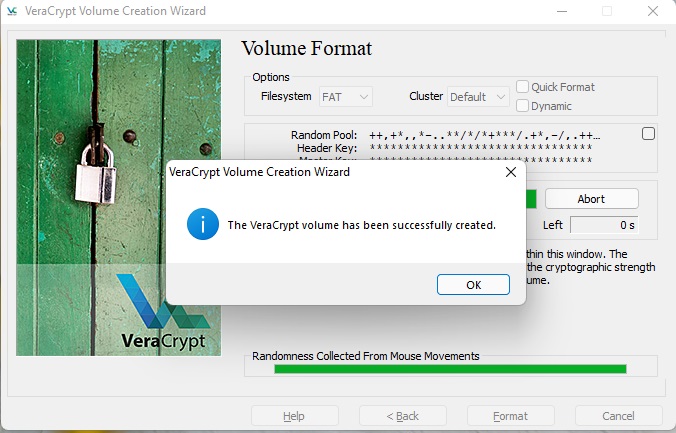
Josh Norem/IDG
You can now navigate to the place the container is simply to confirm its existence and see its file measurement, if that’s necessary to you. You’ll observe that clicking on it does nothing, as you need to use the Veracrypt program to really open it, so let’s try this now.
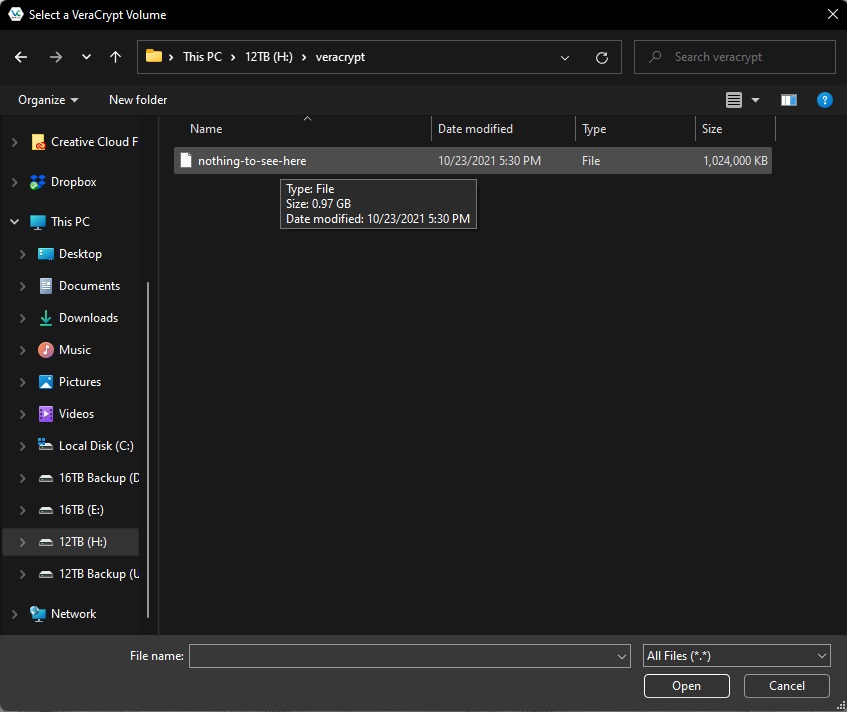
Josh Norem/IDG
Now it’s time to entry our encrypted quantity. Open Veracrypt and select Select File from the primary menu, then navigate to the folder the place it’s situated. You’ll additionally want to decide on a quantity letter from the checklist offered, so select one that isn’t in use like X or M, one thing like that. Once you’ve chosen the amount letter, and navigated to the file, click on Mount.
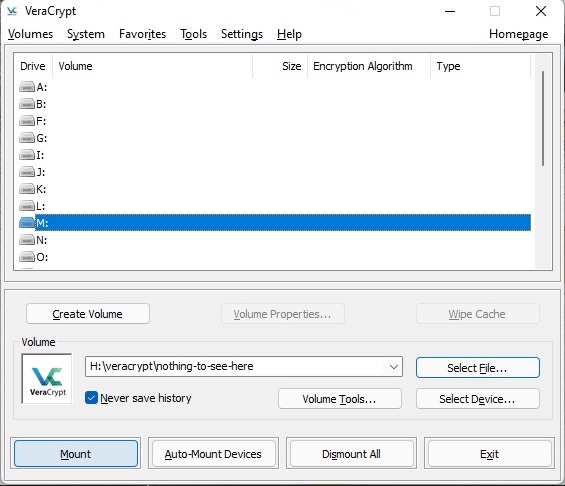
Josh Norem/IDG
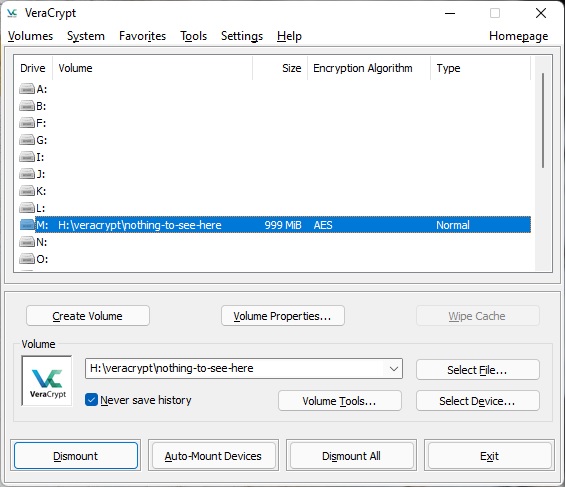
After that completes you’ll see the identical window with the trail to your file in blue. Double-click that and the amount will open. You will even see the identical quantity seem in This PC as properly, should you favor that methodology.
Josh Norem/IDG
Et voila—listed below are our encrypted information! These are fairly delicate cat pictures, clearly, however be happy to throw something you need in there, realizing it’s about as safe as it might probably be for now.
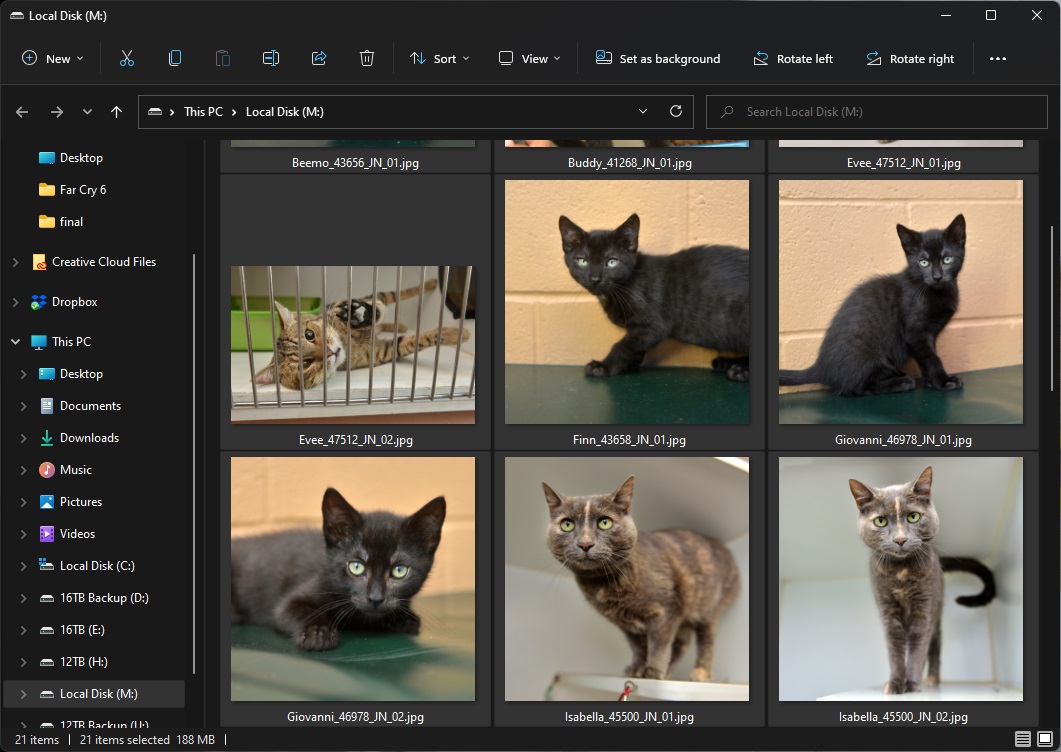
Josh Norem/IDG
One remaining observe: As lengthy as the amount is “mounted,” it’s accessible. So which means should you open it up, put some information in it, then simply stroll away out of your PC, anybody with bodily entry to it might additionally take a look at the information. To full the method, you need to click on Dismount on the primary display screen of Veracrypt to close the door in your encrypted folder. Once you’ve dismounted the amount, it’s going to now not be accessible with out the encryption password.
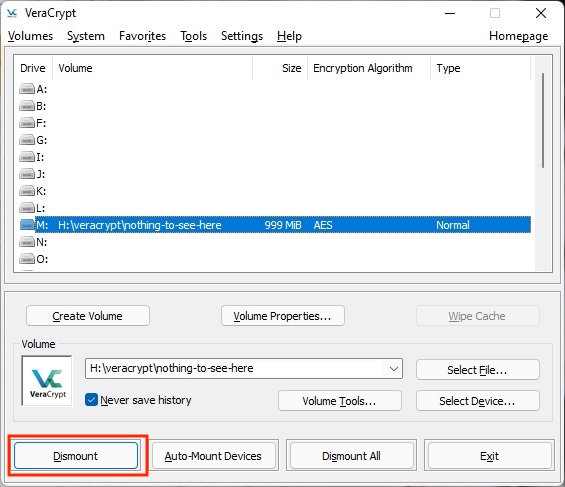
Josh Norem/IDG
To encrypt or to not encrypt?
If you need to encrypt your drive to forestall unauthorized entry, it’s constructed proper into Windows Pro variations, so it’s value it on one thing which may get “smashed and grabbed” from a automobile, reminiscent of a laptop computer. For your desktop PC that by no means strikes, the advantages are debatable. We do like having an encrypted folder by way of Veracrypt, nevertheless, for all of our tax returns and related paperwork. Just be completely positive you retain the password someplace protected, since you’ll by no means get again into that safe “disk” should you lose it.