
Hot {hardware} is sad {hardware}, and with temperatures hovering to new highs throughout the globe this summer time, the place you place your PC’s followers performs an important half in how effectively your treasured parts carry out. This information will clarify how one can arrange your PC followers for the perfect cooling efficiency—since you didn’t stand in line for days to get your expensive new graphics card only for it to thermal throttle, in spite of everything. (Thermal concerns additionally have an effect on Valve’s Steam Deck handheld gaming PC, however you may’t transfer its inside followers round, alas.)
There are a number of vital ideas that you need to be conscious of in terms of establishing your varied PC followers. Let’s sort out them one after the other. The information ought to movement in rapidly—similar to the air in a well-configured system.
Airflow path
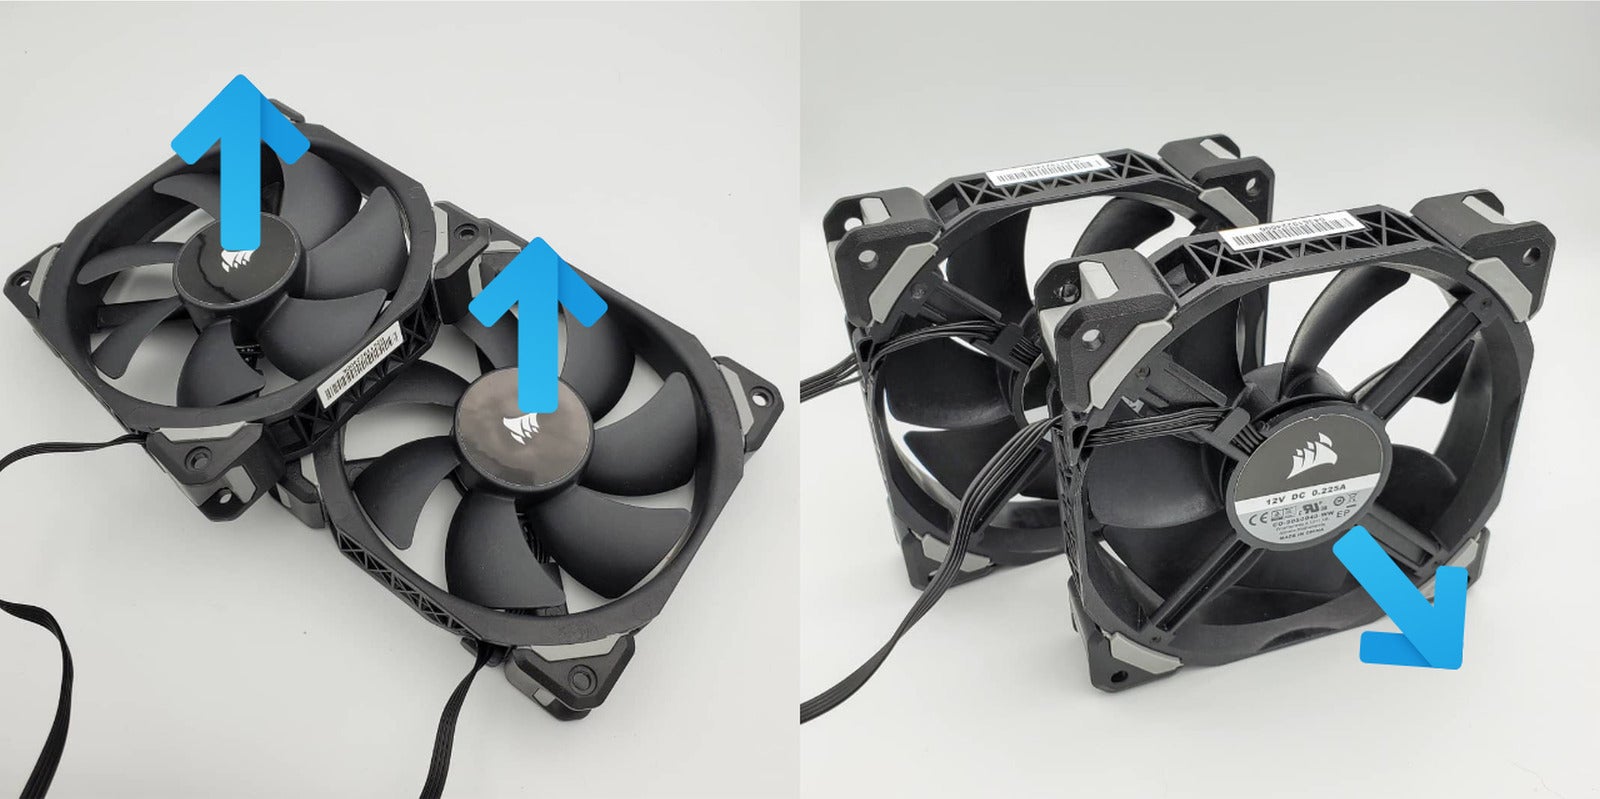
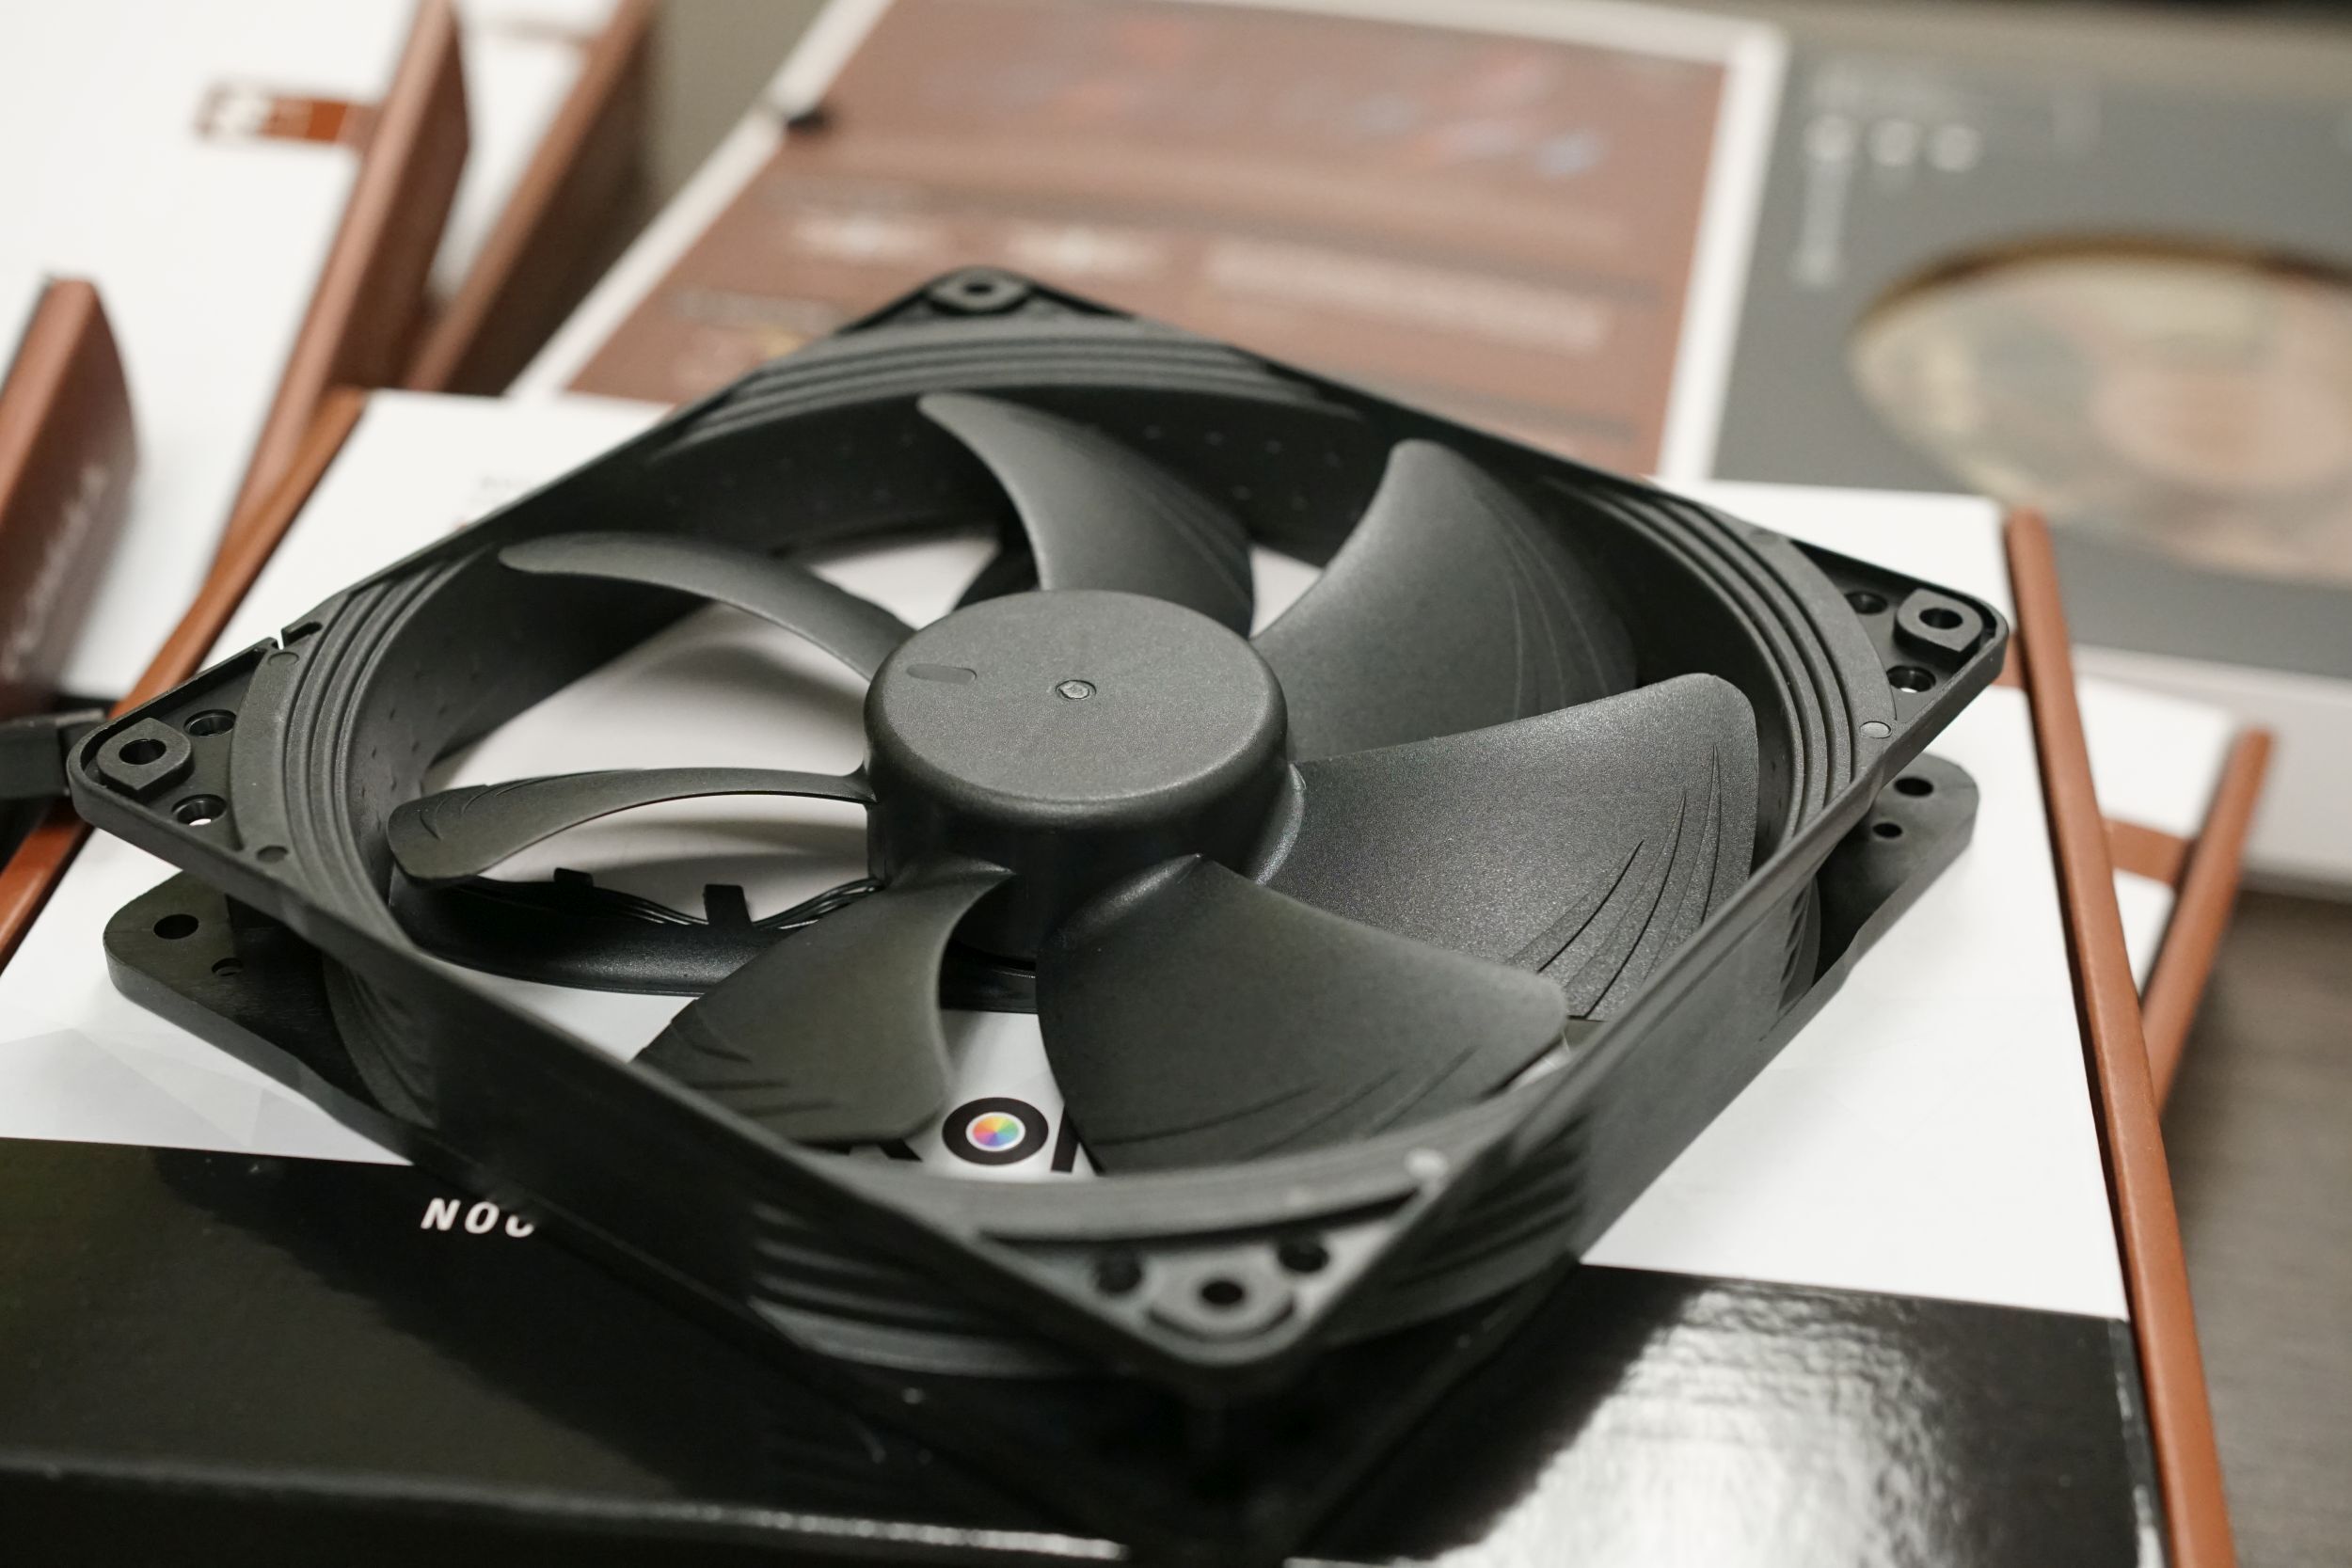
Let’s begin with the fundamentals. How you level your followers determines whether or not it sucks in cool air or spits scorching air out of your system. Some followers could have an arrow indicating the right movement path. If they don’t, rule of thumb is that air will nearly all the time movement in from the entrance, the place the branding sticker typically is. Air exits out of the again, the place the technical info could also be written concerning the fan. Our information to telling which way your PC fan is blowing will help in case you want it.
The sort of fan issues too, although a lot much less so than having all of them configured in the precise approach. Fans with increased static stress are perfect for transferring air by dense water-cooling radiators. Fans with excessive airflow are nice as consumption or exhaust in your case as they will transfer massive quantities of air.
Positive vs unfavourable airflow
When followers pull in additional air than they push out of a PC case, it creates constructive stress. Negative stress pulls extra air out, typically making a vacuum impact. For optimum cooling efficiency in a regular system, you need to be barely extra on the constructive airflow facet. (This setup often ends in extra mud coming into your PC, which you’ll mitigate with mud filters or more frequent cleaning.)
How do you obtain constructive airflow? Easy: Just have extra consumption than exhaust followers, or run your consumption followers barely sooner than your exhaust in the event that they’re in equal quantity. Speaking of…
Intake vs exhaust
Intake and exhaust placements may be the only most vital idea for correct fan placement. The concept is straightforward: Fresh cool air in, scorching air out. You typically need to have each consumption and exhaust followers. (There may be exceptions to this, comparable to in small type issue builds.)

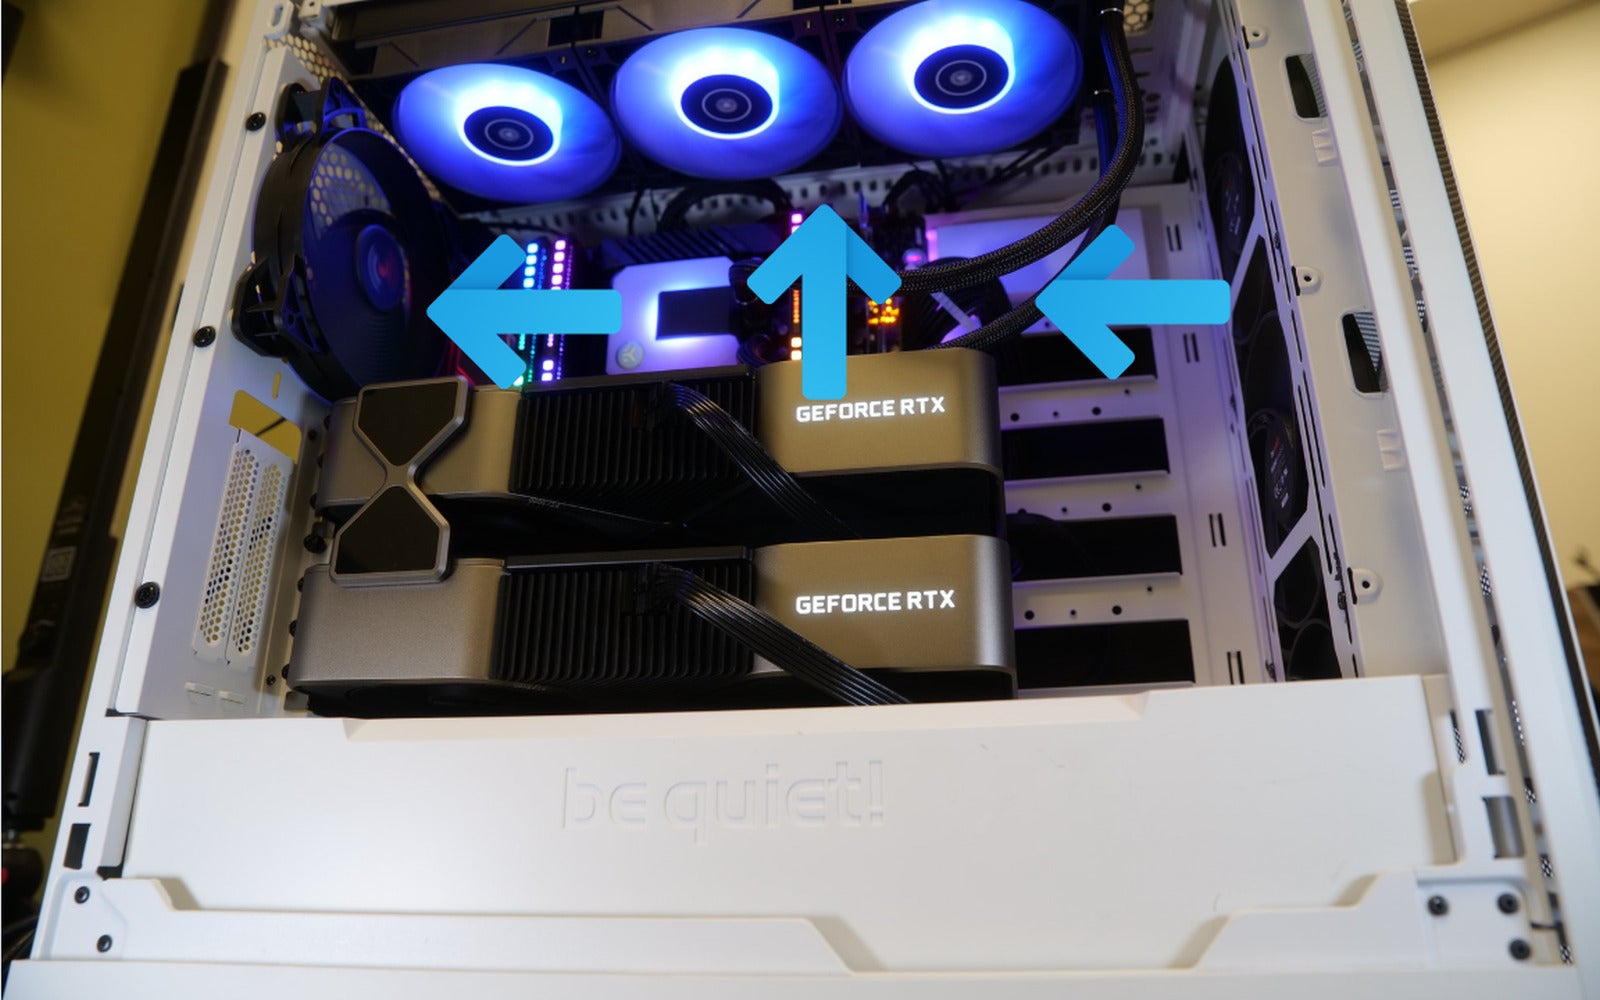
Example A: Let’s select the popular Lian Li O11 Dynamic case. A stable fan configuration would come with consumption followers on the underside, and exhaust followers on high, as proven within the picture above. Fresh air will enter the case, cooling your parts. Hot air generated by your {hardware} rises and can depart by the highest exhaust followers.
For Example B, let’s take a look at a extra conventional case, the Be Quiet Silent Base 802. A optimum fan configuration would come with consumption followers on the entrance of the case. You’ll additionally need to add the highest exhaust followers. Including an exhaust fan on the rear of the case will spherical out an optimum setup.
A configuration like that may let cool air enter within the entrance, whereas the recent air from the CPU and GPU then exhausts on the highest and rear of the case.
In a regular desktop PC, you need no less than one consumption and one exhaust fan. Some cheaper circumstances solely embody a single consumption fan on the entrance of the PC, or a single exhaust fan on the rear. Spend a couple bucks for another fan so you could have each.
Push vs. pull for liquid coolers
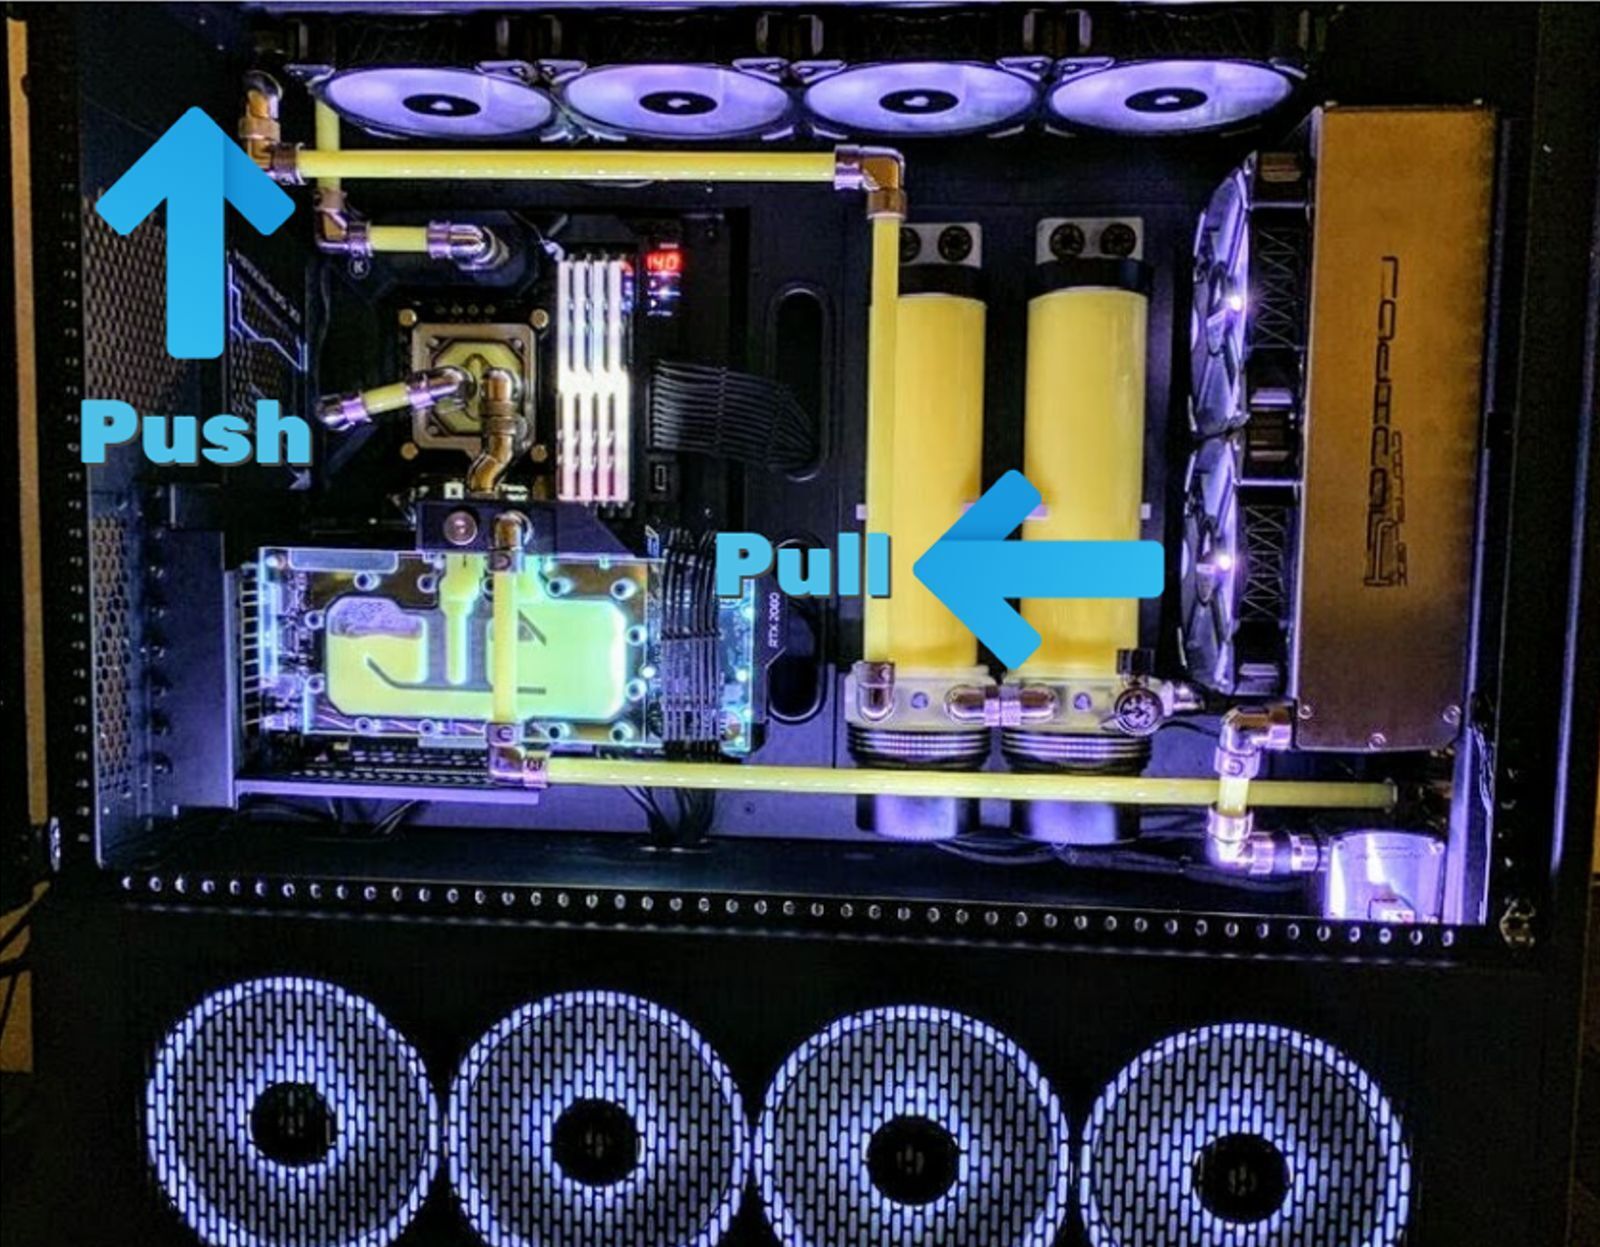
Fans positioned on the entrance of your liquid-cooler’s radiator with airflow going from entrance to again shall be “pushing” air into your system. If you flip the followers and place them behind the radiator, they’re now “pulling” air in by your liquid-cooler. (Like the image above)
Which setup is perfect? Most assessments present a negligible distinction in push vs pull, however we may give a slight nod to “push.” Generally it will work finest in most case setups, and offer you environment friendly efficiency.
Case airflow and your CPU
AIO liquid cooler: If you’re cooling your CPU with an AIO, optimum setups embody inserting the radiator within the entrance or high of your case. Both work simply nice. To prioritize the GPU cooling, you’d place the CPU AIO on high of the case as an exhaust. This will make the CPU barely hotter, however your GPU will keep cooler.
Tower air cooler

With a conventional tower air cooler, you’d optimally need the fan positioned on the cooler’s heatsink pushing air in direction of the rear exhaust of the case. In the instance above, the open shroud GPU may also exhaust scorching air upwards—a typical setup for a gaming rig. This will barely improve your CPU temperatures when utilizing an air cooler; you may scale back the warmth ranges with optimum fan airflow.
How about your GPU?
Standard open shroud GPUs exhaust a whole lot of scorching air into your case—much more than your CPU if it’s a strong graphics card. What are you able to do to maximise cooling and airflow?
If your case permits it, set up followers pushing air upwards in direction of your GPU on the underside. This will give cool air on to the consumption followers on the GPU itself. If your case doesn’t permit that configuration, have a entrance consumption fan coupled with correct high or rear exhaust followers, as described beforehand. Again: You all the time need no less than one consumption and one exhaust fan in your system, and that goes double if it’s a gaming rig.
Fan curves and case alternative
There are two remaining vital objects to think about. First, case alternative can support tremendously in optimum fan airflow. Our explainer on buying the perfect PC case will help, although you need to be good in case you observe these common tips:
- Use a case with a mesh entrance. These could have significantly better airflow than circumstances with closed-off or glass entrance panels. Examples embody the Fractal Design Meshify series, and the Be Quiet Silent Base 802 talked about earlier.
- If you’re utilizing scorching, highly effective {hardware}, be certain that to get a case massive sufficient to accommodate the required followers. If you need to follow a smaller case, consider using liquid cooling for extra effectivity.
Second, make the most of fan controllers to pinpoint the perfect noise to efficiency ratio that you’ll find. Most midrange to high-end motherboards embody fan software program both of their BIOS or as a Windows software. Example of that is the Asus Ai Suite 3. You can set your CPU and case temperatures based mostly on precise thermals, which may give you quiet efficiency. Likewise, the followers can ramp up when wanted to verify everthing stays cool.
If you need extra superior management of your fan curves, {hardware} controllers from Aquacomputer, Corsair, and EKWB additionally exist that help you nice tune fan curves even additional. You also can base the fan speeds on the GPU or use thermal sensors with these extra superior models, however they’re overkill for most individuals.
And there you could have it: You now know all the pieces wanted to optimally place your followers for the perfect cooling efficiency. Our guides to checking your CPU temperature and your graphics card’s GPU temperature will help you verify all the pieces is operating easily. May your temperatures be low!