
Find your self immediately needing to be extra productive? Good information! Windows 10 comes loaded with all kinds of instruments designed that will help you Get Things Done, together with deeper tweaks that may optimize the working system for productiveness much more. Each new main improve provides much more. Now for the dangerous information: All these glorious productivity-boosting Windows instruments and tweaks aren’t instantly apparent, with lots of the most helpful settings buried deep inside a maze of choices menus. (There’s a cause we have to publish articles like 10 little-known Windows features that will blow your mind.)
We may help. Taking 5 or ten minutes to tinker with Windows 10 can supercharge your setup, no matter whether or not you’re making an attempt to maintain at work whereas caught at house or organising one thing extra everlasting. Better but, most of the following pointers additionally work simply tremendous for Windows 11, although their actual location might differ barely. Let’s dig in.
Get rid of interruptions
If you wish to keep targeted on a job, decreasing your interruptions is essential. That will be so simple as checking your e-mail and social media solely at designated occasions, however Windows 10 can nonetheless pop up notifications that may kick you out of a productive headspace, be it from apps or the OS itself. Let’s eradicate these first.
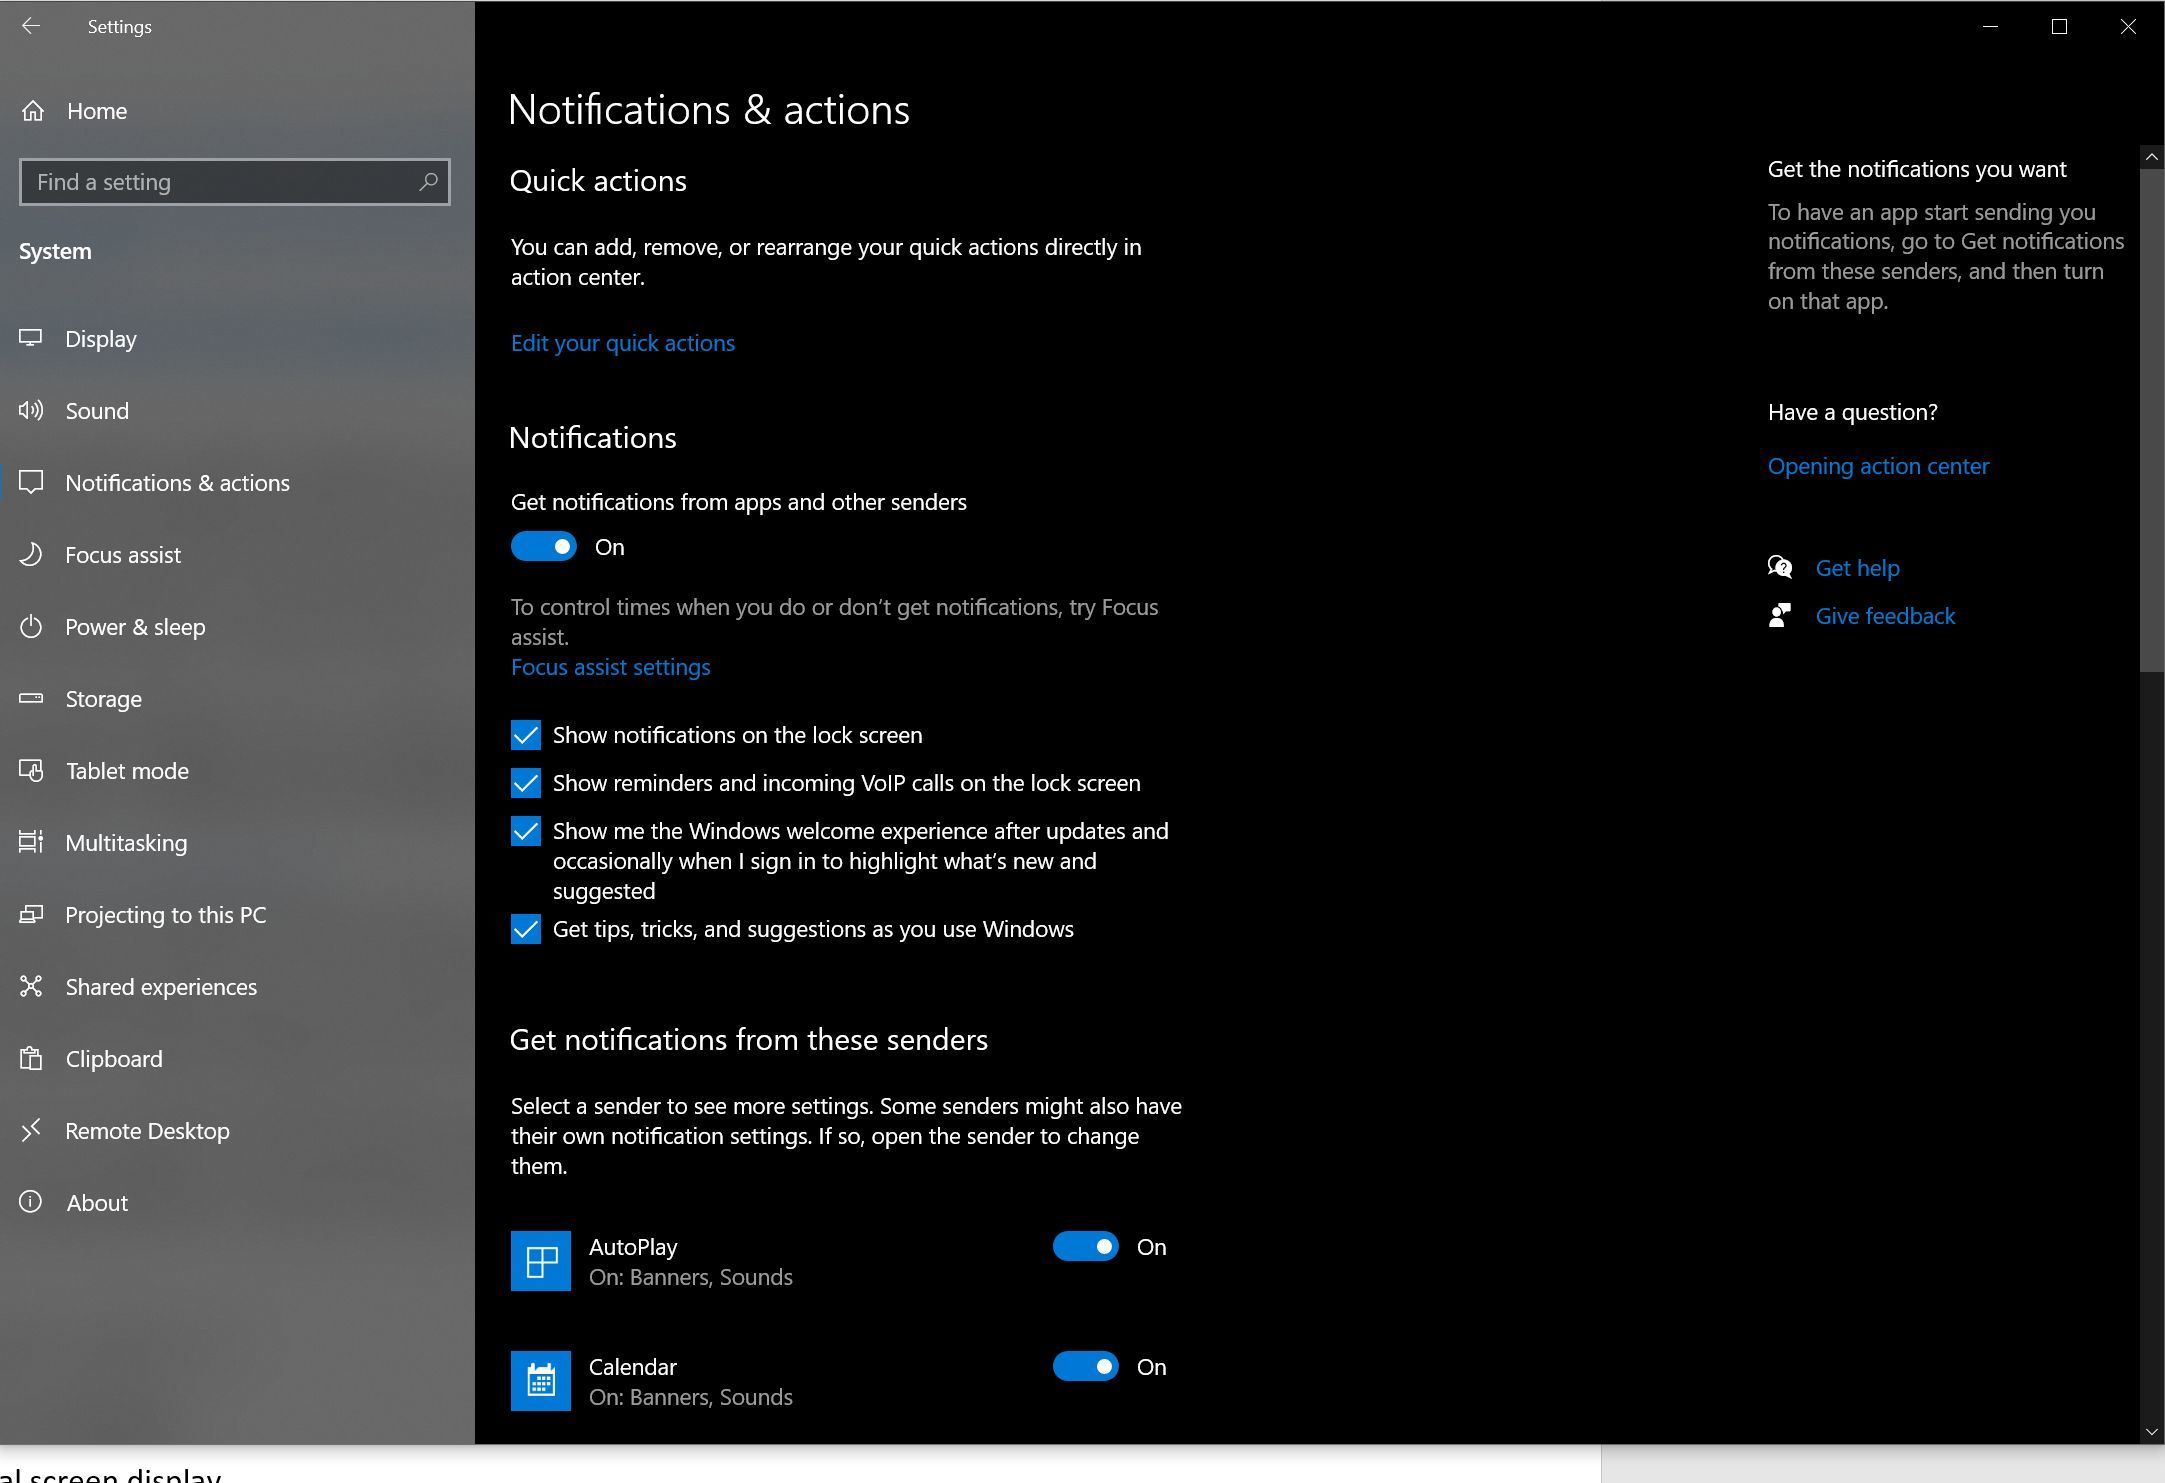
Open the Start menu, click on the Settings cog icon, and head to System > Notifications and actions. You have just a few completely different choices right here. To nuke all notifications from orbit, eradicating them fully, transfer the Get notifications from apps and different senders merchandise to Off. Boom.
For a extra nuanced method, you’ll be able to click on the tiny Focus help settings hyperlink beneath that choice, which lets you arrange guidelines for when and the way you’ll obtain OS notifications.
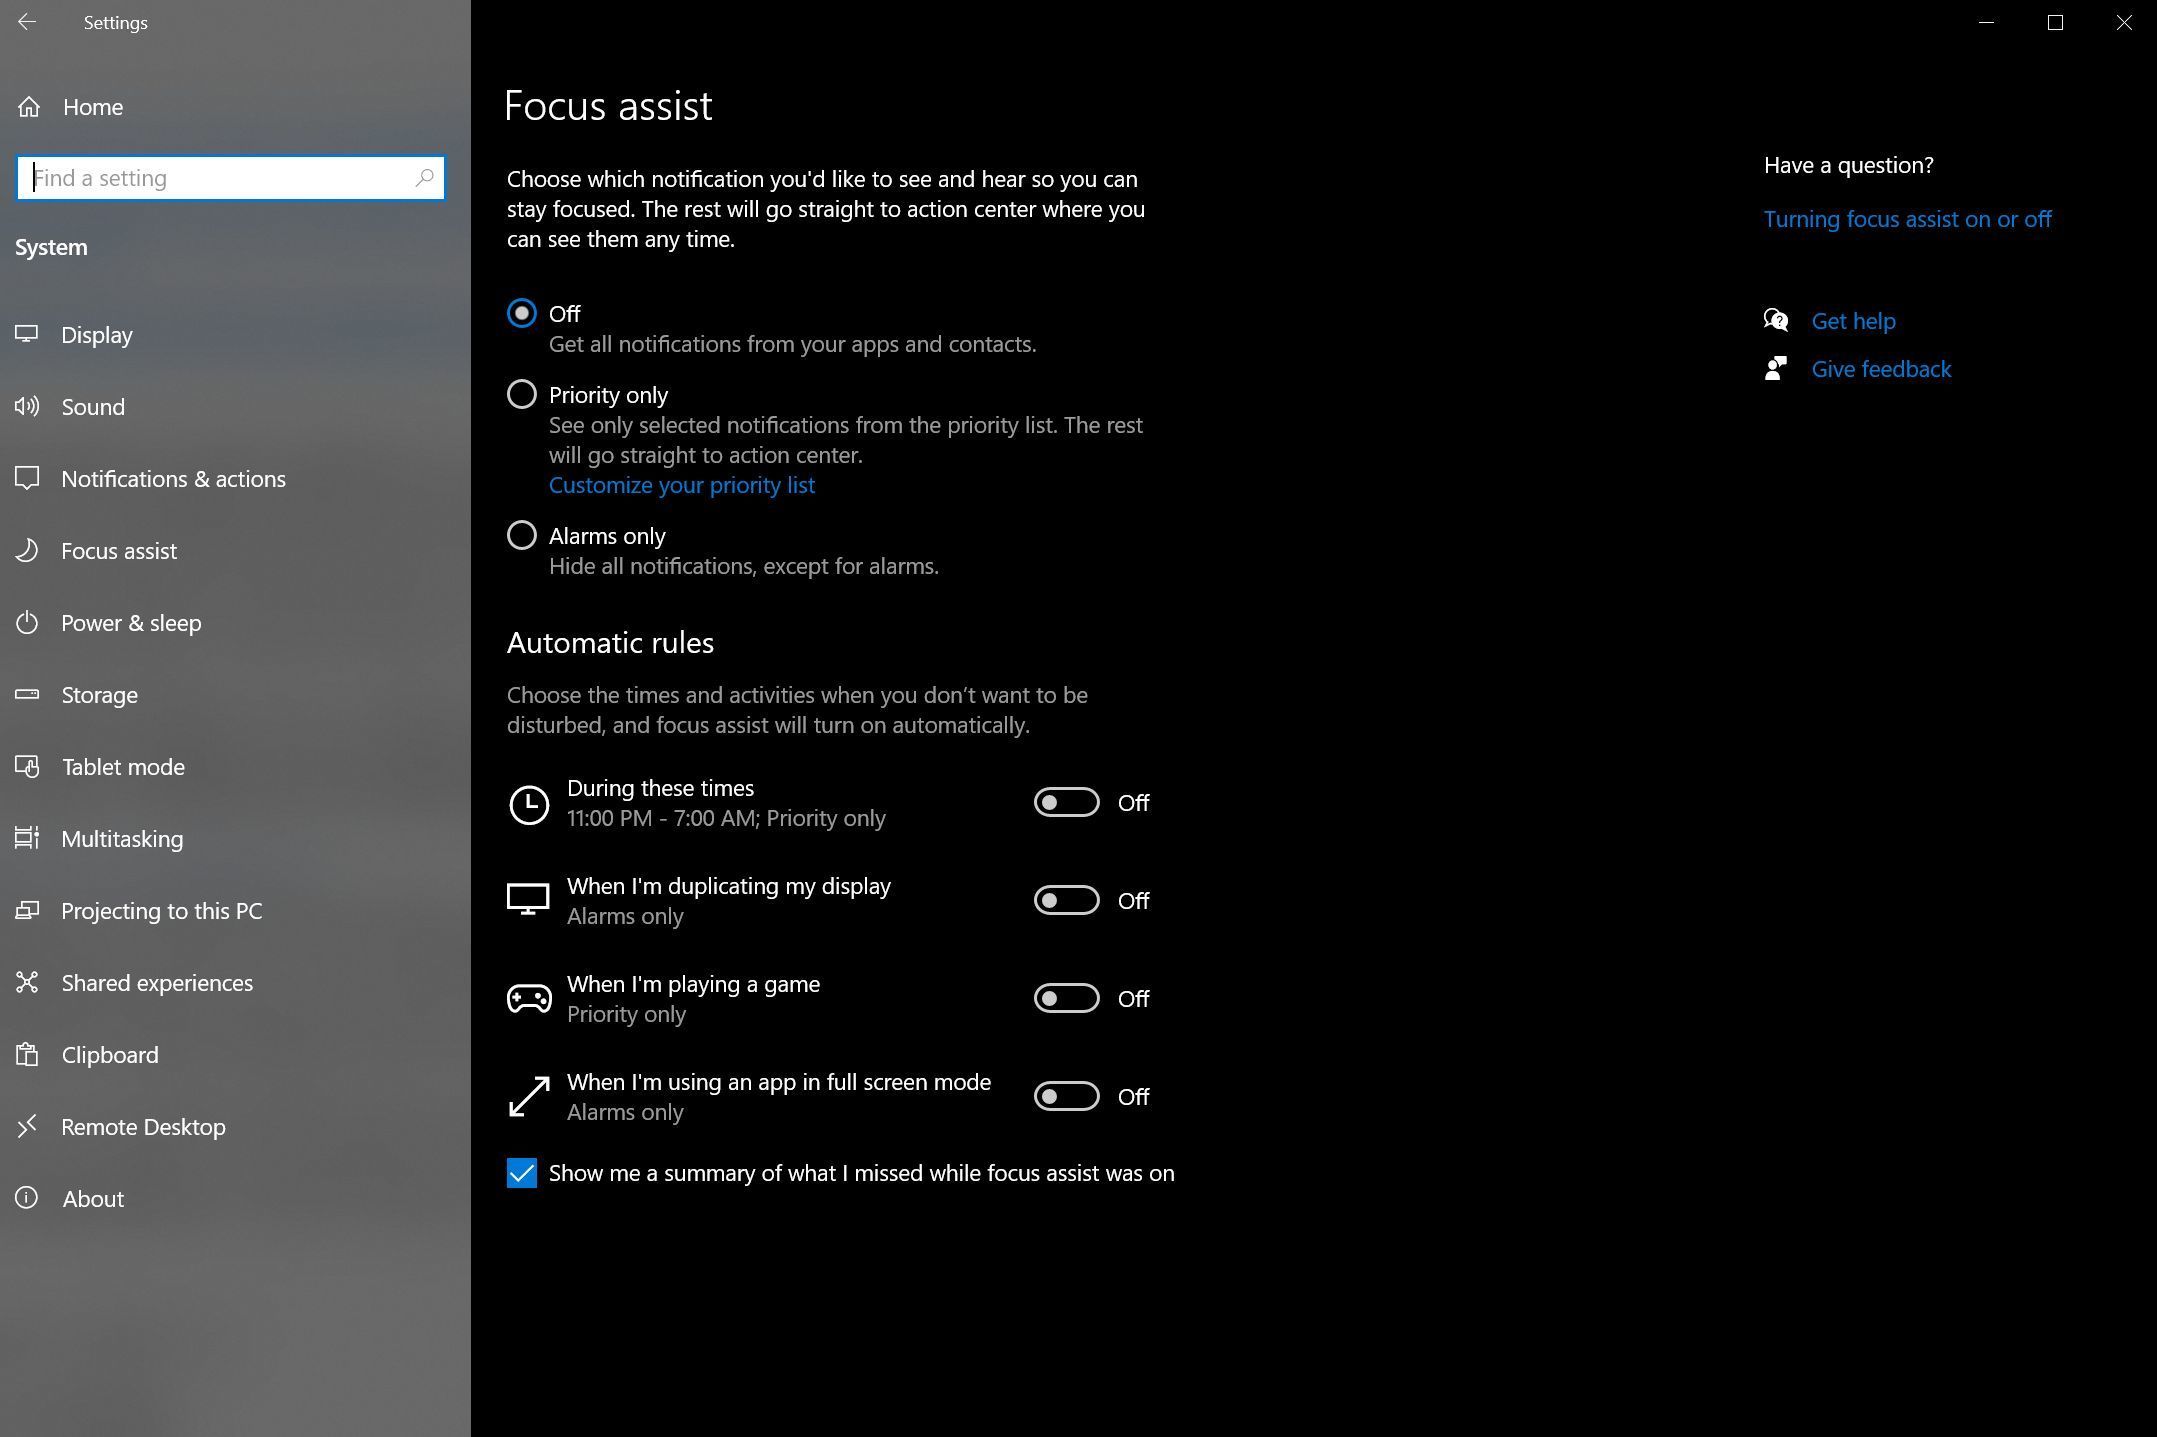
Windows 10’s Focus Assist choices.
If you wish to obtain some notifications—say, Mail and Calendar occasions—however not others, head again to the principle Notifications and actions display screen. At the underside, you’ll see an enormous checklist of all of the apps that may doubtlessly ship you notifications. Slide those that aren’t vital to off. I wish to disable the Razer Synapse and Discord system notifications, for instance, as a result of regardless that I’m a gamer they’re liable to interrupting me throughout work hours. I additionally keep away from Mail notifications, preferring to verify my inbox by myself schedule.
Notifications aren’t even the worst offender with regards to interruptions. Nothing is worse than Windows 10’s compelled restarts your PC to put in updates. Fortunately, Microsoft’s labored in a lot of instruments over time that make that situation a lot much less prone to happen—if you realize they exist, that’s.

Windows Update choices.
Head to Start > Settings> Update & Security > Windows Update to tinker together with your choices. Particularly, verify in your Change Active Hours settings. These allow you to inform Windows whenever you’re working, and it gained’t mechanically reset your PC throughout that point. The capability to pause all updates for every week is useful, too; should you dig into the Advanced choices menu you’ll be able to push them out for simply over a month.
Organize your workflow
Instilling some order over your workflow could make an enormous distinction. Sure, Alt-Tab-bing via all of your open applications can work, however taking the time to arrange some form of group may help preserve issues operating as easily as attainable. Windows 10 contains a number of instruments that may make multi-tasking much more productive.
First off: Multi-monitor setups rock for productiveness, and I extremely advocate utilizing a couple of monitor if attainable. Our guides on how to set up two monitors and Windows 10’s individual display scaling may help you out in that case. In a pinch, you’ll be able to even use a TV as a computer monitor, although they work higher as auxiliary shows. That stated, not everybody desires (or can afford) a couple of show, and the Windows 10 instruments under assist even should you’re caught on a single display screen.
When you Snap a window to at least one half of the display screen, Windows pulls again all of your different open home windows to allow you to select one to fill the opposite facet.
Don’t underestimate the facility of Windows Snap, a local approach to simply divvy up your monitor into a number of segments dedicated to separate apps. Grab an open window by its title bar—the horizontal bar on the high that claims its title—and drag all of it the way in which to the left or proper of the display screen, till your mouse cursor touches the sting of the show. You’ll see a clear define movement out out of your cursor to fill half the display screen. Let go, and the chosen program will develop, taking on that house. Any different applications open on that monitor will seem on the opposite half of the display screen, and if you choose one, it’ll develop to fill that house. Boom! Now you’ve acquired two applications on the display screen on the identical time, break up proper down the center.
If you’ve acquired a big monitor, or a pixel-dense 1440p or 4K show, you need to use Snap to divide your display screen much more. Dragging open home windows to a nook of your show will Snap them into that quarter of the display screen, although utilizing this technique gained’t set off a immediate asking you what to fill the remainder of the display screen with. You’ll have to Snap the home windows you need manually to every nook.
Four home windows Snapped into 4 quadrants of the display screen can put loads of data at your fingertips directly.
It’s price it, although. Having, say, a doc, a spreadsheet, your work’s chat software program, and Outlook open and visual all on the identical time may help you get a lot of stuff performed sooner, particularly should you’re transferring knowledge from one of many apps to a different. And if you wish to customise the Snap performance even additional, you should definitely try FancyZones, Microsoft’s killer multitasking app.
Another potent software for group: The criminally underutilized Virtual Desktops characteristic, which debuted in Windows 10. Virtual desktops allow you to separate “virtual” variations of your desktop, every operating its personal cases of software program, that you may hop between. I work at home, so I typically run separate digital desktops dedicated to work time and play time, for example—Office, Slack, and a browser devoted to work duties in a single, and “fun” apps like Steam, Discord, and a browser with Reddit or Twitter open in one other. When it’s break time (or beer o’ clock), I can simply jump over to the “play” digital desktop and choose up the place I left off.
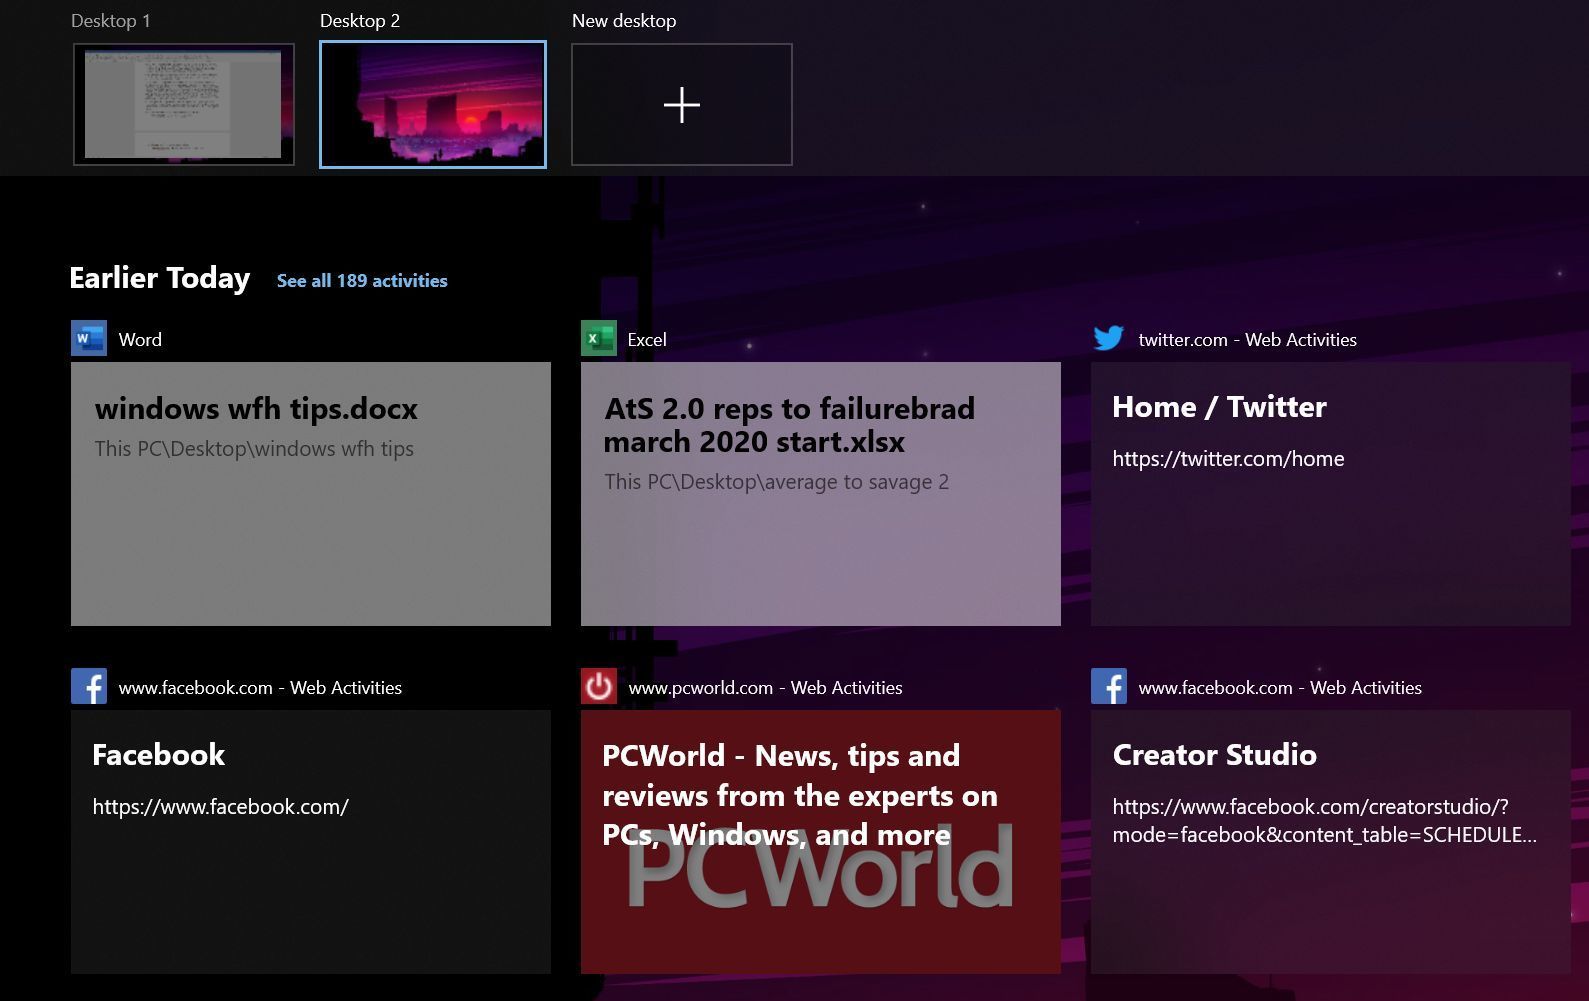
You can see your numerous digital desktops on the high of Windows 10’s Task View, above your exercise Timeline.
Alternatively, you may arrange a number of digital desktops, every devoted to its personal sophisticated work job, with all of the related applications, browser tabs, and paperwork/spreadsheets open to that exact challenge. Your solely restrict is your creativeness!
To begin utilizing digital desktops, click on the Task View icon in Windows 10’s taskbar to summon your Timeline. Select the tiny +New desktop textual content on the top-left of the display screen.
In Windows 10, the Task View icon (a small stack of rectangles with a slider on the correct facet) will be discovered to the correct of the search bar and the Cortana icon.
Once you’re arrange, use the identical Task View interface to swap amongst open digital desktops within the bar that seems on the high of the display screen.
You can even use these keyboard shortcuts to manage your digital desktops:
- Windows+Ctrl+D: Create and open a brand new digital desktop
- Windows+Ctrl+F4: Close the present digital desktop.
- Windows+Ctrl+Left/Right: Switch to the digital desktop on the left or proper.
- Windows+Tab: Open Task View/Virtual desktop interface
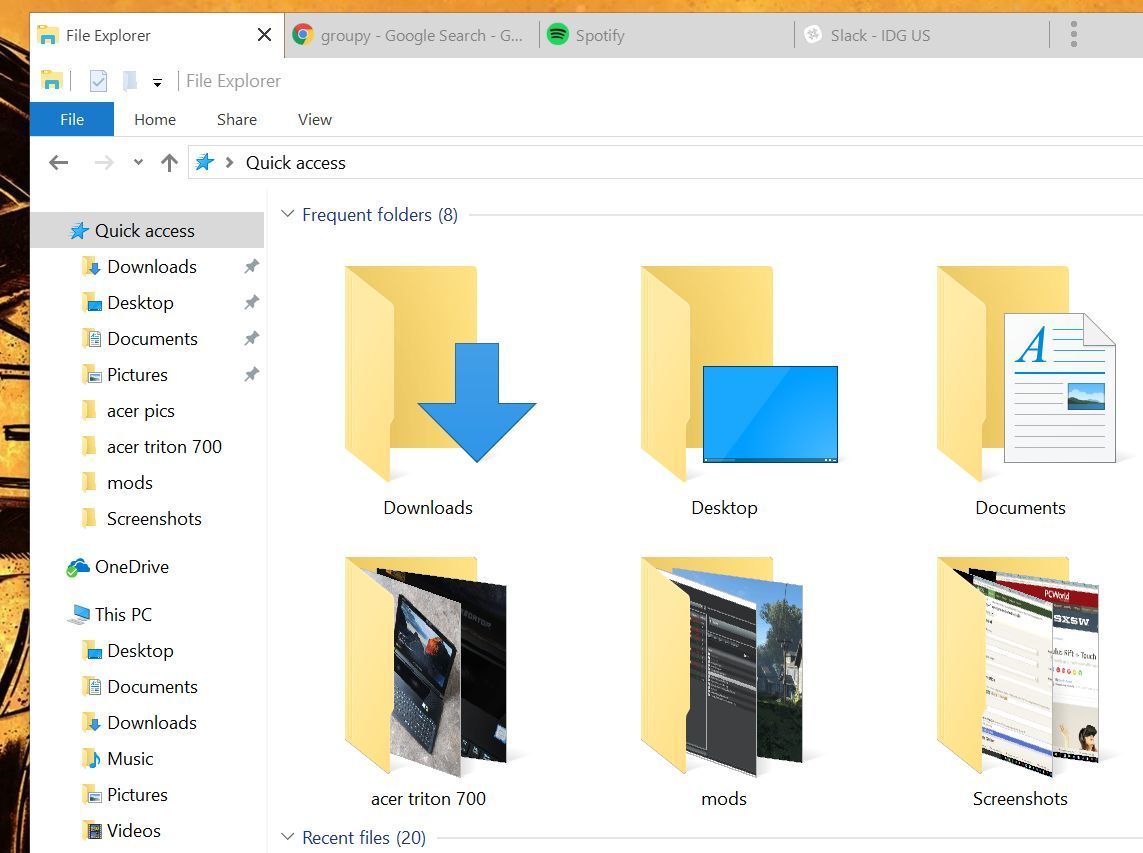
Stardock’s Groupy enables you to mix a number of applications into one window like browser tabs, and bounce amongst them. If you have a look at the title bar on the high of the display screen, you’ll see this window contains File Explorer, Chrome, Spotify, and Slack.
Finally, whereas this information is devoted to Windows ideas, should you are likely to juggle a number of applications concurrently for sophisticated duties, think about paying up for Stardock’s glorious Groupy software program. Groupy primarily enables you to manage a number of applications right into a single window, letting you hop between every like so many browser tabs. It’s great, and solely prices $10 direct from StardockRemove non-product link. Microsoft was engaged on a local tabbed interface for Windows 10, dubbed Sets, however alas, it’s dead. Groupy earns our highest suggestion.
Odds and ends
Getting rid of distractions and organizing your workflow will go a good distance towards making you extra productive, however a handful of different Windows 10 tweaks could make your life simpler, too.
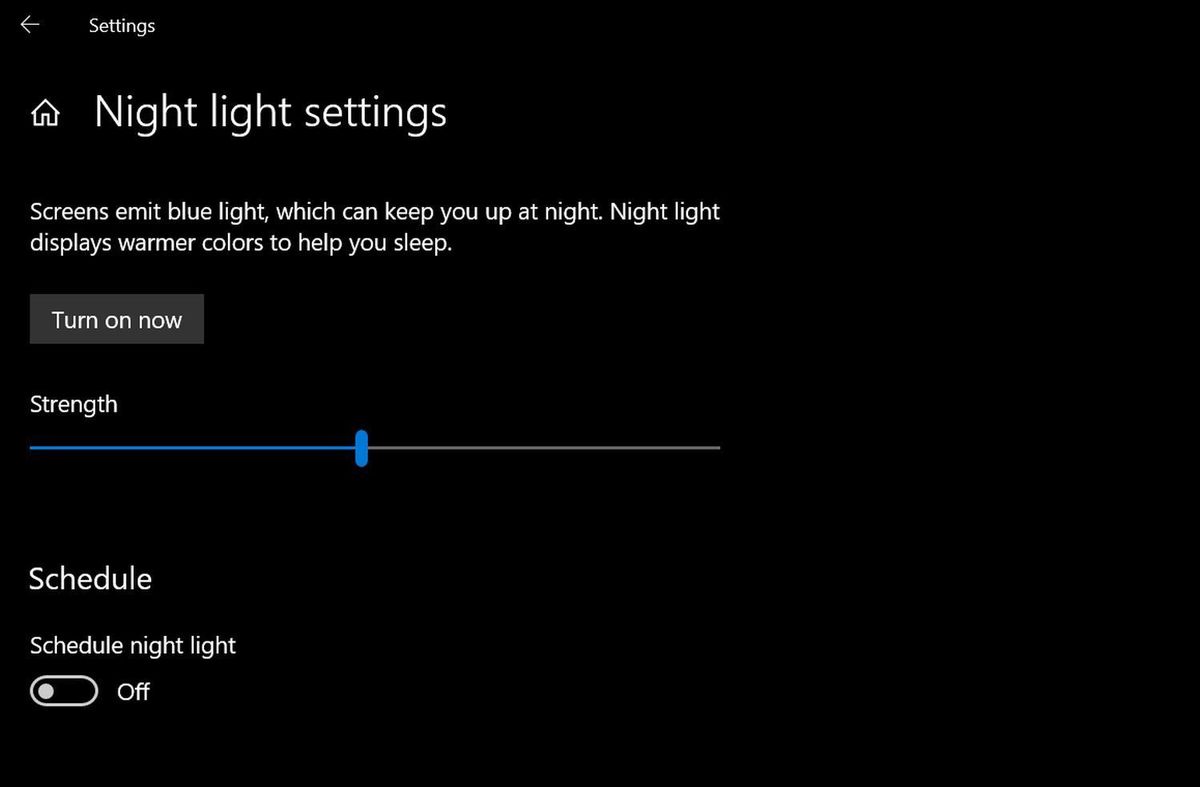
Night mild’s choices are fundamental, nevertheless it’s a useful software.
Night mild restricts blue mild emanating out of your show by altering its hue, much like the popular f.lux app. “Studies have shown that blue light at night suppresses melatonin production more than other colors and shifts the body’s circadian timing, thereby disrupting the sleep-wake cycle,” we stated in our Night Light primer. Head to Start > Settings > System > Display and activate the Night Light slider to show it on, then click on the Night mild settings hyperlink to regulate the way it works.
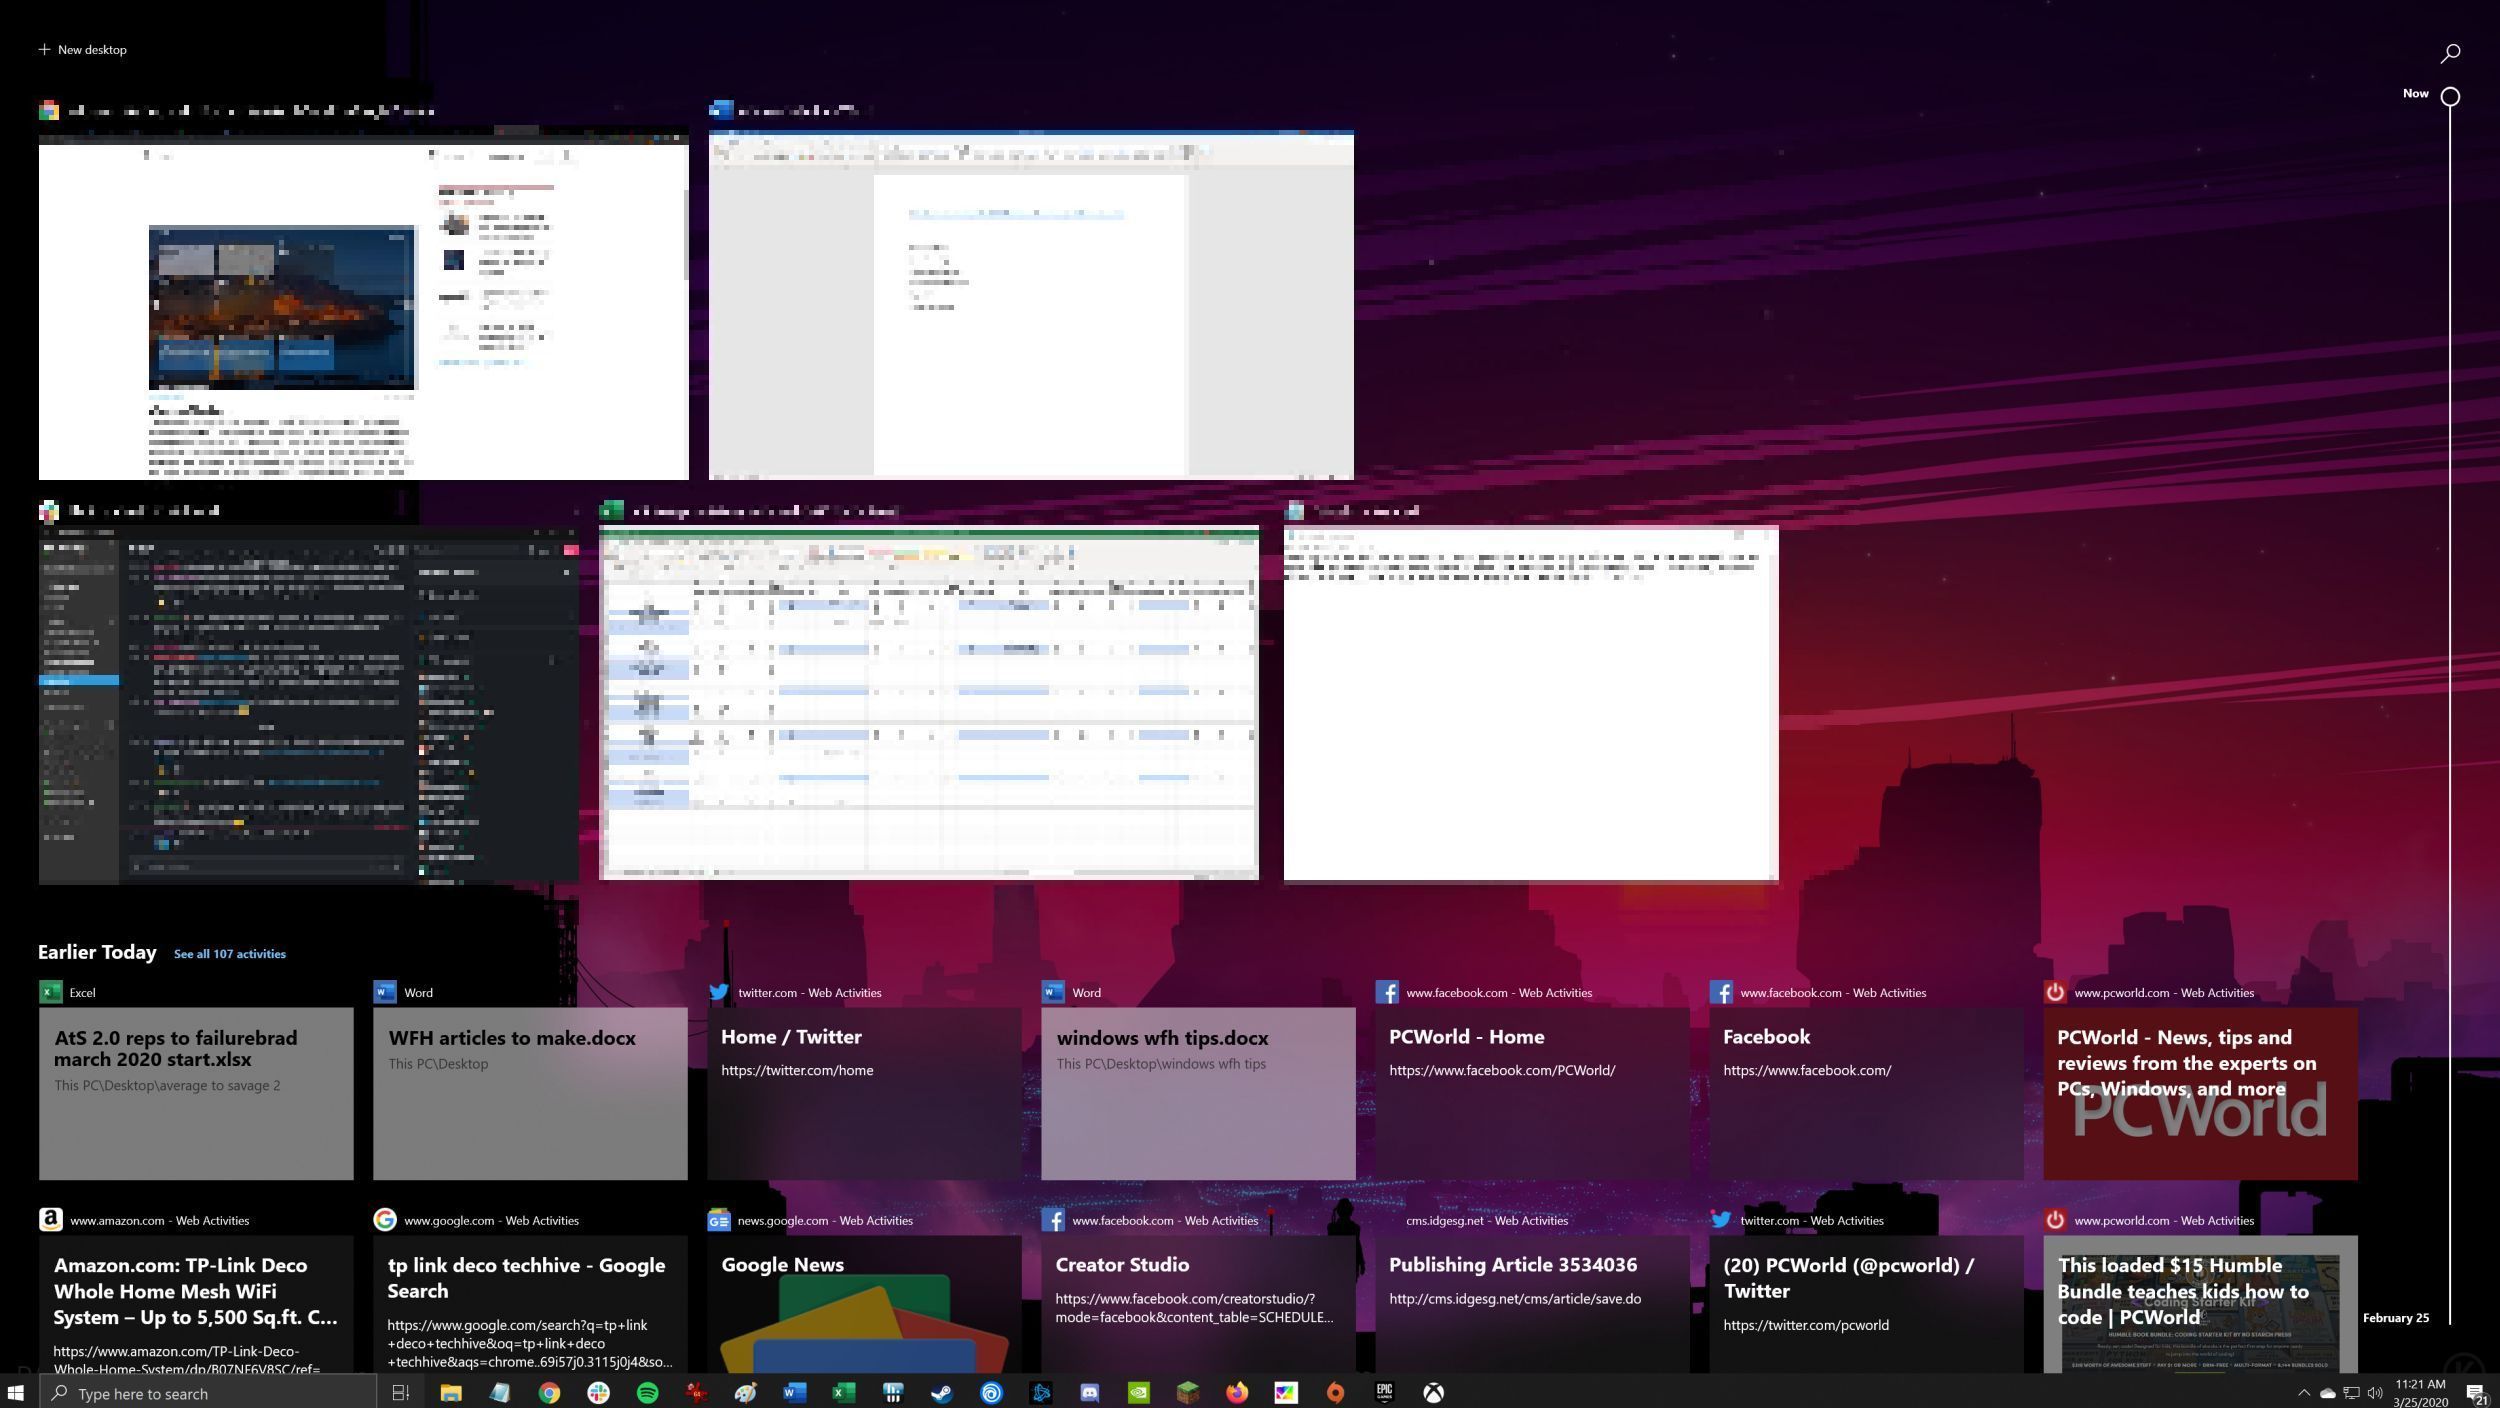
Windows 10’s Timeline exhibits you what you’ve labored on lately, letting you hop again in the place you left off with a single click on.
Windows Timeline exhibits you a historical past of your current exercise in Microsoft apps, together with particular person Office recordsdata and Edge browser tabs, making it simple to leap again into one thing you had been engaged on earlier than. (If you’re a Chrome person, seize the official Web Activities browser extension by Microsoft to allow the identical performance.) You summon Timeline by opening the Task View icon on the Windows 10 toolbar, or urgent Windows+Tab. Your current exercise seems beneath the digital desktop view.
Cloud clipboard additional leverages the connectivity of your Microsoft Account by letting you copy textual content on one PC, then paste it on one other. It’s fantastic. Head to Settings > System > Clipboard to show it on and configure its habits.
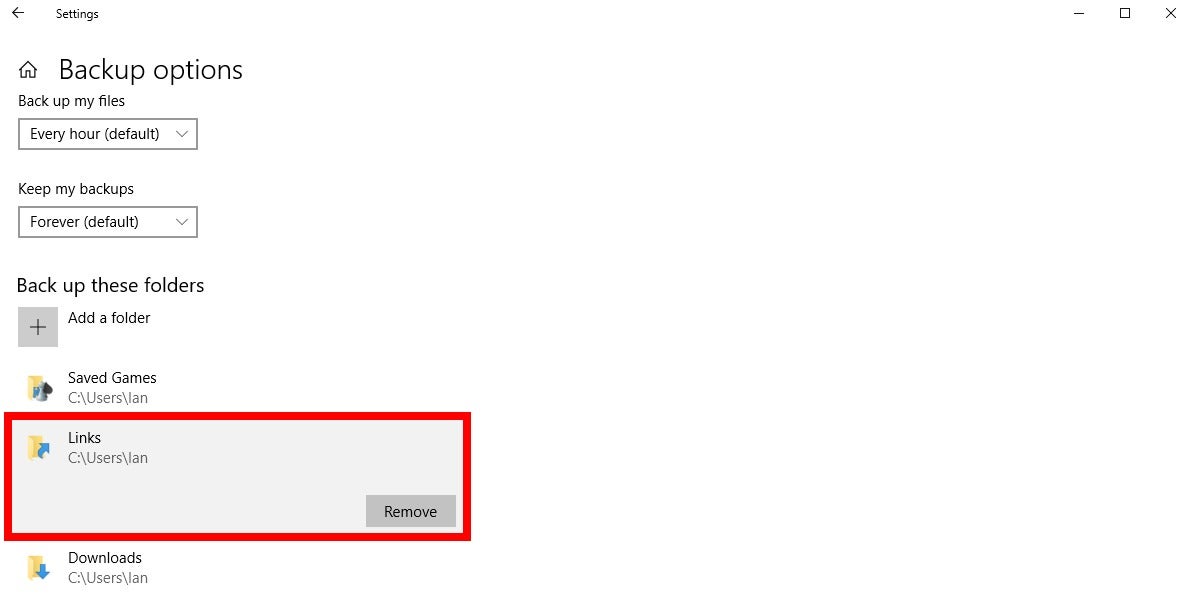
File History makes it simple to handle which folders you’re backing up.
If you’ve gotten exterior storage related to your PC, File History is a godsend, taking snapshots of your recordsdata as you go and storing the completely different variations, so you’ll be able to get better older saves if want be. “Say, for example, you really liked a paragraph from the first draft of an essay, but you deleted it long ago and are now battling regret,” we defined in our primer. “You can dip into File History, retrieve the right version of your document, and copy the paragraph.” Our File History guide can set you up if it sounds attention-grabbing, whereas our roundup of the best external drives can level you towards the perfect {hardware} for the duty. (You don’t want a quick exterior SSD for File History; a slower—and thus extra inexpensive—onerous drive performs the job simply tremendous.)
That about does it. If you wish to end your day sooner, you should definitely try 10 time-saving Windows tricks that help you get stuff done faster. Those easy ideas aren’t glamorous, and most aren’t even new to be sincere, however whenever you use them collectively, they will significantly streamline your workflow. You can also be desirous about our roundup of 10 little-known Windows features that will blow your mind.
Editor’s be aware: This article is up to date periodically with recent ideas, methods, and information.