
You can construct a PC with only a screwdriver or two readily available, however you’ll have a better time of it you probably have all of the necessities readily available. That consists of instruments to get you out of sticky spots, which at all times happen if you assume they gained’t. Keep these 10 objects readily available for builds they usually’ll hold your meeting woes to a minimal.
We’ve divided the record into absolutely the necessities (for the minimalists on the market) in addition to our advisable additions for a well-rounded equipment. But actually, there’s no must scrimp. All of those instruments are very reasonably priced. Our information to how to build a PC will help present you find out how to put these instruments to work, whereas our primer on how to set up your PC the right way explains find out how to get the software program aspect of issues so as after you’re completed cobbling collectively your creation.
To see our PC constructing antics dwell as they occur, subscribe to PCWorld’s YouTube channel.
Screwdriver (Phillips #2)
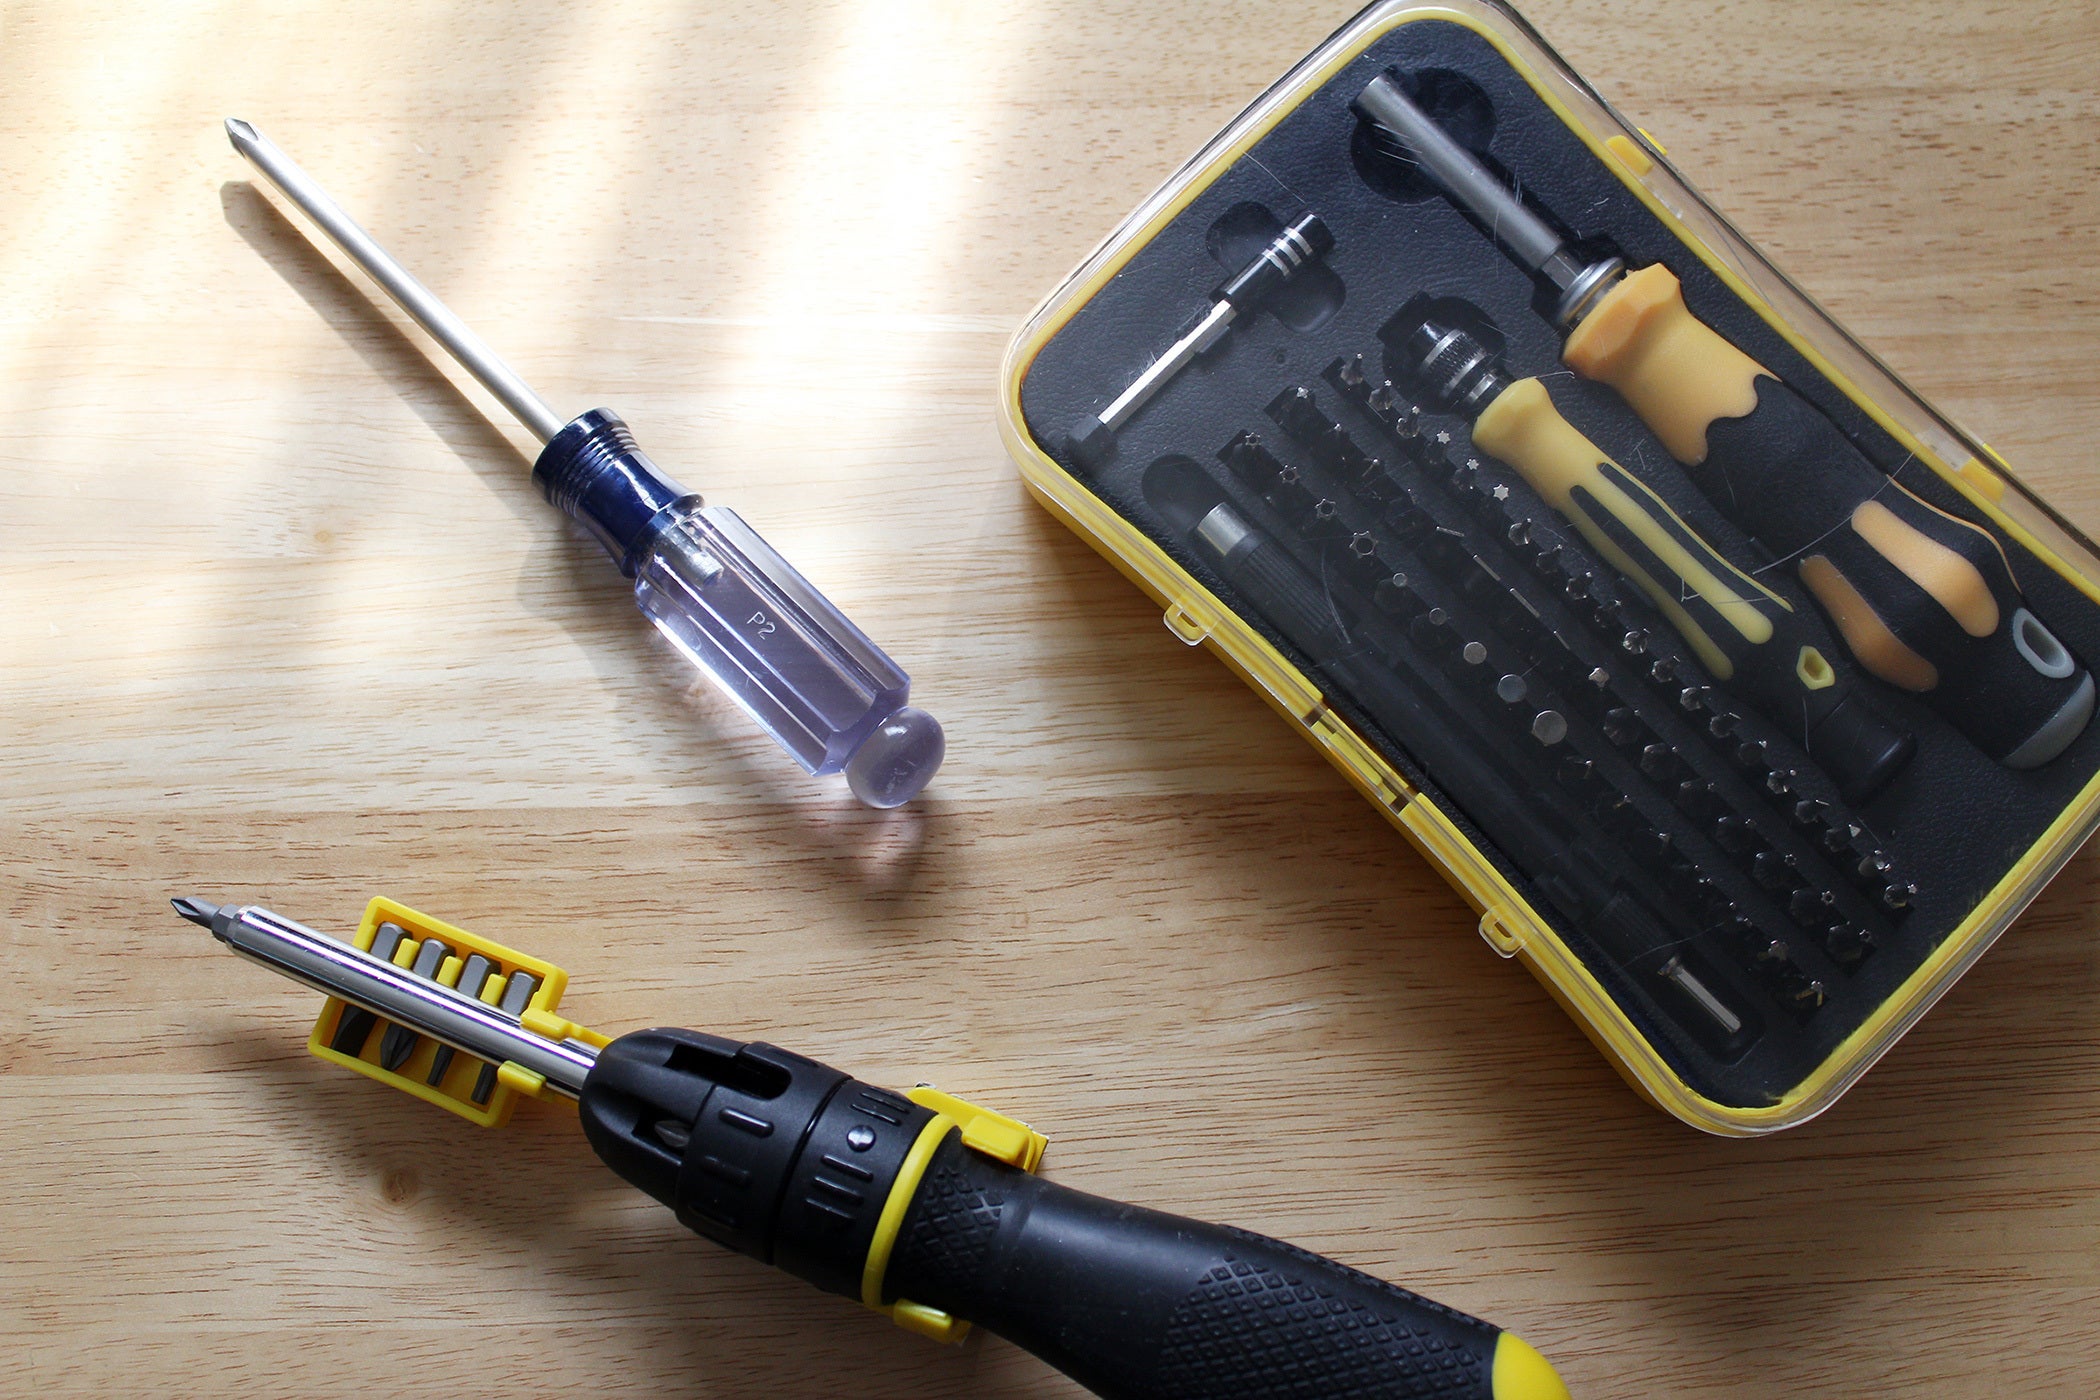
Phillips #2 screwdrivers in numerous kinds. We advisable getting a magnetized model (or magnetizing a typical one).
Nearly all screws in a pc case require this cross-head screwdriver. Any Phillips #2 screwdriver will do—be it the plain, trusty CraftsmanRemove non-product link in your toolbox, the fancier ratcheting typeRemove non-product link with swappable bits, or kits with a full array of bits that embody a PH2 head.
We extremely suggest getting a magnetic screwdriver, or shopping for a magnetizerRemove non-product link to transform your present instruments. You can get a magnetic screwdriver kit with interchangeable bitsRemove non-product link for fairly low cost, normally round $15. Regardless of what you select, this buy will prevent the time and trouble of fussing with screws that refuse to remain put as you connect them and / or that fall into hard-to-reach locations.
Should you’ve hand accidents or tendonitis, look into ratcheting screwdrivers, which assist cut back fatigue. For extra torque, get a screwdriver with a fatter deal with.
Screwdriver (Phillips #1)
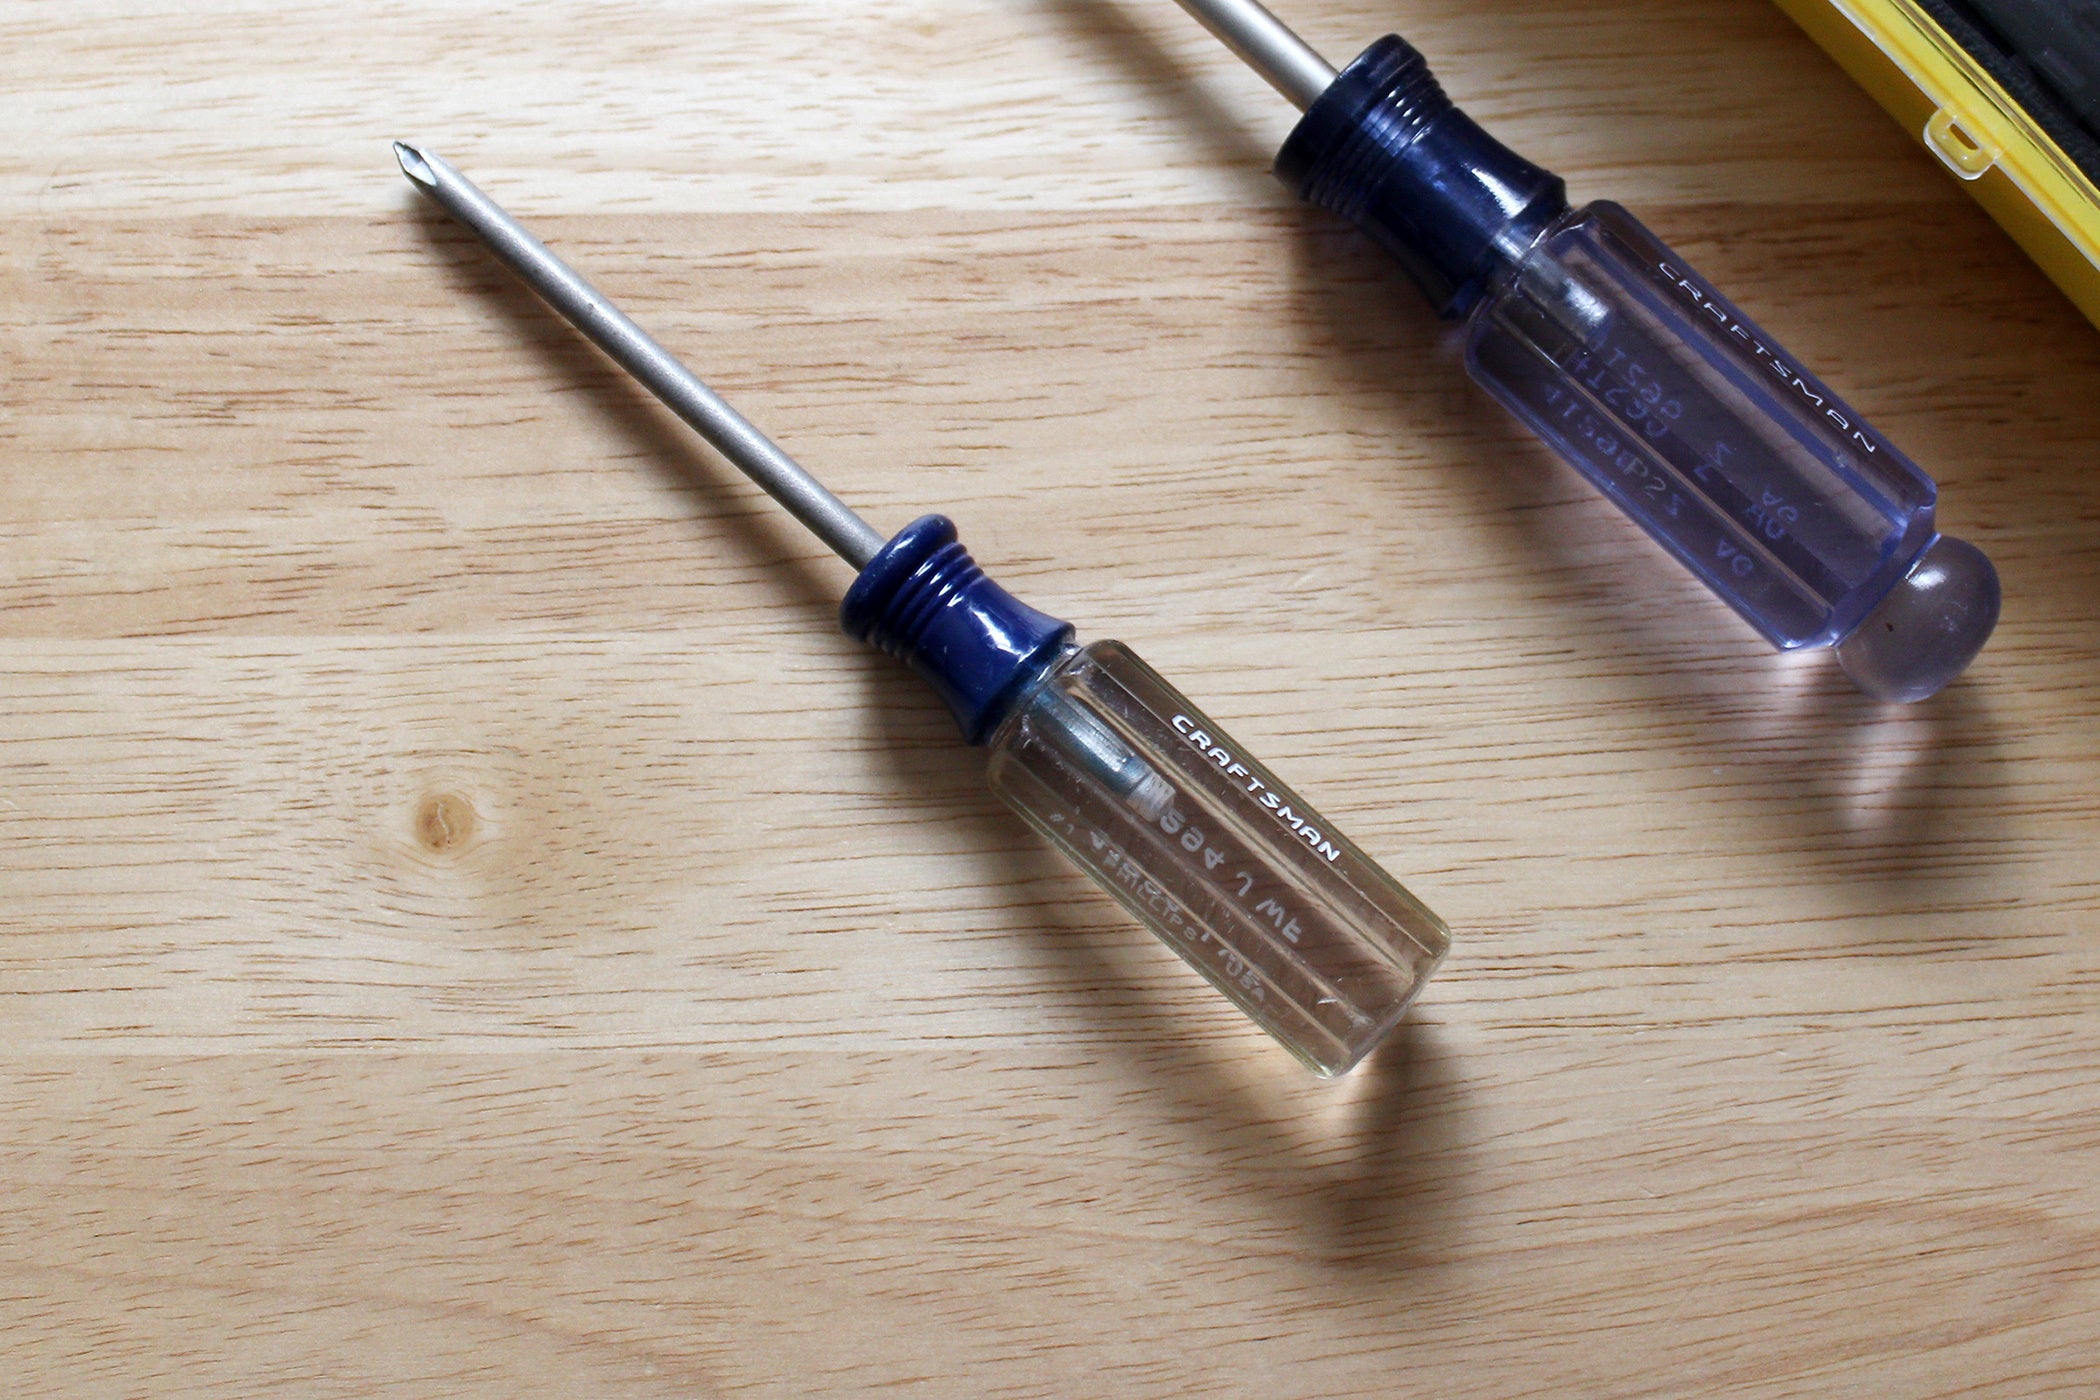
Installing an M.2 drive? You’ll want a Phillips #1 screwdriver.
Adding an M.2 SSD to your construct or laptop computer? You’ll want a Phillips #1 screwdriverRemove non-product link, as a Phillips #2 shall be too massive for the screw drive (the indentations on the screw head used to show the screw).
Since M.2 SSD mounting screws are delicate, you gained’t want a lot torque to get them in or out and thus a slender or small screwdriver works high-quality. You ought to get a magnetized one although, as screws that take a Phillips #1 are usually small and straightforward to lose monitor of.
Builds that don’t use any M.2 SSDs can get away with only a Phillips #2, however we’ve discovered that it by no means hurts to have a Phillips #1 readily available.
Screw tray
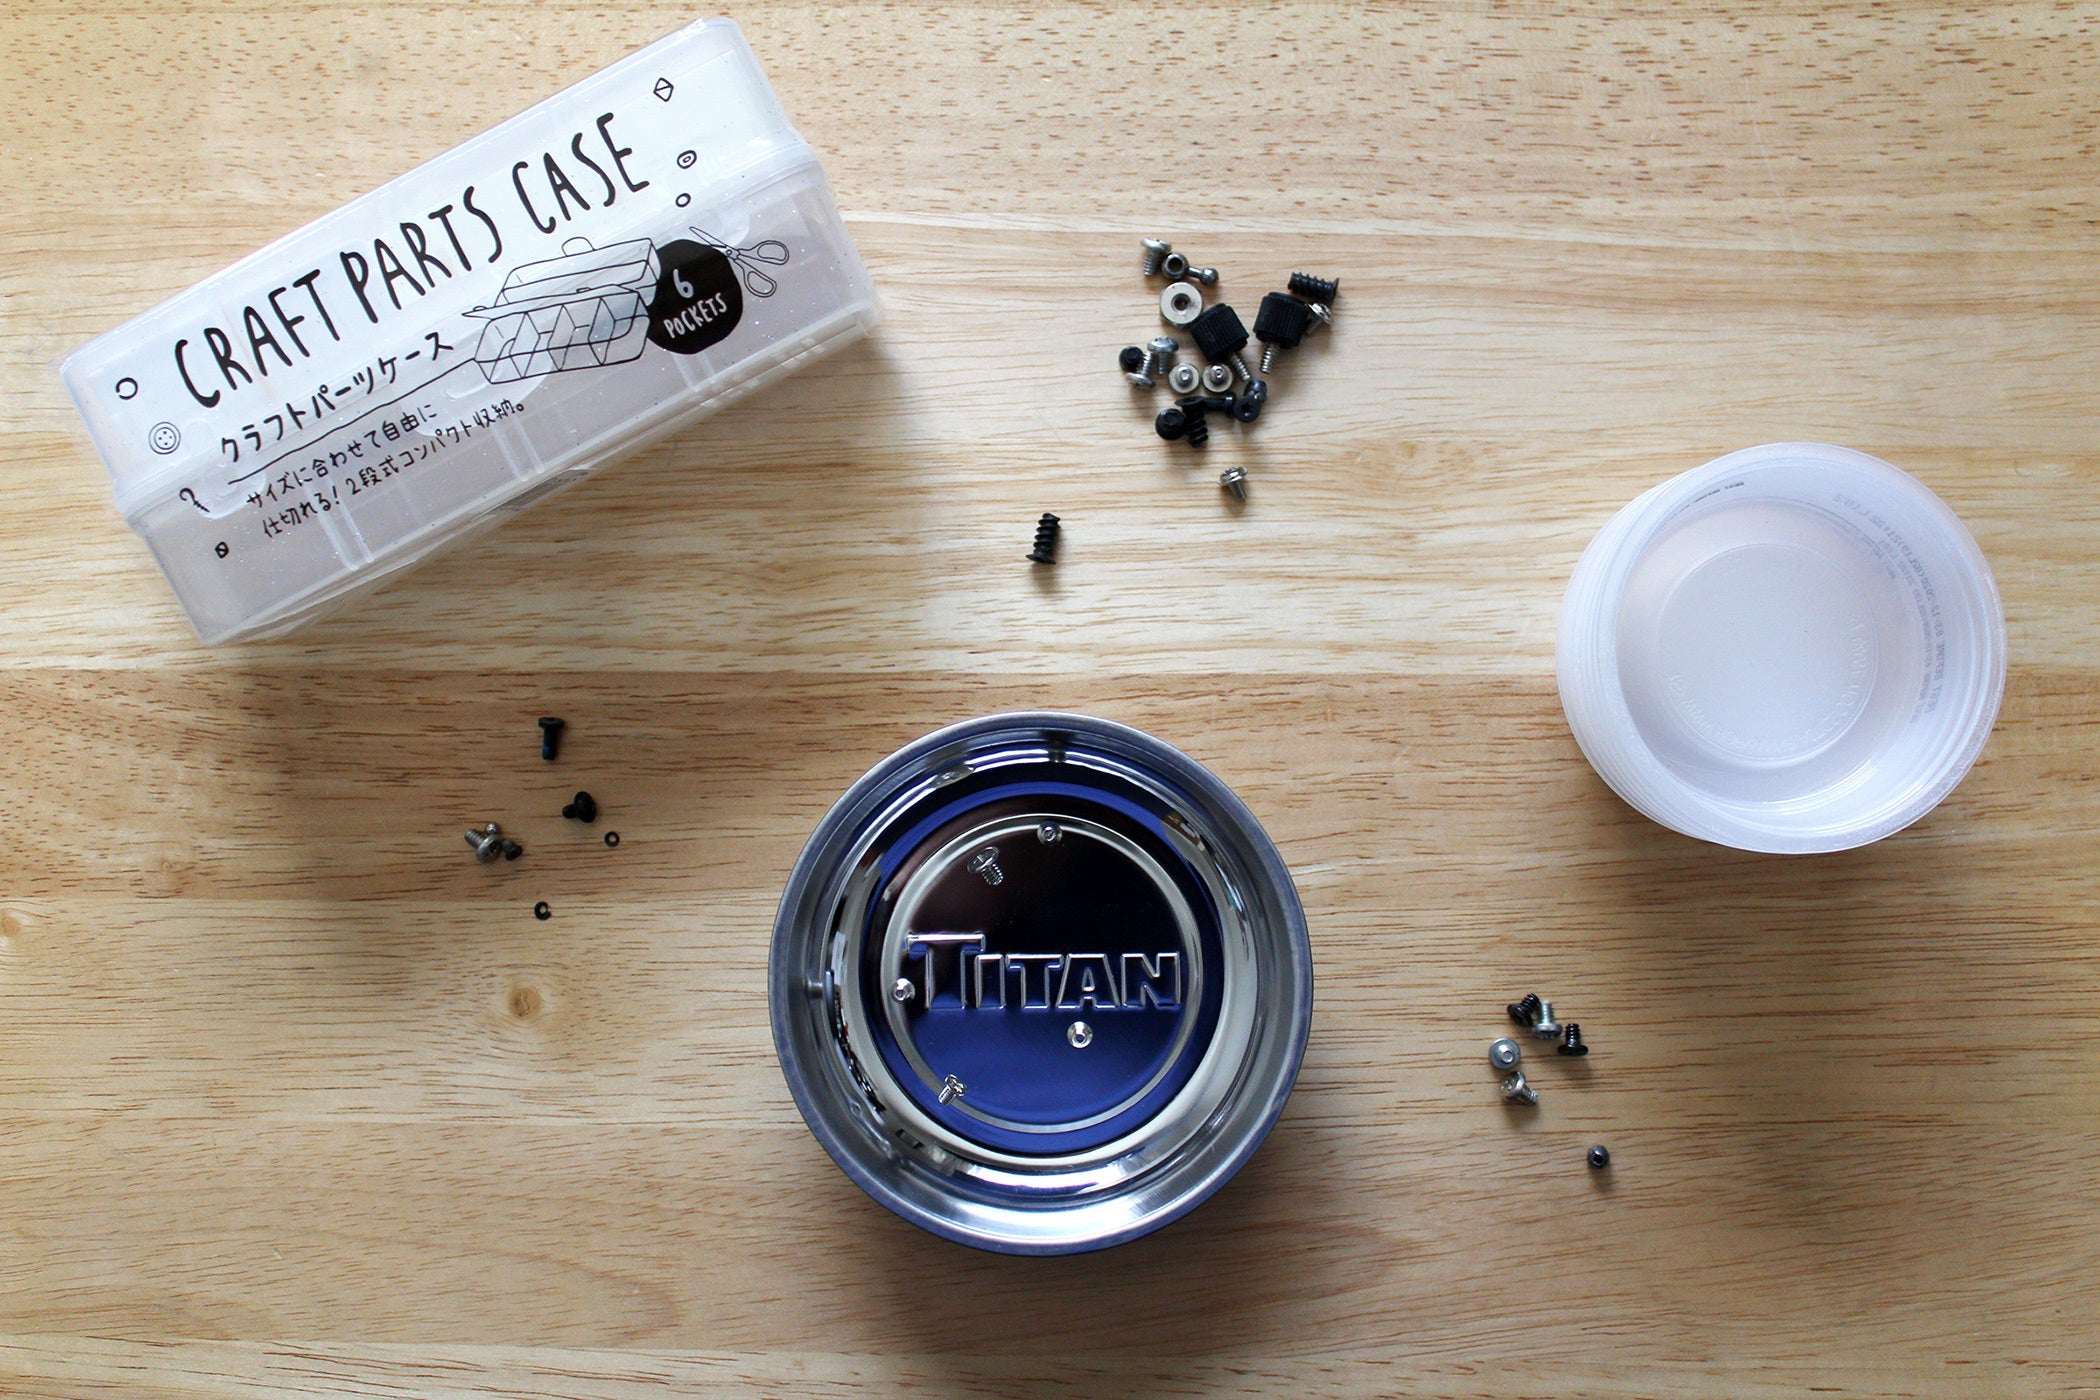
You can use no matter you’ve as a screw tray, or improve by buying a magnetized tray. (The latter supplies some safety in opposition to cats and their mischievous tendencies.)
You ought to put screws in some sort of container as you’re employed—a shallow dish or bowl, a tray, even a cup. (Using multiple is even higher, as you’ll be able to hold monitor of various screw varieties extra simply.) Placing every part free onto a desk normally leads to lacking screws, whereas clothes pockets run the danger of screws turning into misplaced as you progress round.
For a extra tidy answer, use a clear pill caseRemove non-product link or a bead organizerRemove non-product link to carry and retailer screws. They vary from $2 to $7 in worth, take little house, and allow you to see every part at a look. If you’ve a set work space, you’ll be able to as an alternative decide for a bigger hardware organizerRemove non-product link, which can have a number of small drawers. Leave one or two compartments free for dumping in screws as you construct.
You may purchase a magnetic trayRemove non-product link or a magnetic matRemove non-product link for those who’re involved about knocking objects round on a piece floor (or have a standard-issue cat that pushes objects off tables). These run between $6 to $10.
Hex nut driver
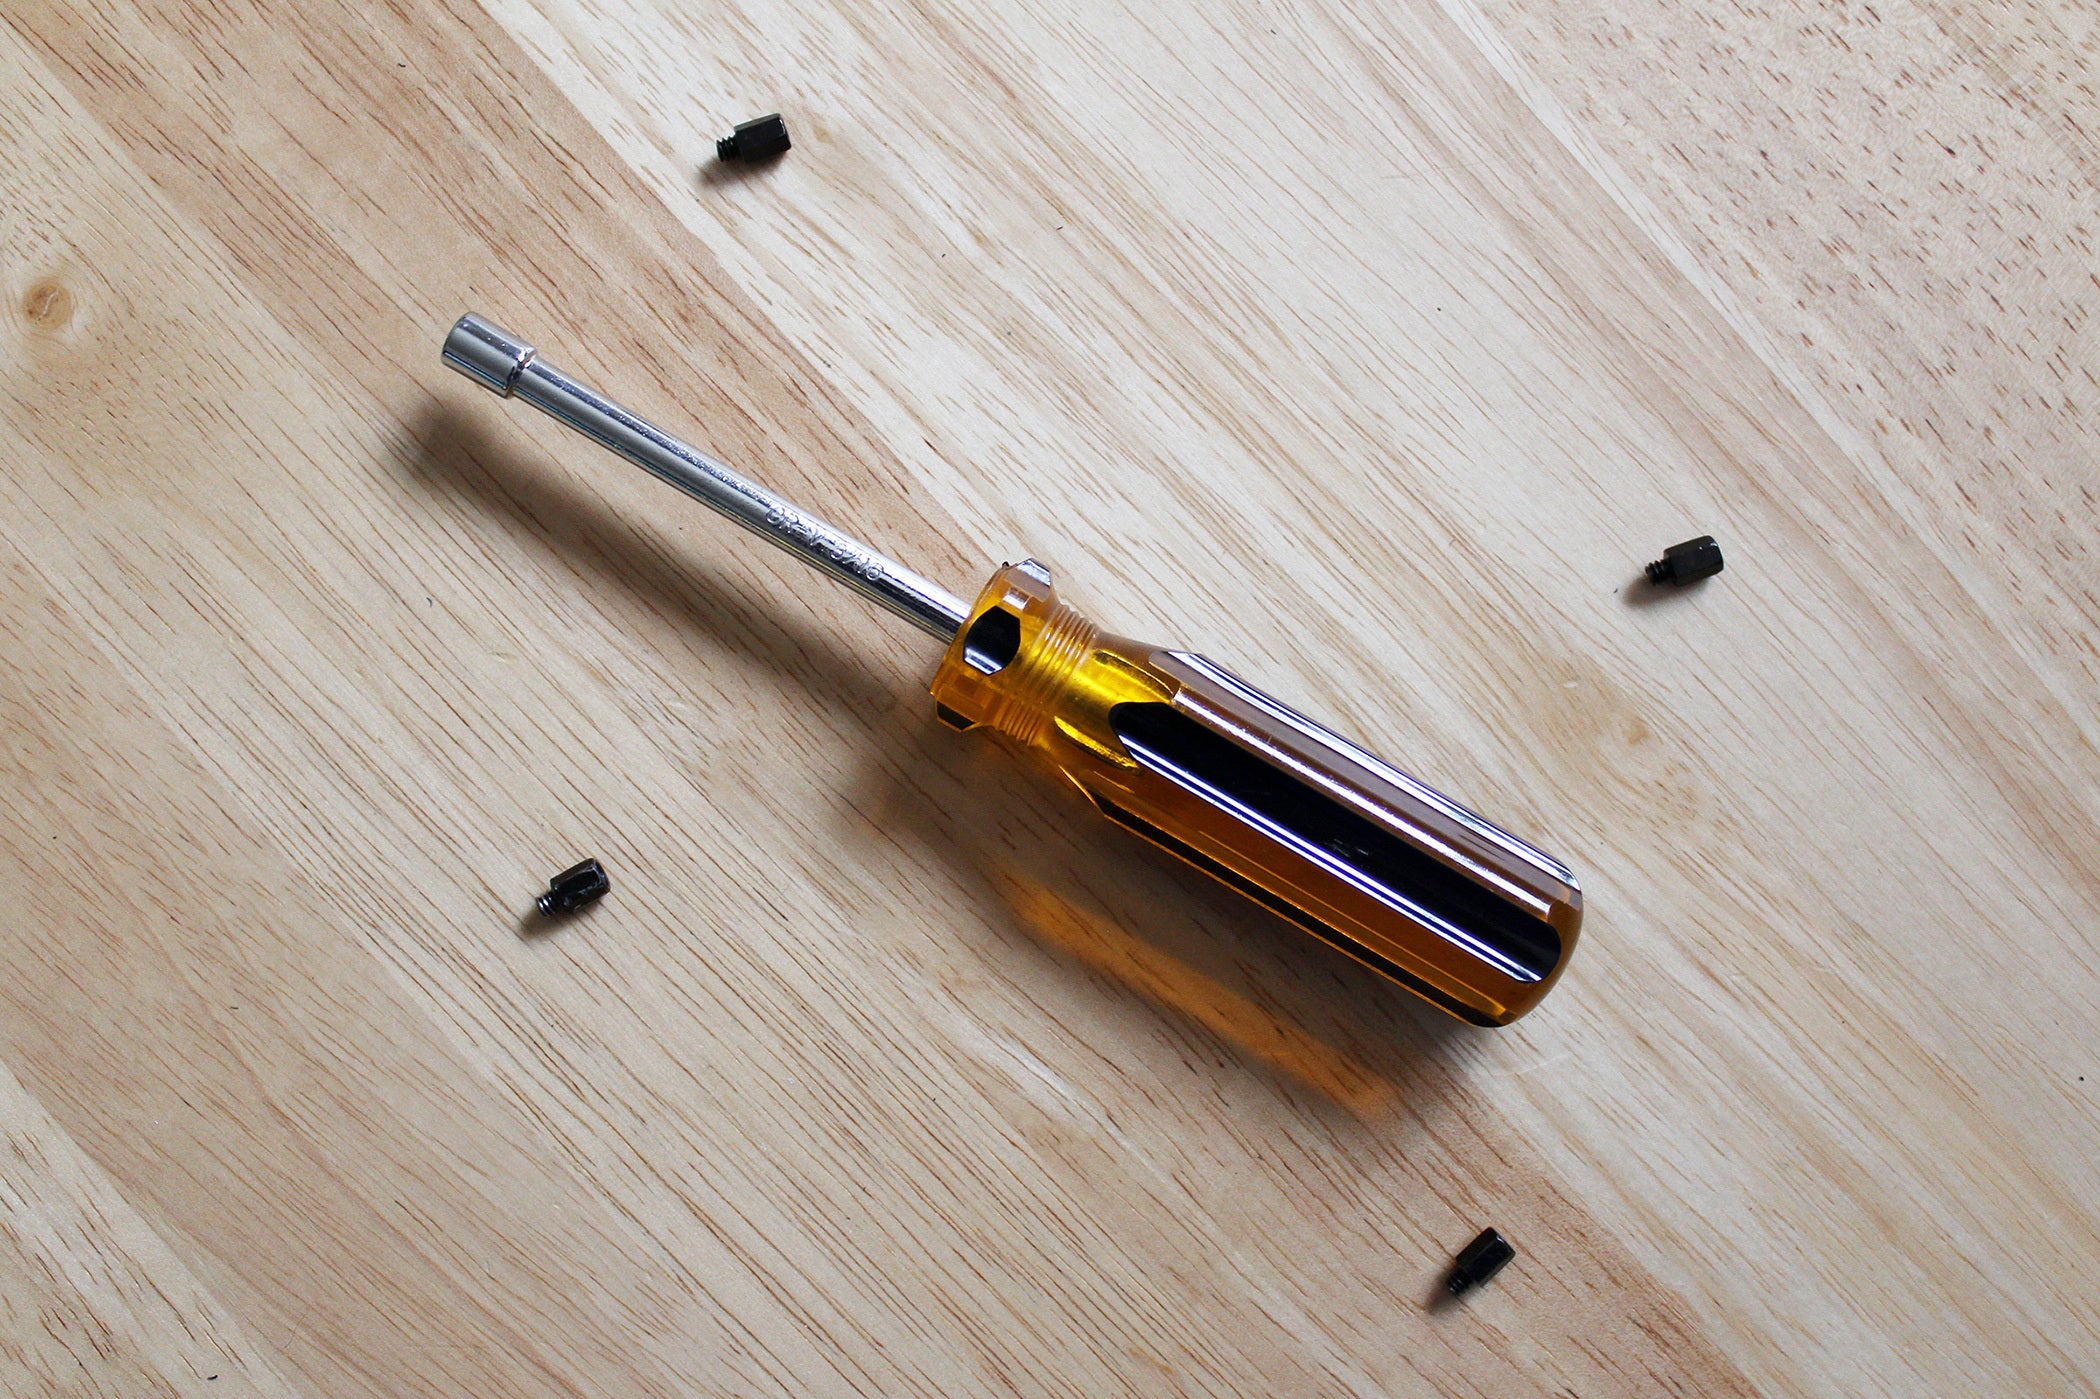
A hex nut driver bears out the adage “an ounce of prevention is worth a pound of cure.”
If not tightened down sufficiently, motherboard standoffs can come free as you attempt to loosen the screws holding the mainboard in place. The screw stays tight throughout the standoff, nevertheless—leaving you in purgatory till you’ll be able to hold the standoff nonetheless as you take away the screw. In truth, additional down this record are instruments to assist repair that widespread downside.
But for those who personal a hex nut driver in the correct measurement, you’ll be able to keep away from that point and irritation. Before you mount the motherboard, slip it over the standoffs and guarantee every one is firmly connected to the case. No must overtighten, both; only a bit previous when the standoff first hits the metallic of the case. Too a lot and also you threat stripping the screw threads on the standoffs.
Think a spinning standoff won’t ever occur to you? Readjustments can come up throughout constructing. Also, later upkeep in your system might require it. Believe us, nothing stokes deep rage like when a standoff will get caught as you attempt to take away a mobo for an RMA return.
Some instances include an adjunct—a small metallic piece suitable with a Phillips #2 screwdriver—that fulfills this similar position, however not all do. You may additionally have a bit like this in a screwdriver equipment you already personal or shall be shopping for (search for the M5 measurement).
If neither apply to you, you should buy a standalone 5mm hex nut driverRemove non-product link. It will work with the 2 most typical sizes of standoffs, although the smaller measurement shall be a tad free. (For an ideal match, additionally buy a 3/16-inch hex nut driverRemove non-product link.) You might wish to seize these no matter what you already personal, because the bigger grip on a standalone hex nut driver makes tightening or loosening the standoff simpler.
Already have a small adjustable wrench in your toolbox? That works too, although it’s extra awkward to maneuver than a hex nut driver.
Flashlight or headlamp
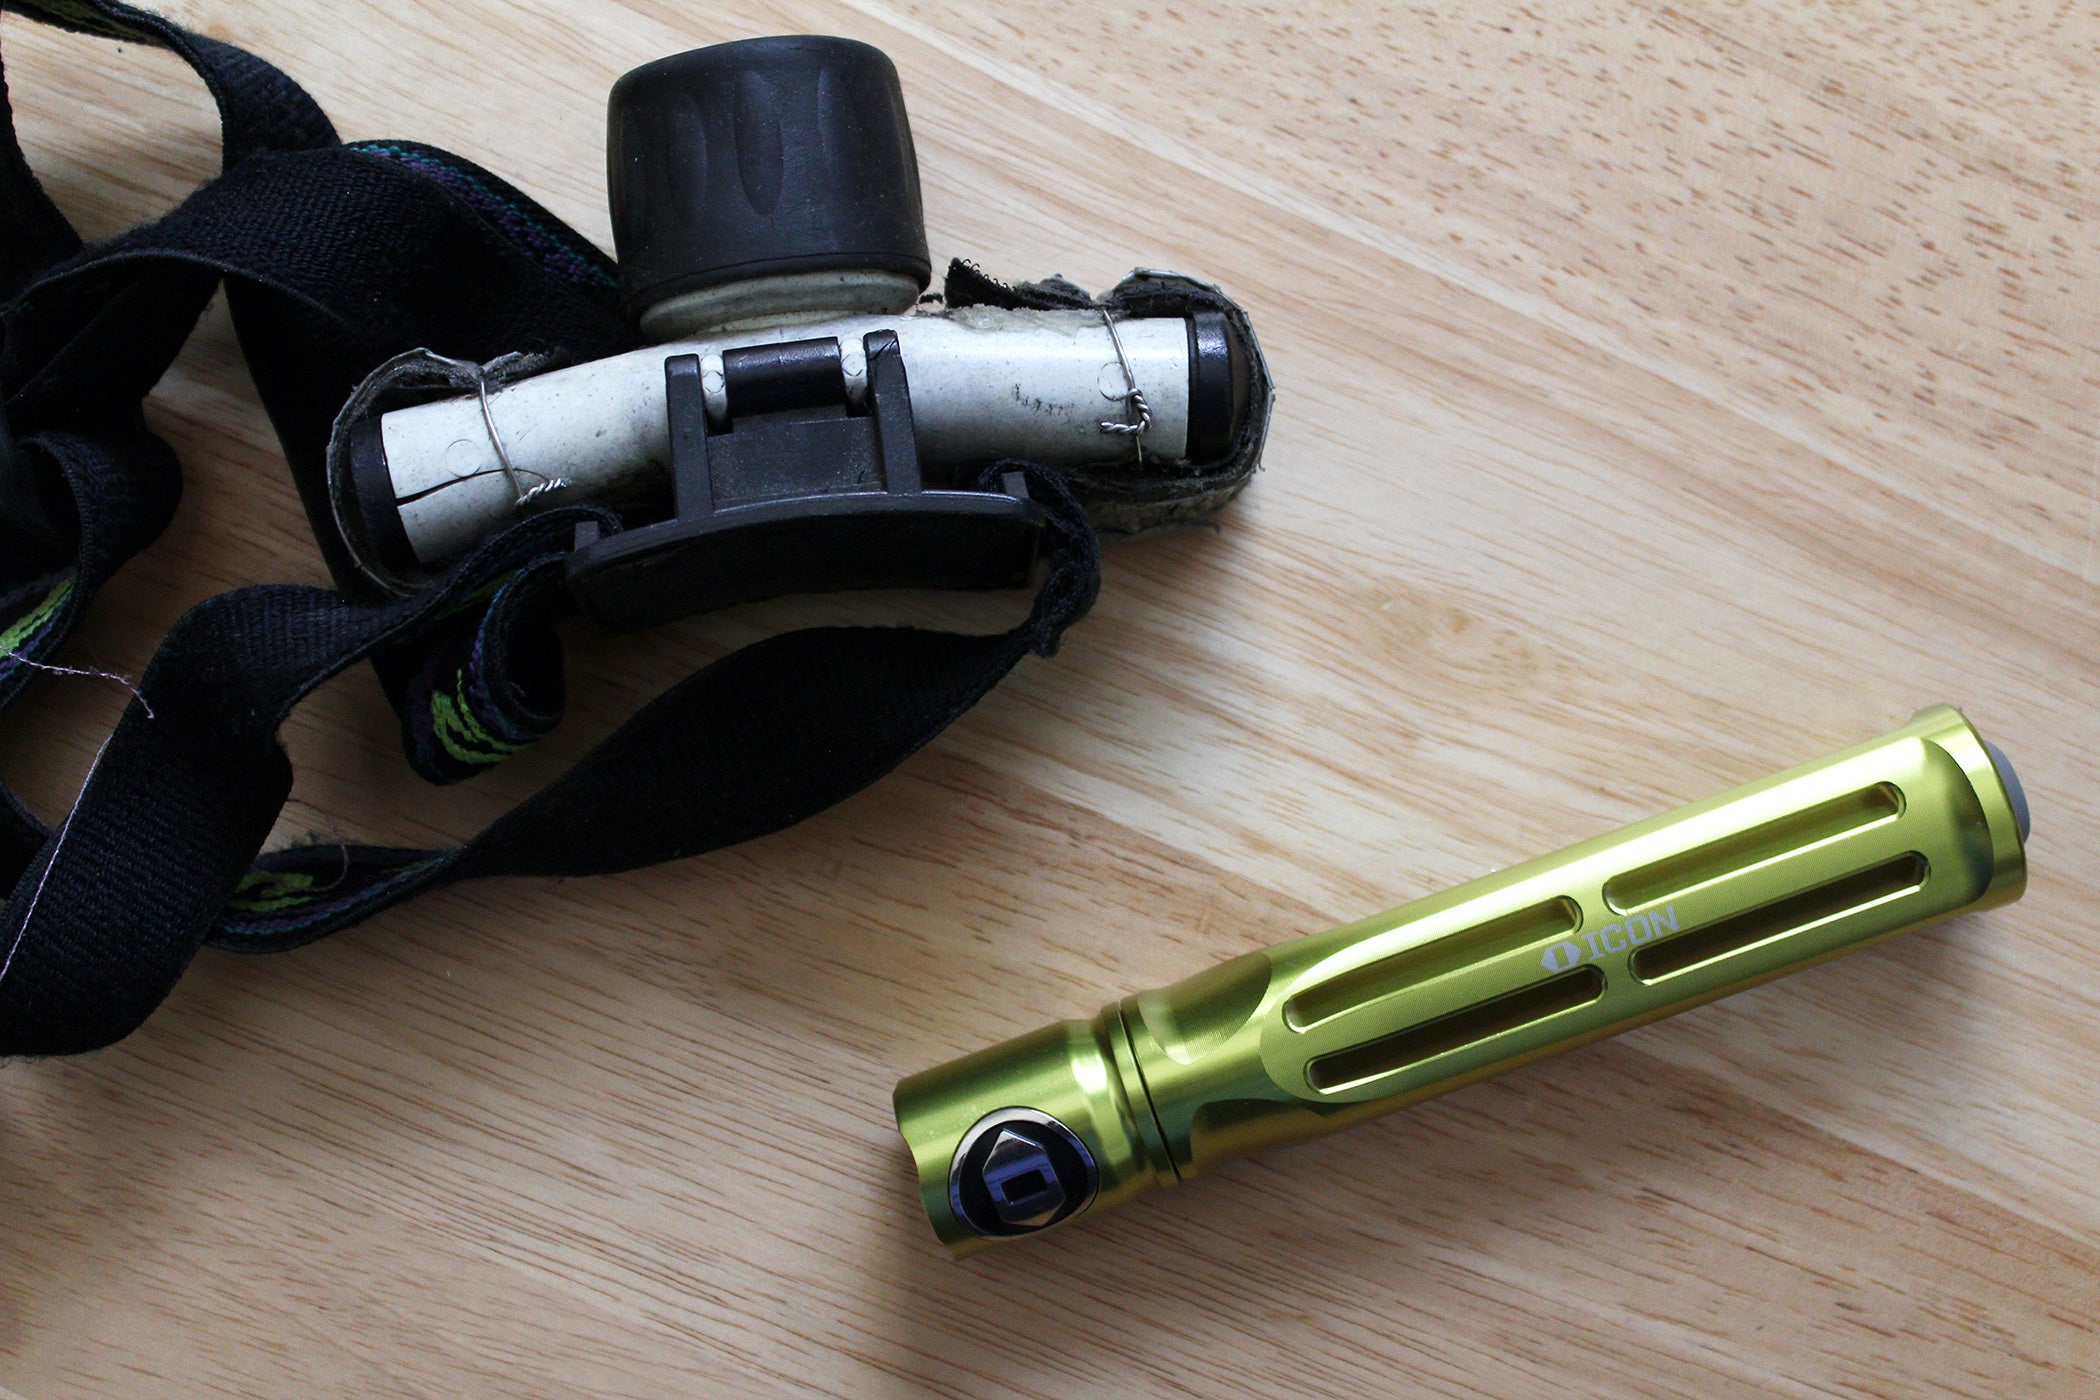
Headlamps require much less juggling to make use of in comparison with a flashlight.
Normal lighting can create shadows that cut back what you’ll be able to see whereas working in a case, particularly if it’s a darkish chassis. A superb flashlight makes clear the place stray screws rolled, the labels on entrance panel pins, and the place that one final screw gap on the mobo is. You can get an affordable tactical flashlightRemove non-product link beginning at about $20.
For the final word in practicality, a headlamp makes working in darkish, tight spots of your case even simpler—because it’s strapped to your brow, you’ll be able to hold working with out interruption. You can get a dependable one for about the identical worth as a pleasant flashlight, with this popular modelRemove non-product link coming in at $20.
Adjustable wrench
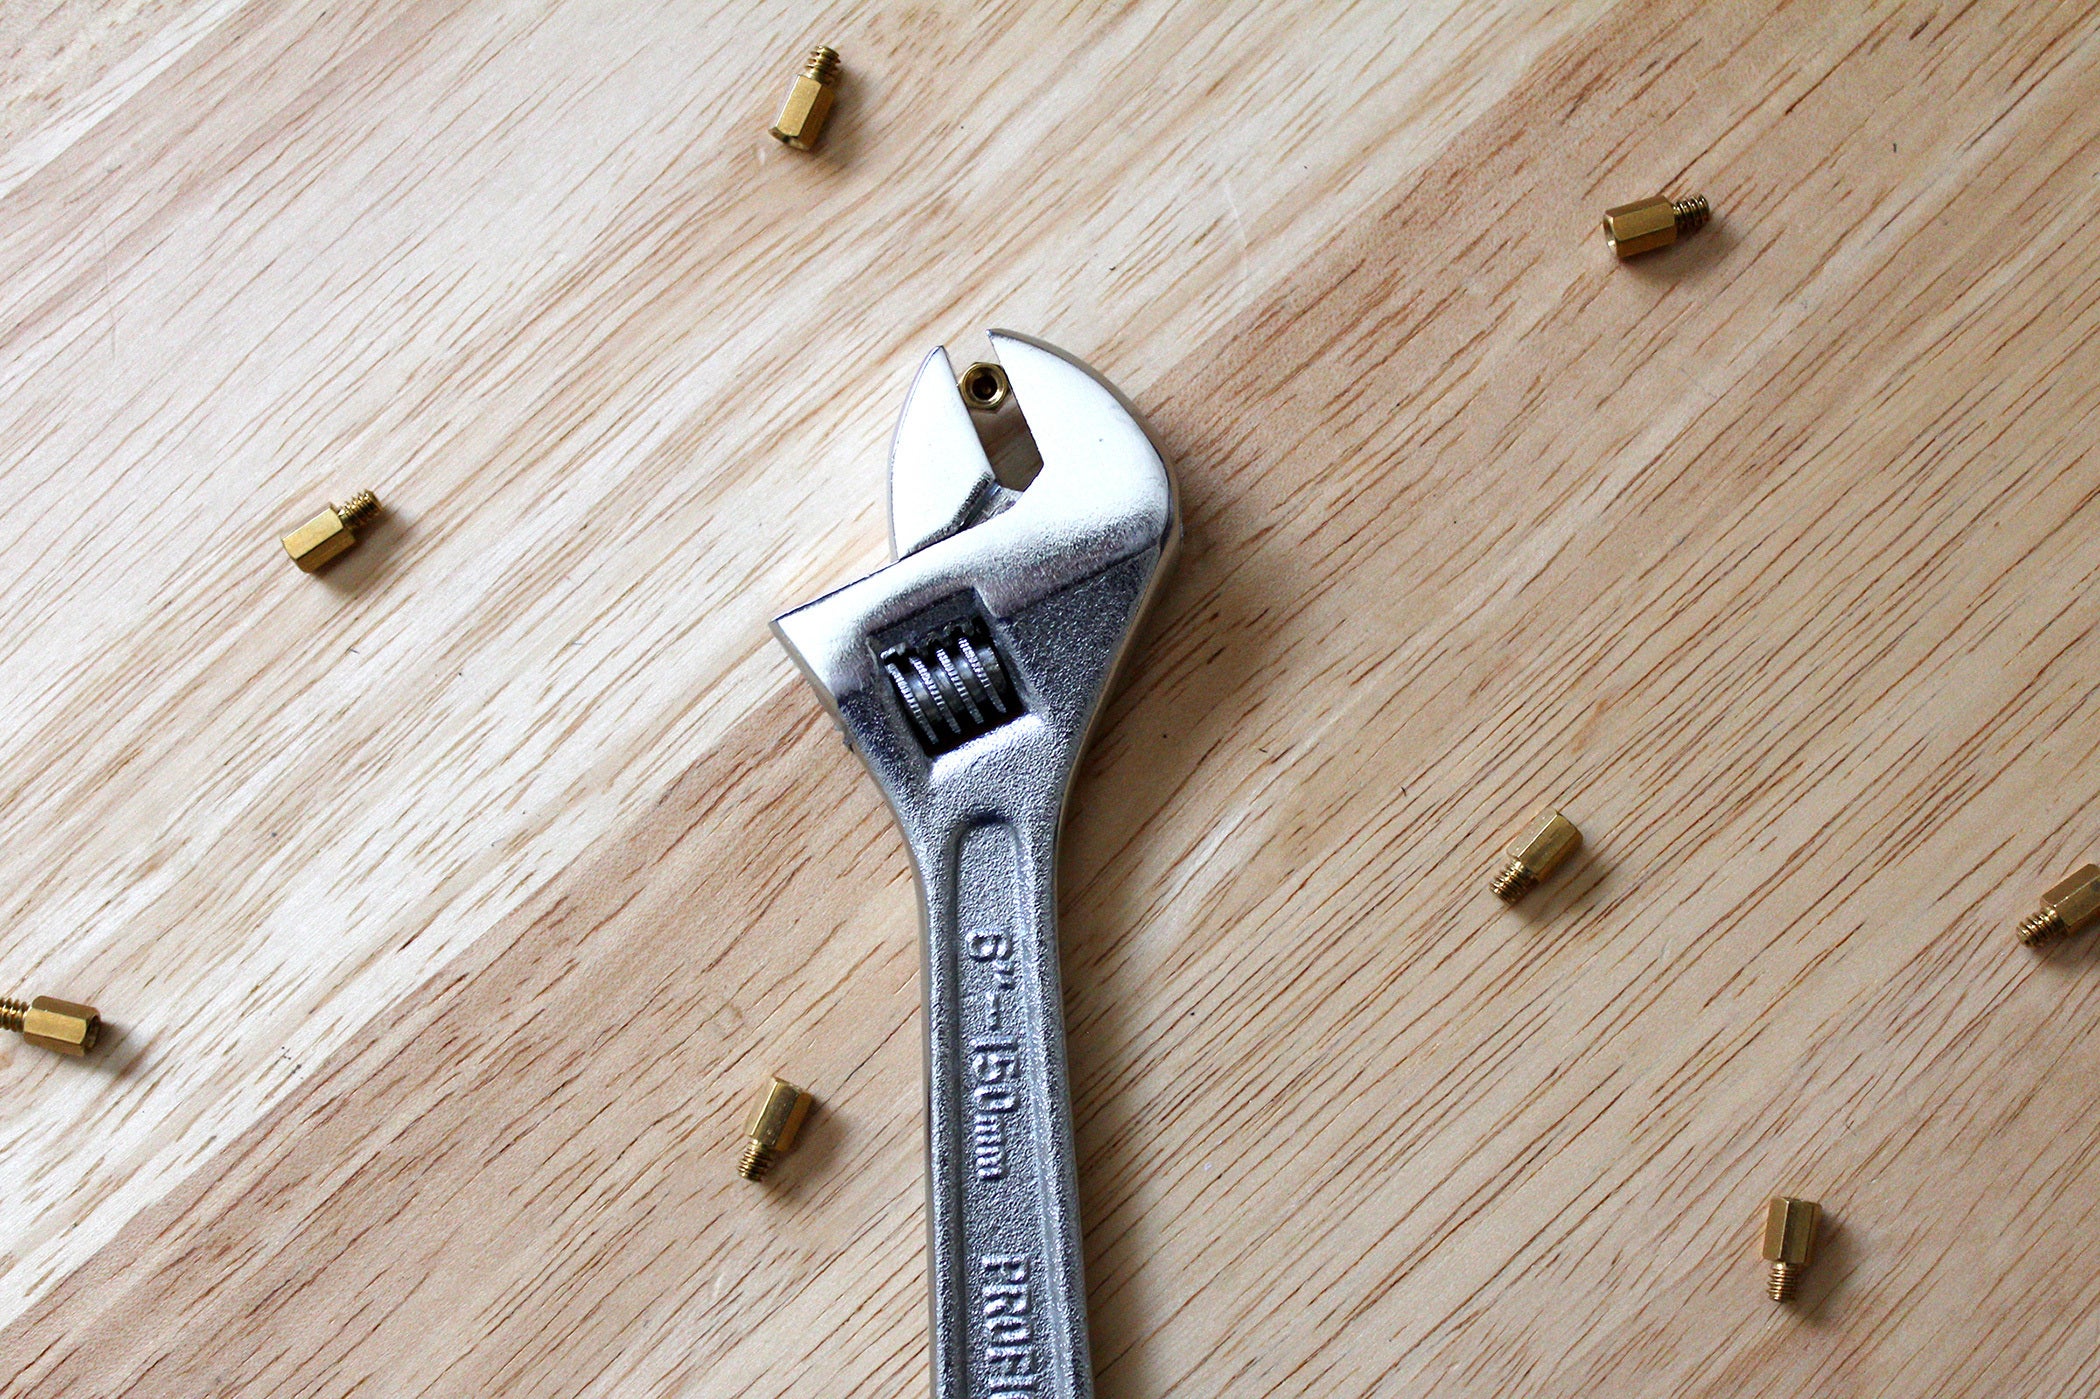
A crescent wrench can fill a twin position in your toolbox: Use it to tighten standoffs previous to motherboard set up, or to assist with releasing one spinning free beneath a mobo.
Every at times, the screw holding your motherboard in place gained’t come free. Instead, the standoff beneath the mobo does, ensuing within the screw and standoff spinning round as an unremovable unit. This is a extra widespread occurance throughout repairs or upgrades, however it might probably additionally occur throughout a construct when undoing a screwup.
To repair this, you’ll want to hold the standoff from transferring whilst you loosen the screw—a job neatly crammed by a small adjustable wrenchRemove non-product link (additionally identified colloquially as a crescent wrench), which could be purchased for beneath $15. Slide it between the motherboard and the case, then clamp it down on the standoff. Then maintain that pesky standoff in place to take out the screw.
An adjustable wrench may also be used to tighten standoffs earlier than you put in a motherboard, for those who don’t have a hex nut driver readily available.
For coping with free standoffs, get an adjustable wrench with a slender head, like these 4-inchRemove non-product link and 6-inch Channellock modelsRemove non-product link. (Splurge model: This pocket-sized option with an extremely slim head.) Don’t wish to spend that a lot? You can get away with this cheap 6-inch Stanley wrench as a preventative measure. Use it to make sure that the standoffs are tightened down correctly earlier than putting in a motherboard.
An adjustable wrench is right because it leaves no marks on a standoff after extraction, however each state of affairs with a spinning standoff leaves a special quantity of room to work in. If you’ll be able to’t maneuver one into place, attempt the subsequent merchandise on this record: a hemostat.
Hemostat
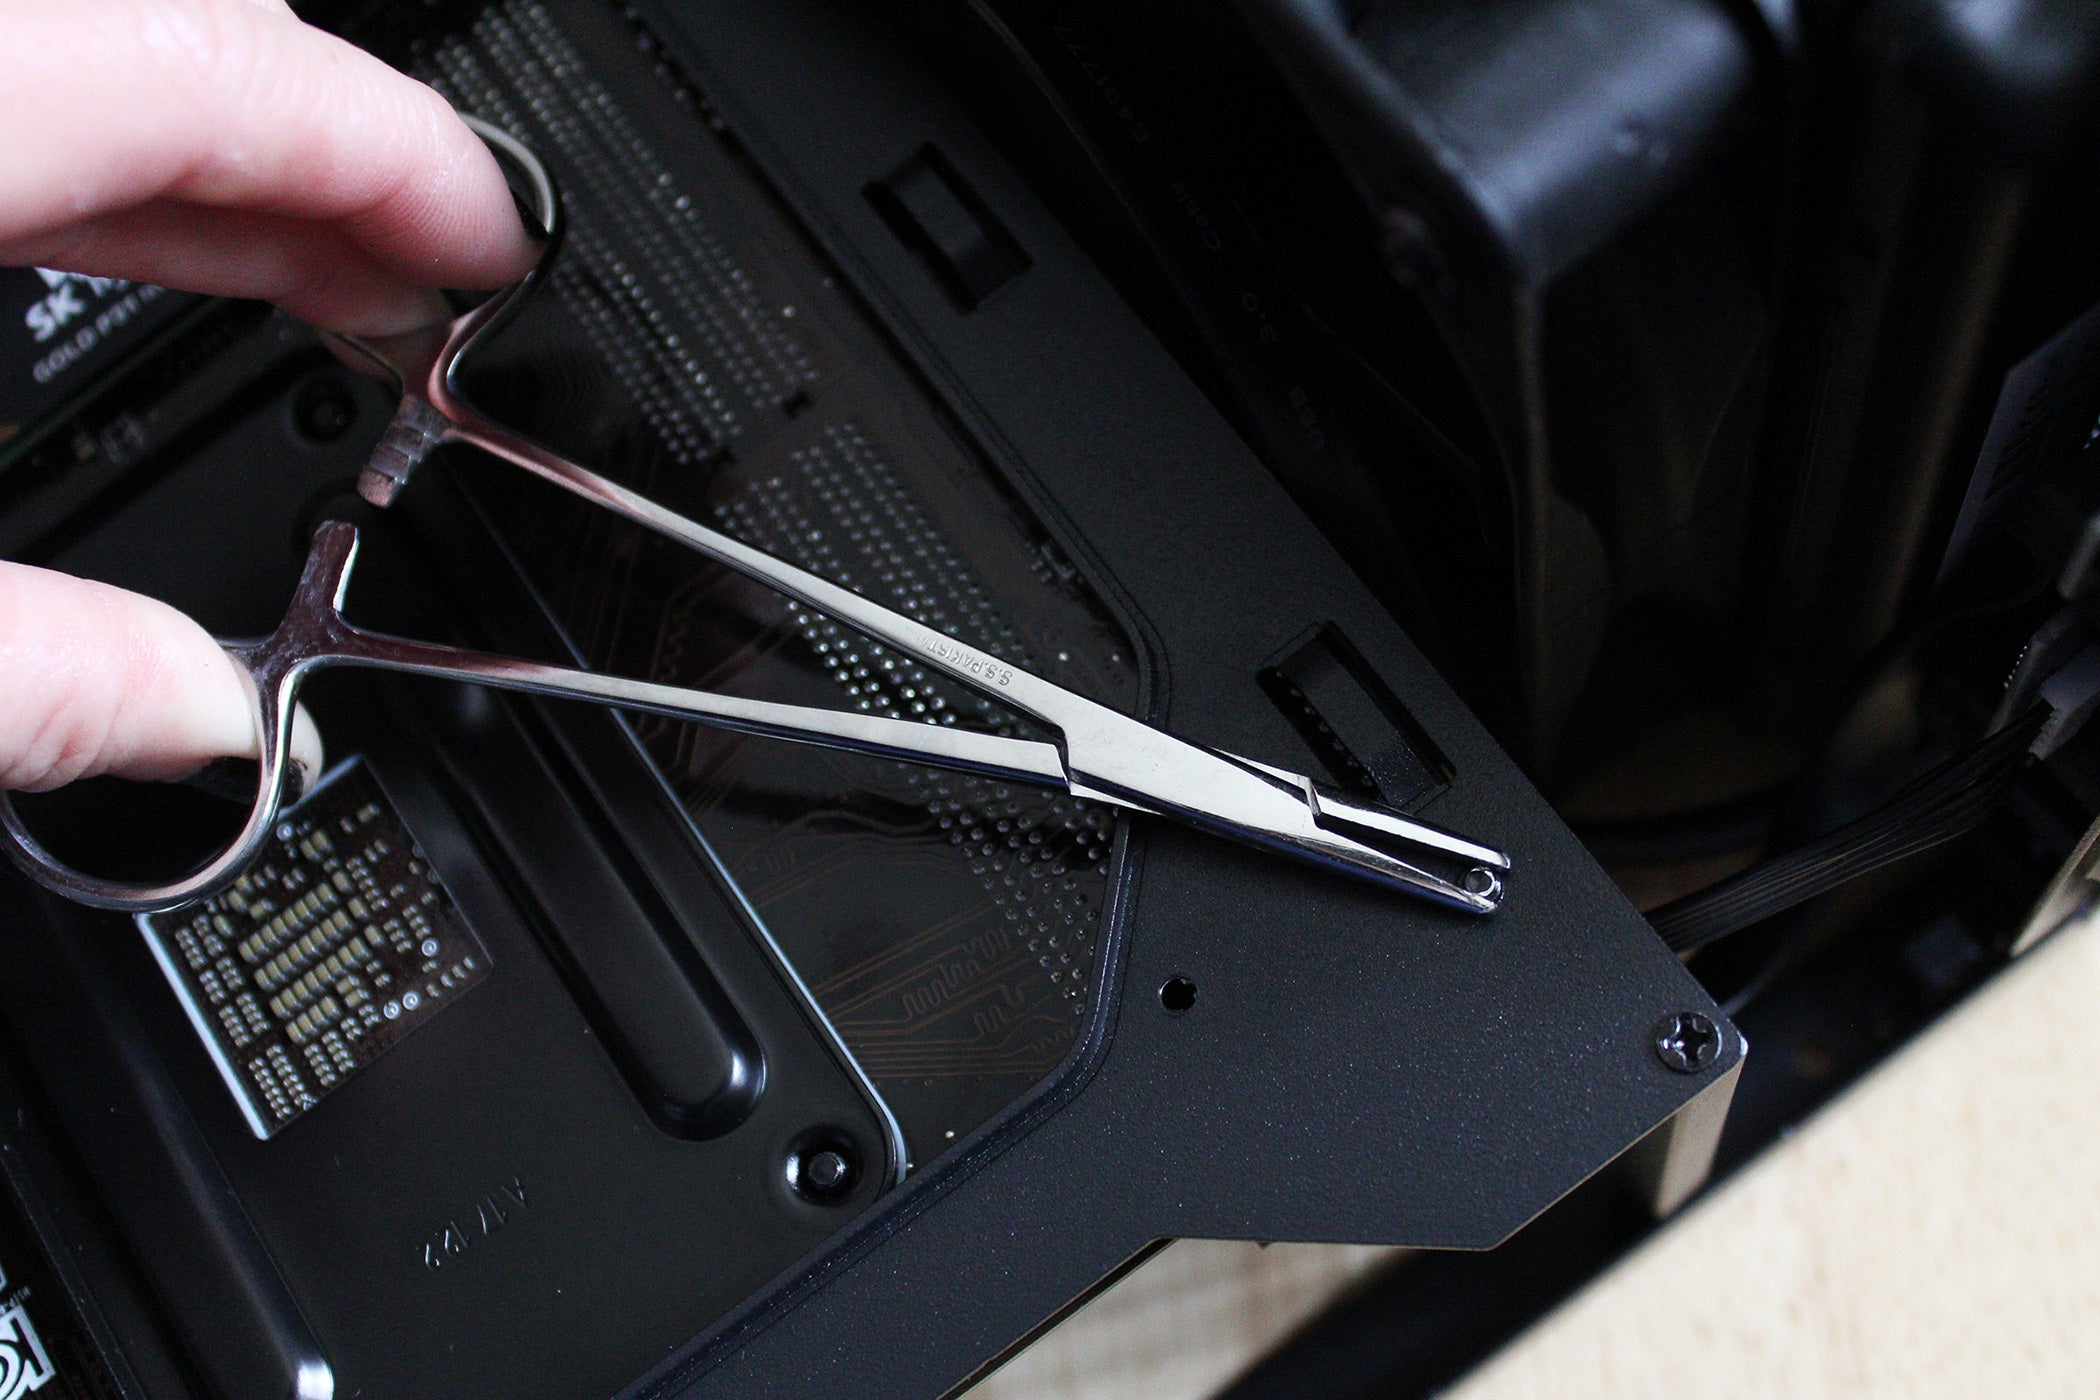
A hemostat clamped onto the again of a motherboard standoff. To replicate this, screw the free standoff again into the case to have as many threads as potential to grip.
When you’re confronted with a hard-to-reach standoff trapped beneath a motherboard, a hemostatRemove non-product link will help you out of that jam. These locking forceps are slender and needle-nosed—superb for getting beneath the motherboard when there’s restricted room. You can typically even clamp onto the standoff’s screw threads poking out the again of the motherboard tray. Adding one to your lineup gained’t value a lot, both, because it’ll run about $5.
Using a hemostat is easy: Get the jaws across the standoff, then squeeze the handles to lock it. (Note: Most hemostats have enamel that may scratch up your standoff’s end. To keep away from this consequence, wedge a part of a rubber band between it and the standoff each time potential.)
As a reminder, you’ll barely ever want this software for those who be sure your case’s standoff screws are firmly seated earlier than putting in a motherboard. Use a hex nut driver or an adjustable wrench to tighten them only a bit previous when the standoff first bottoms out. (Don’t go too loopy—overtightening can create its personal issues, i.e., stripped screw threads.)
A hemostat additionally is useful for those who go for rubber “screws” for mounting case followers. Just clamp onto one finish to keep up your grip whereas tugging it by the fan.
Flathead screwdriver

A slotted screwdriver will help you push in cussed plastic clips.
You can’t at all times predict when a case sports activities a entrance panel held in place by cussed plastic clips—a lot much less ones situated in hard-to-reach locations. A flathead screwdriver will help you push them in to launch. A standard driver with a longer neckRemove non-product link is right, since it should match into tight spots extra simply. For measurement, a 1/4- or 3/8-inch head and an 8-inch neck ought to work.
Note that these can dent and scratch the plastic for those who apply them immediately. You can put a little bit of protecting materials (a little bit of rubber band or a cotton ball) between the screwdriver head and the plastic earlier than levering away.
Rubber bands
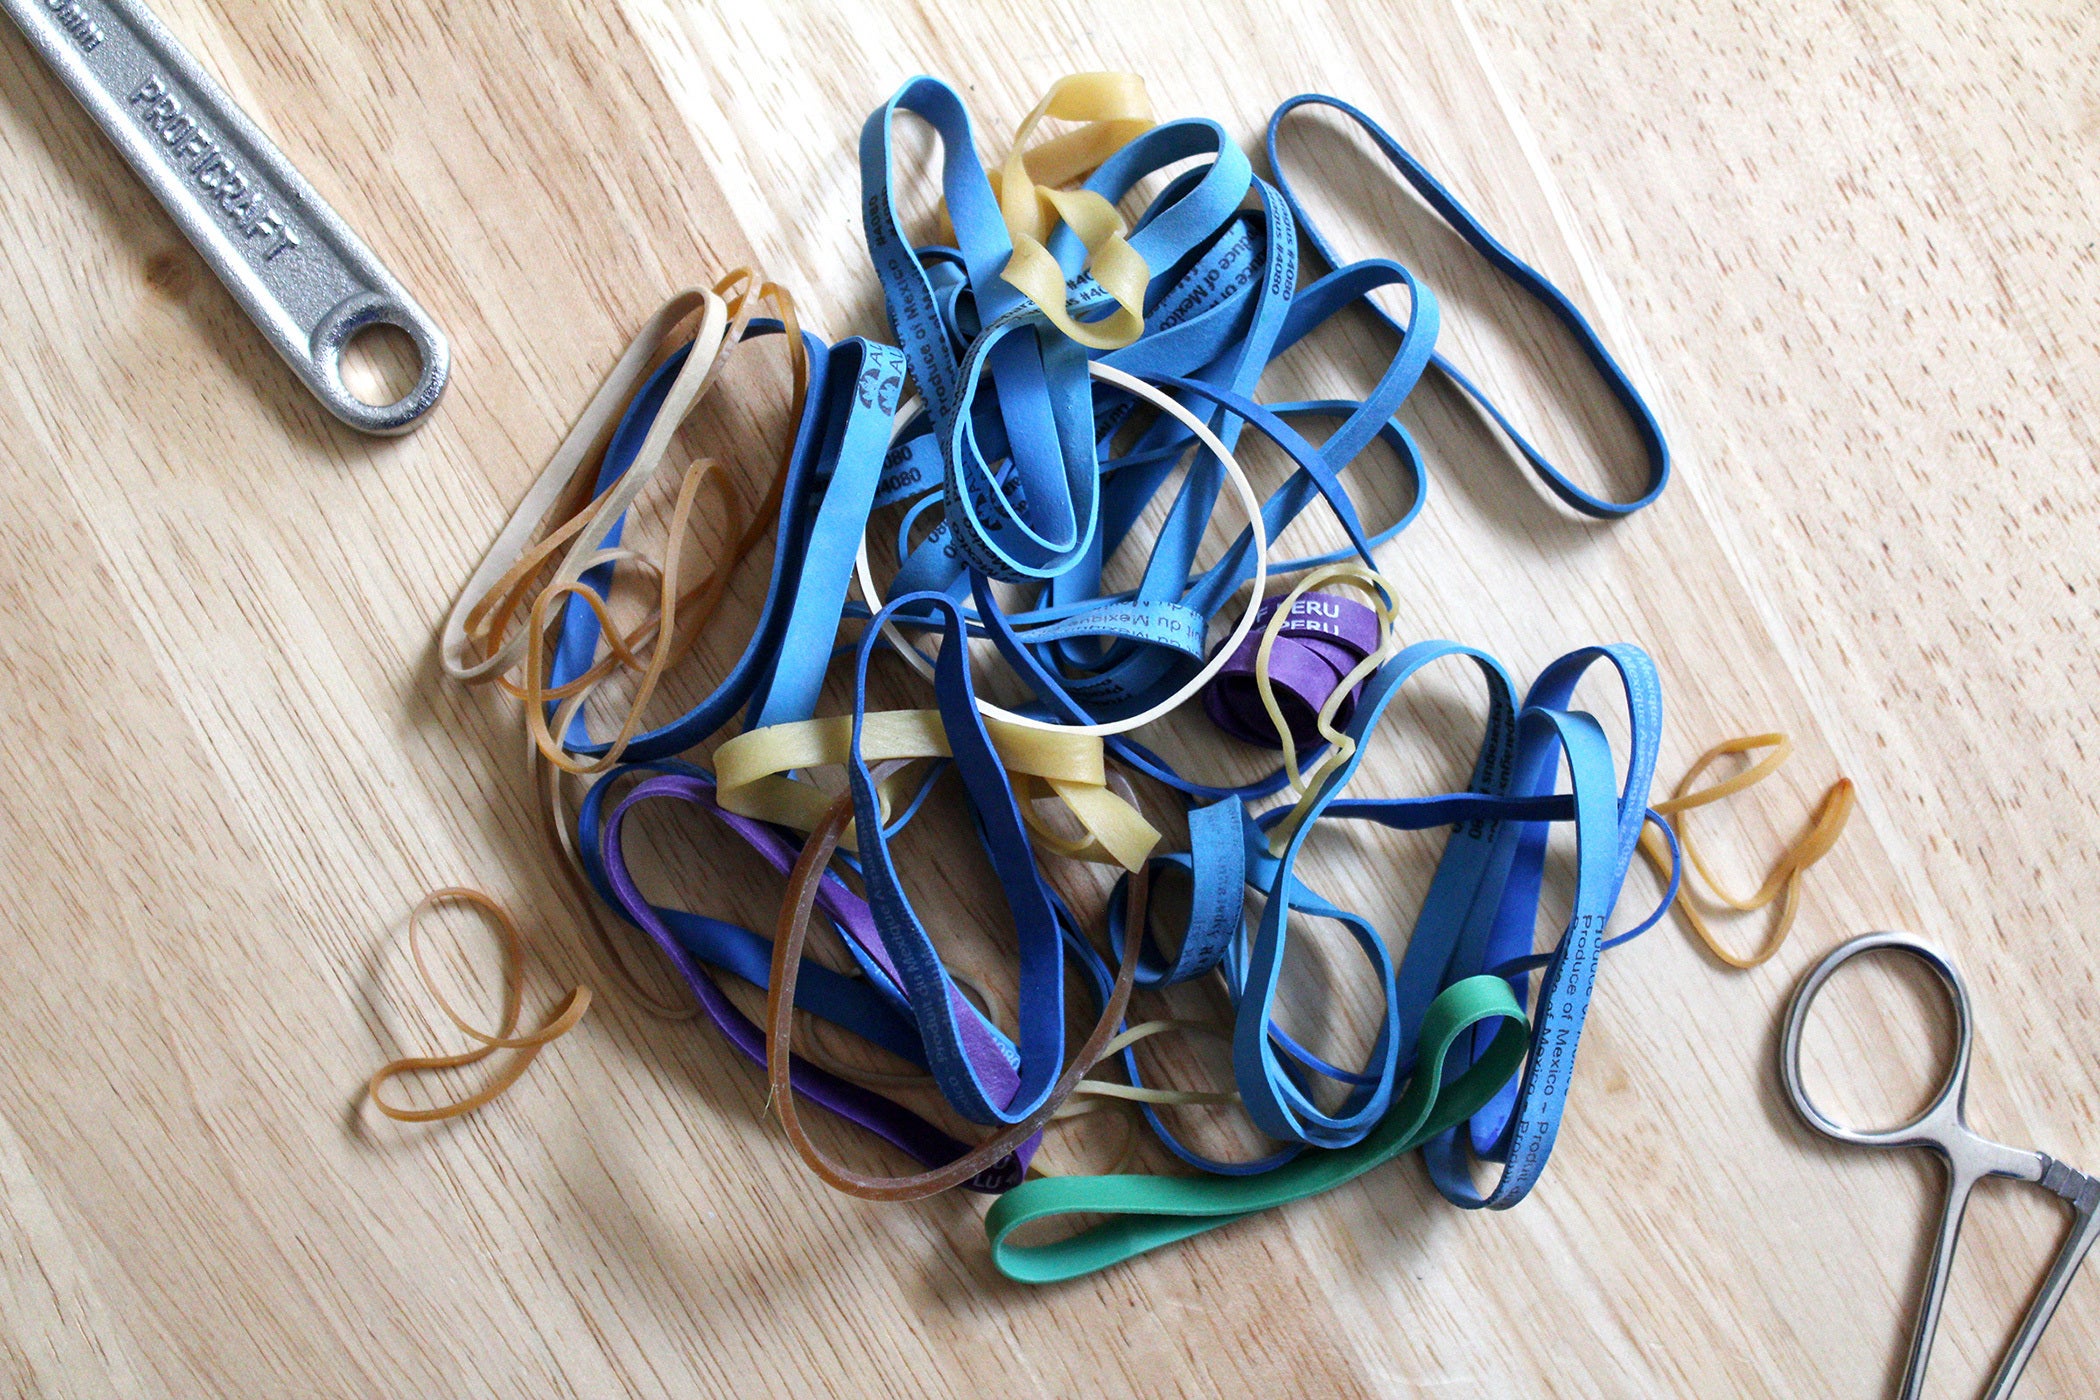
Eat out so much? You in all probability have already got tons of those in your kitchen’s junk drawer in numerous sizes.
Small rubber bandsRemove non-product link can defend paint from the tough enamel on pliers and hemostats, function a poor particular person’s substite for Velcro ties, and add additional grip in tight conditions (like for those who want extra traction on a barely stripped screw head). In a pinch, a few these could make it simpler to slip aspect panels off of instances too, you probably have slippery fingers. (Upgrade model for coping with aspect panels: a rubber jar openerRemove non-product link, which is simpler for large fingers to carry in place.)
Vise grip
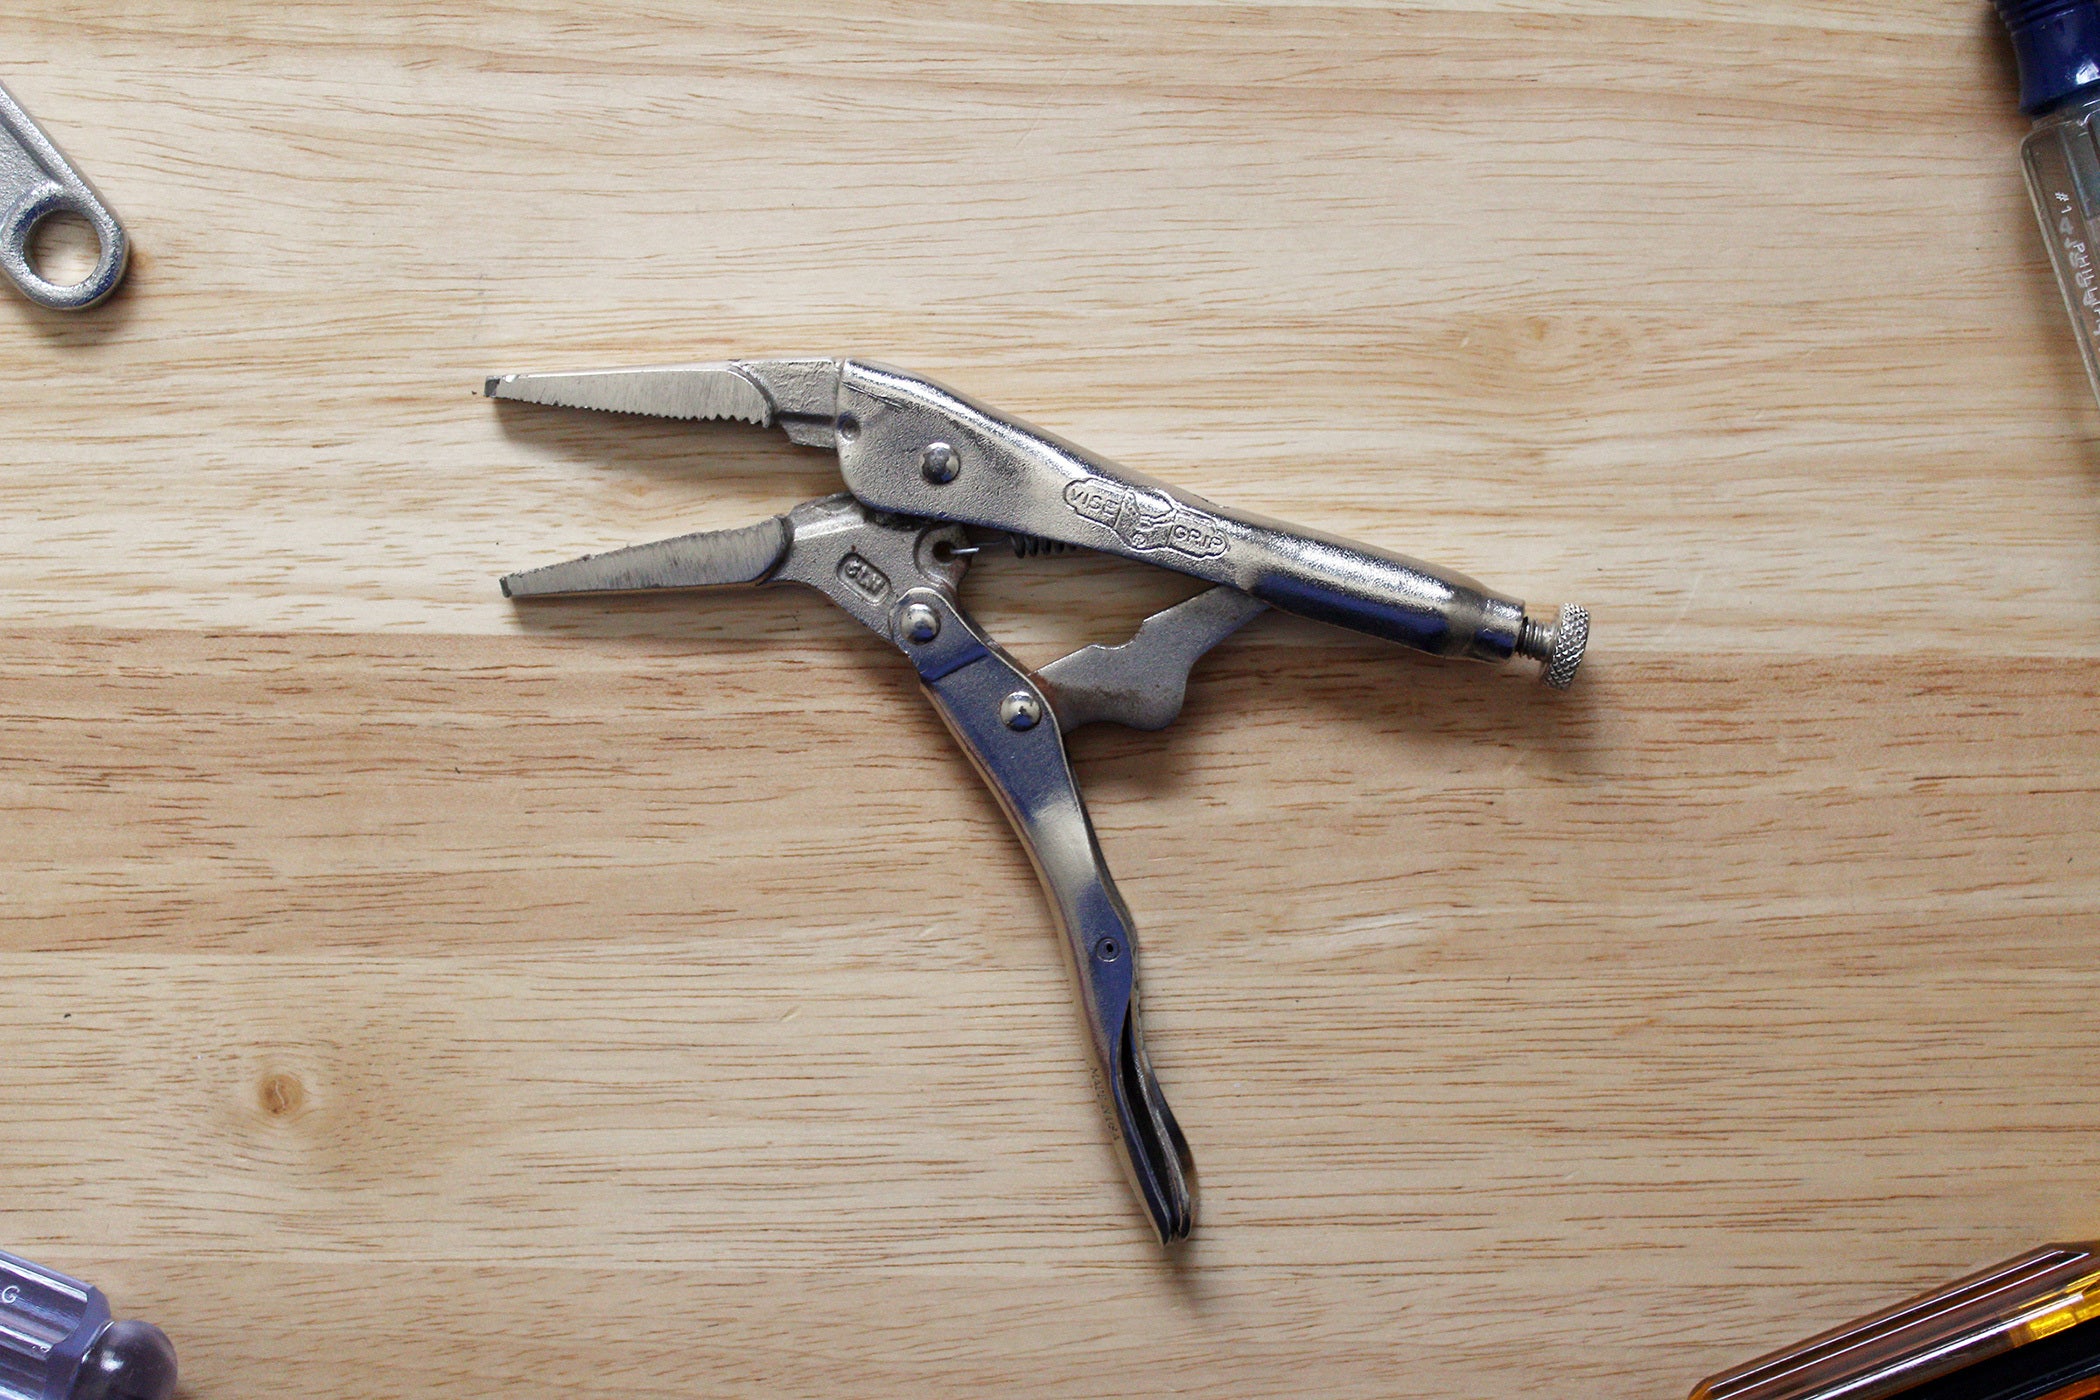
A vise grip will help with screw extraction when a screw head is stripped.
Stripped a screw head? You can extract the screw out of your construct through the use of a vise grip if a hemostat doesn’t generate sufficient torque. Clamp the jaws of those locking pliers across the screw head, then begin turning. (Be conscious of what else is within the neighborhood, as these are a bit cumbersome.) You can normally decide up a 6-inch vise gripRemove non-product link for beneath $15.
Also like a hemostat, you need to use a vise grip to assist with using rubber “screws” for mounting case followers. Lock onto one finish to keep up your grip whereas yanking it by the fan.