
Your pc monitor is a significant factor in deciding how good Windows will look in your PC. Indeed, even when your PC stays precisely the identical, including a higher-resolution monitor or a bigger show could make a world of distinction. To get essentially the most out of your show, it’s necessary to acquaint your self along with your monitor’s onboard settings and calibrate it correctly. Equally necessary, nevertheless, is realizing your Windows 10 Display settings, and what all of your changes will do.
In this text, we’re going to take a look at every thing you are able to do to regulate your show in Windows 10. To play alongside, open the management panel and click on the settings cog to open the Settings app. You can even hit the Windows Key + I. Next, click on on System > Display. Now let’s dive in.
Settings > System > Display > Color
There’s just one choice on this first part, and that’s for the Night gentle. The night time gentle is meant to filter the quantity of blue gentle emanating out of your show thereby permitting you to sleep higher whereas nonetheless utilizing your PC late at night time. We received’t get into the arguments for or towards this proposition, however if you wish to use this feature that is the place it’s.
IDG
There is a straightforward slider to show the night time gentle on or off. There’s additionally a Night gentle settings hyperlink beneath the slider. Clicking this can take you to a second display screen the place you may activate the night time gentle by clicking Turn on now. Below that could be a slider that permits you to alter the “strength” of the night time gentle. Turning it up reduces the quantity of blue within the monitor and maxing it out offers the monitor a pink filter. Turning all of it the way in which down returns your monitor to its regular state. By default the night time gentle energy is ready to round 50 %.
Finally, this second display screen has a Schedule choice. Flipping that slider button to On will allow you to customise the hours that the night time gentle is energetic. By default, it’s mechanically scheduled to be on from sundown to dawn primarily based in your location.
Otherwise, you may set your individual hours by deciding on the Set hours radio button. This offers you two easy choices: Turn on, the place you may set the time utilizing AM/PM; after which Turn off, utilizing the identical interface.
To return to the primary web page of Settings > System hit the again button within the upper-left nook.
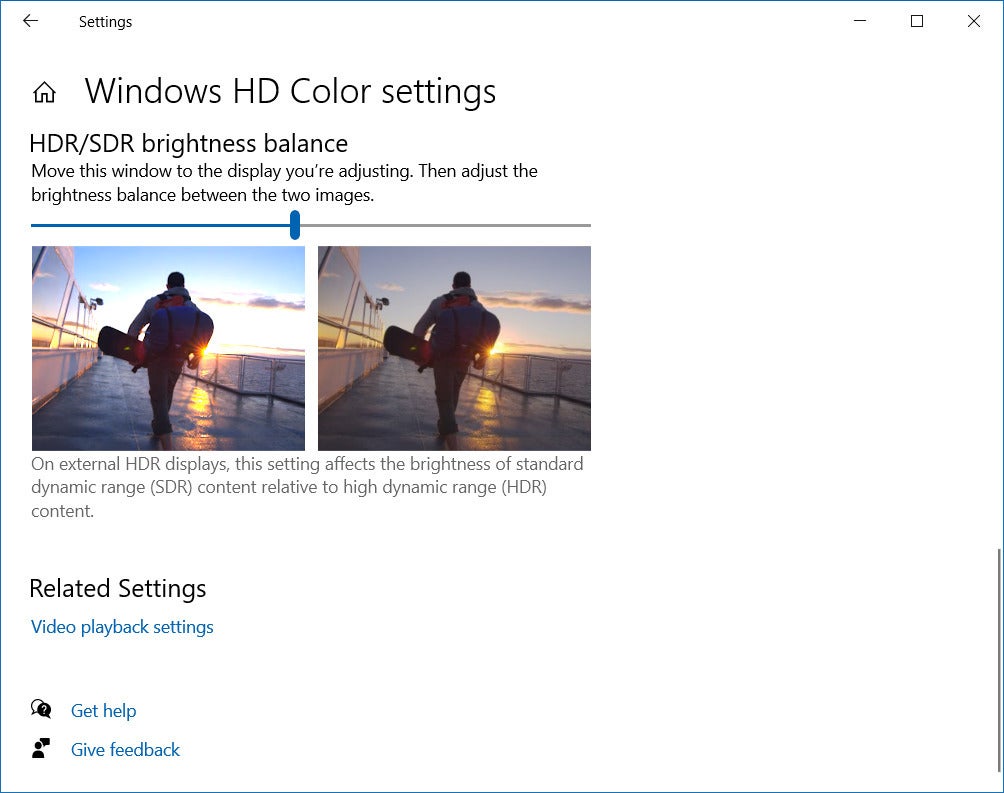
Settings > System > Display > Windows HD Color
If you’ve gotten an HDR monitor that is the place you may make changes to your show. First, it’s best to see a slider button labeled Use HDR. Turn that on. If you don’t see this slider then you definitely most likely need to allow HDR in your monitor’s onboard settings. How you try this is determined by your monitor’s producer, so seek the advice of your handbook for directions on how one can activate HDR.
Once HDR is activated in your monitor, click on the hyperlink Windows HD Color settings. This takes you to a second web page with various choices that solely seem when HDR is energetic.
IDG
At the highest is a drop-down menu to change between shows when you’ve got a multi-monitor setup. Then it exhibits a abstract of your HDR choices and what’s energetic. These embrace Stream HDR video, Use HDR, and Use WCG apps.
Then you’ve gotten the Use HDR slider button, after which one other slider button that claims Stream HDR video. When accessible you may play streaming HDR video.
Next we have now a preview video that provides you a way of what HDR video will appear like along with your present settings.
Then there’s an HDR/SDR brightness steadiness choice. This is one other slider that permits you to steadiness the brightness between the 2 pictures. Adjust this slider till you just like the seems to be of each pictures.
If you need an in-depth have a look at how one can maximize your monitor’s HDR potential, try our tutorials on How to enable HDR in Windows 10 and Everything you need to know about HDR on your PC.
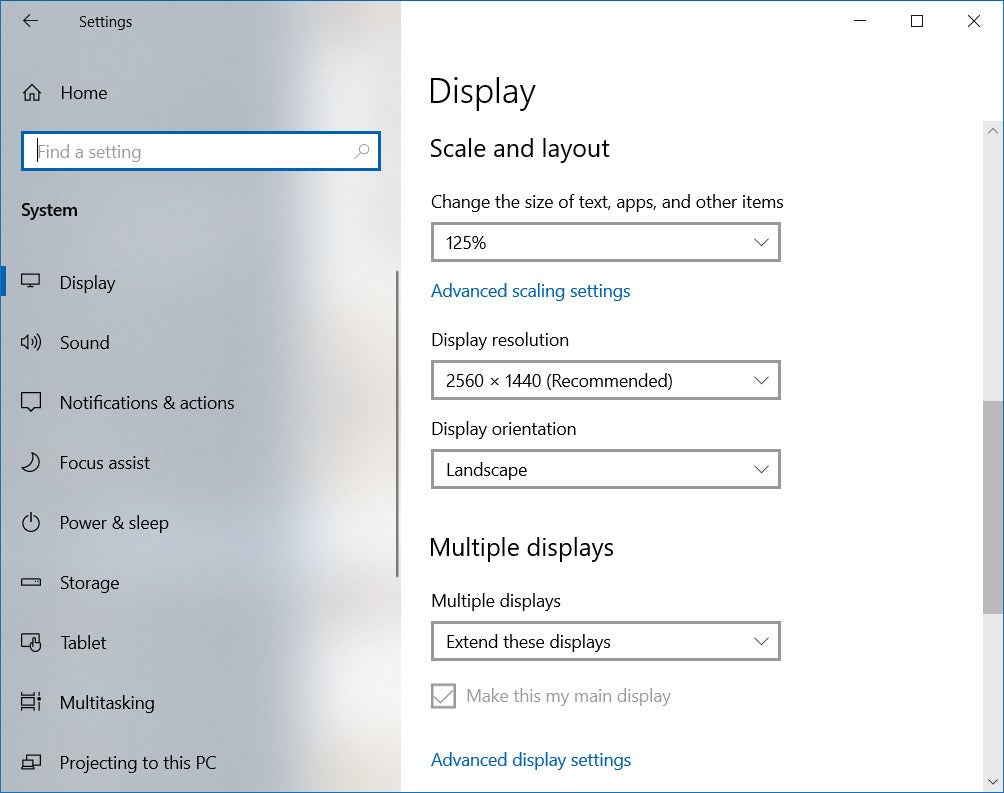
Settings > System > Display > Scale and structure
This is the place you may alter your show’s decision, orientation, and scaling. At the highest is a drop-down menu labeled Change the dimensions of textual content, apps, and different gadgets. We advocate utilizing no less than 125 % scaling on 1080p show resolutions and better to make it simpler in your eyes, however discover the scaling that works finest for you.
IDG
If you desire a scaling that’s between the presets click on Advanced scaling settings. On the subsequent display screen you’ll see an choice for Custom scaling the place you may enter something between 100 and 500 %. Custom scaling isn’t really helpful as it will possibly actually mess issues up. If you want it, nevertheless, it’s right here.
At the highest of this display screen there’s additionally a slider button to permit Windows to attempt to repair apps from being blurry, which might generally occur with scaling. Overall, nevertheless, Windows 10’s scaling presets work very properly.
Going again to the first Settings > System > Display window, there are additionally choices for setting your show decision. This ought to virtually all the time be set to your show’s native decision. Then beneath that’s the show orientation for panorama and portrait mode choices—panorama is the default.
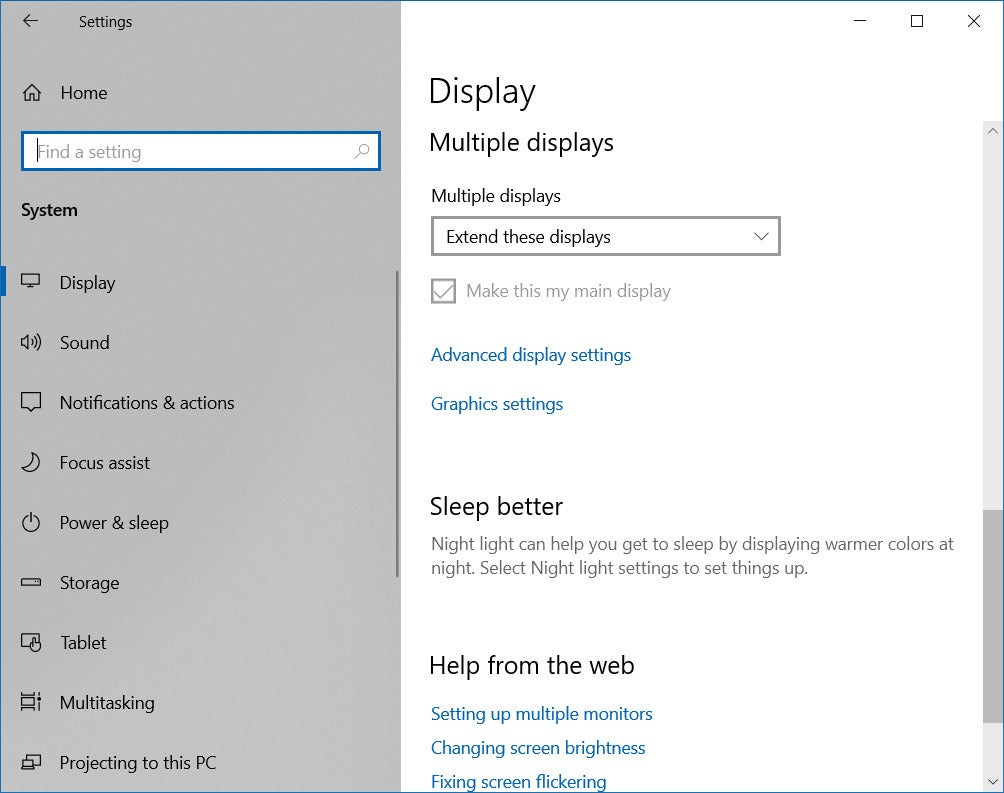
Settings > System > Display > Multiple shows
Finally, we’re on the final choice the place you may arrange a number of screens. If you’re utilizing an older show along with your PC it will not be detected mechanically. If that’s the case, click on the Detect button. Otherwise, you’ll see a drop-down menu labeled Multiple shows. The default is to make use of the Extend these shows choice, which helps you to use each shows as one large desktop. That manner when shifting the mouse throughout the desktop (to the left or proper) the mouse strikes to the second show mechanically.
IDG
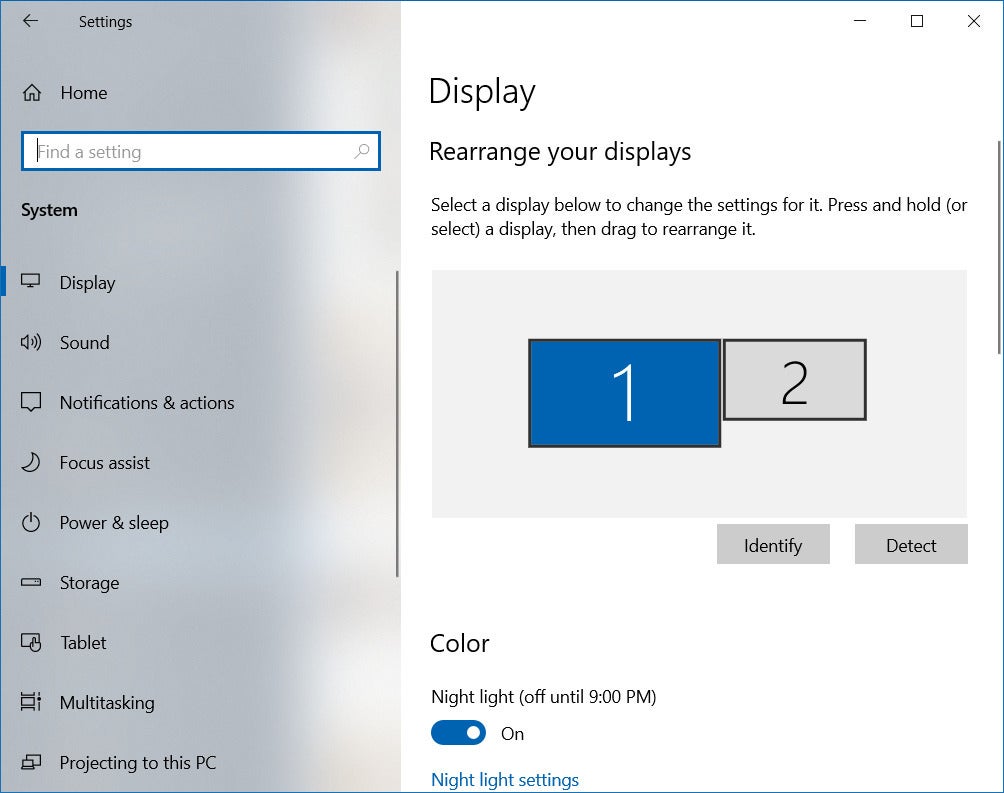
You can even select Duplicate these shows, which might be useful if you wish to present one show to a gaggle and navigate on the laptop computer display screen dealing with you. Then there’s Show solely on 1 and Show solely on 2, which can solely present Windows on the first show (1) or the secondary show (2).
If you do have a multi-monitor setup, Windows 10 will mechanically show on the prime of the Settings > System > Display display screen a graphic displaying the variety of screens Windows 10 detects. Here, you may rearrange the place your screens are in bodily area by clicking and dragging the screens round. There are additionally Identify and Detect buttons that can assist you manage your screens.
IDG
Returning to the a number of shows part, there’s a hyperlink labeled Advanced show settings. This takes you to a second web page the place you may view the attributes for every monitor. At the highest is a drop-down menu itemizing your shows.
Then there’s a Display info choice that exhibits numerous attributes together with decision, refresh fee, bit depth, coloration format, and coloration area. If you have to alter any of those attributes, click on the hyperlink beneath Display info labeled Display adapter properties for Display 1. This will change relying on which of your shows you’re at the moment set to view settings for. If, for instance, you switched to view the settings of your secondary monitor then the hyperlink would say Display adapter properties for Display 2
Clicking that hyperlink will open a properties window the place you may set the utmost refresh fee, alter monitor properties, and alter coloration administration settings.
Finally, there’s one other drop-down menu the place you may alter the refresh fee.
Going again to the first window for Settings > System > Display > Multiple shows there’s additionally a hyperlink labeled Graphics settings. This opens one other secondary web page the place you may activate the choice to make use of a variable refresh fee (FreeSync) if accessible, and a Graphics efficiency choice preset. This helps you to set preferences on a per-app foundation. You can, for instance, select to have your video games explicitly set to excessive efficiency, and go for energy saving efficiency for internet shopping.
For essentially the most half, it’s finest to let Windows select mechanically between excessive efficiency and energy saving; nevertheless, you may explicitly set sure apps if you wish to.
That’s it for our tour of the default show settings constructed into Windows 10. Next up is sound, notifications, and focus help.
Ian is an impartial author primarily based in Israel who has by no means met a tech topic he did not like. He primarily covers Windows, PC and gaming {hardware}, video and music streaming providers, social networks, and browsers. When he is not protecting the information he is engaged on how-to ideas for PC customers, or tuning his eGPU setup.