
No one who assembles a PC or units up a brand new laptop can keep away from the BIOS or UEFI. That’s the place you outline the fundamentals, from the boot sequence and reminiscence profiles to safety features like Secure Boot.
Modern UEFI interfaces are graphical, might be operated utilizing a mouse, and are rather more handy than legacy BIOS textual content menus… however they will nonetheless be daunting for first-time customers.
If you’re reluctant to dive into your PC’s BIOS/UEFI, haven’t any concern! These ideas will get you acquainted and cozy very quickly.
How as well into BIOS/UEFI settings
Mark Hachman / Foundry
In order as well into BIOS/UEFI, you must press a key (or a mix of keys) throughout the startup course of. If you aren’t fast sufficient, or when you press the flawed keys, you’ll find yourself in Windows.
The precise key(s) you could press rely in your motherboard’s producer, however most of them use one of many following standardized keys: Delete, F2, F10, or F12. The right key’s usually displayed on the display screen for a short second with the motherboard emblem, and it’s greatest to press the important thing a number of occasions as quickly as you see it.
However, there’s additionally an alternate manner in Windows 11: open Settings > System > Recovery, scroll right down to the Recovery choices and search for “Advanced startup,” then click on the button labeled Restart now. There you possibly can straight name up the UEFI firmware settings.
Step 1: Update your BIOS/UEFI
Before you even begin fine-tuning, it is best to replace your BIOS/UEFI to the most recent model. New variations usually carry higher RAM compatibility, prolong CPU assist, and/or repair safety vulnerabilities.
Download the replace from the producer’s web site. (Pay consideration to the precise mannequin of your motherboard.) It will often come as a ZIP file, which you’ll unzip and duplicate to a USB flash drive. Then, it is best to be capable of discover the replace operate within the BIOS beneath “EZ Flash,” “M-Flash,” or related. (If you possibly can’t discover it, run an internet seek for directions on easy methods to replace your explicit motherboard.)
Important: Make positive your PC doesn’t crash, restart, or shut down throughout a BIOS/UEFI replace. Also, chorus from experimenting with overclocking or unstable energy provides whereas updating. Also, keep away from the replace if there’s an impending thunderstorm or if there are identified energy fluctuations affecting your space/home.
Step 2: Set language and interface
Many trendy UEFI menus provide a graphical view, and a few of them even allow you to work together utilizing mouse controls. You’ll often discover the language setting straight in the primary menu or beneath a tab labeled “General Settings.” Always change the language first to be able to discover your manner round extra simply later. Some motherboards additionally provide a “Simple view” for rookies and an “Advanced mode” for fine-tuning.
Step 3: Customize the boot sequence
In order to put in Windows on a PC, the PC have to be bootable from a USB flash drive. That means you may need to re-order the boot sequence in order that if the system detects a plugged-in USB drive, it first tries as well off of it earlier than transferring on to the interior SSD (for instance).
You can do that within the BIOS/UEFI by navigating to the suitable part and dragging the USB flash drive choice to the highest. After Windows is put in, make sure that to alter the order again and choose the Windows Boot Manager or your system laborious drive as the primary boot system.
Tip: If your PC doesn’t reliably acknowledge your USB drive at startup, attempt deactivating “Fastboot Mode.”
Step 4: Optimize working reminiscence
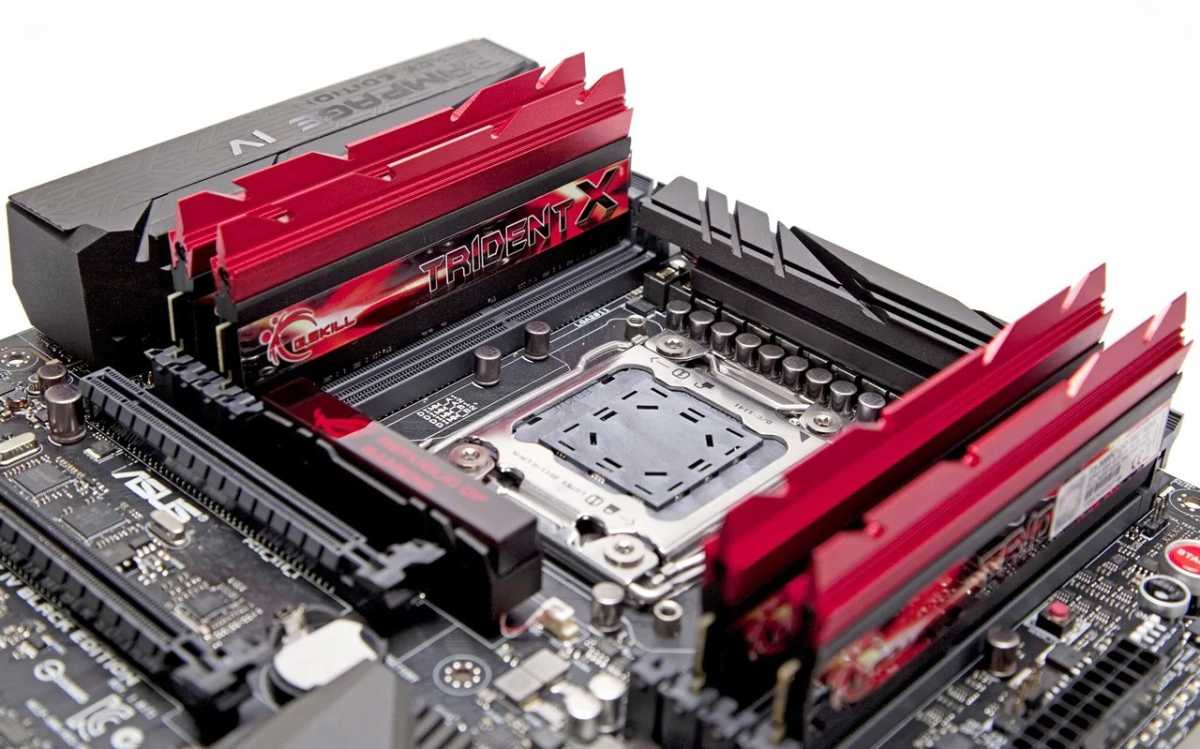
Foundry
By default, RAM usually solely runs at base clock price. Activate the suitable profile within the UEFI—relying on the producer, that is referred to as XMP (Intel), DOCP (Asus/AMD), or EXPO (AMD). This permits your RAM to make the most of the total pace for which it’s designed with out you having to manually overclock. You can often discover this feature on the primary web page of the UEFI menu or beneath a tab corresponding to “AI Tweaker” (for Asus), “OC” (for Gigabyte), or “Advanced Memory Settings.”
Step 5: Set the fan and temperatures
You can regulate fan curves beneath menu gadgets corresponding to “Q-Fan” or “Smart Fan Control,” which lets you decide how loudly or quietly your PC followers run in on a regular basis use. A steeper curve (i.e., quicker at greater temperatures) is beneficial for gaming whereas a flat curve (i.e., stay sluggish even when temperatures rise barely) is extra appropriate for workplace or dwelling server use, making certain peace and quiet.
Step 6: Optimize power and efficiency
Many motherboards provide power-saving options corresponding to “C-States” (reduces the CPU voltage when idle) or “ErP ready” (reduces energy consumption when switched off). If you want extra energy, activate Turbo Boost (Intel) or Precision Boost Overdrive (AMD). The latter ensures greater clock charges, however requires good cooling.
Note: The mixture of power-saving options and aggressive efficiency choices can result in instability on cheaper motherboards. If your PC crashes incessantly after making such adjustments, change Turbo Boost/PBO/C-States off once more as a check.
Step 7: Check safety settings
In order for Windows 11 to be put in, sure safety features have to be energetic within the BIOS/UEFI. If they’re lacking, the setup will likely be canceled and even refuse to begin. The two most essential choices are:
- Enable Secure Boot: Ensures that solely boot loaders signed by Microsoft are loaded. Without Secure Boot, malware might be put in earlier than the working system begins. As a safety measure, Windows 11 will refuse to put in with out Secure Boot.
- Enable TPM 2.0: Referred to as “fTPM” (AMD) or “PTT” (Intel) relying on the producer. TPM 2.0 shops cryptographic keys securely within the system. Windows 11 will refuse to put in with out it.
It’s additionally value having a look on the prolonged safety choices:
- BitLocker assist: With TPM enabled, hard drive encryption such as BitLocker can be utilized with out extra effort. This protects your knowledge within the occasions of theft or lack of the pc.
- Supervisor/BIOS password: Protects the firmware settings from unauthorized entry.
- Lock interfaces: Some motherboards let you deactivate USB ports or community adapters straight within the UEFI. This is sensible for significantly delicate environments the place entry to exterior gadgets must be restricted for safety causes.
Step 8: Other superior options
If your PC remains to be working stably after all the above tweaks, it’s now value having a look at some extra choices:
SATA/NVMe mode:
- For single SSDs and HDDs, AHCI is the usual. This ensures full efficiency and TRIM assist.
- RAID is just worthwhile if you wish to use a number of drives for functions of knowledge mirroring (RAID 1) or efficiency (RAID 0). Importantly, this setting have to be outlined earlier than Windows is put in, as altering it later can result in startup errors. Learn extra about RAID setups and multiple drives working together.
Activate virtualization:
- Features corresponding to Intel VT-x and AMD-V make it doable to run digital machines effectively. If you wish to use Hyper-V, VirtualBox, or VMware, it is best to change this feature on.
- Without virtualization activated, many issues will nonetheless run however with considerably decreased efficiency.
IOMMU/SR-IOV (elective):
- This function is fascinating for superior customers who wish to use system passthrough or particular virtualization eventualities.
- Tip: Even when you don’t want virtualization instantly, you possibly can activate the function straight now. This will prevent having to go looking the BIOS later when you ever find yourself experimenting with digital machines.
Get snug along with your BIOS/UEFI
In quick, the BIOS/UEFI is the management middle of your PC. Just just a few settings—corresponding to RAM profile, boot sequence, and Secure Boot—could make a world of distinction between a system that’s limping alongside versus a system that’s steady, quick, and safe.
If you are feeling prefer it, you possibly can ultimately attempt your hand at fine-tuning the deeper settings, from particular person fan curves to overclocking. But even with out experimenting, with the appropriate BIOS/UEFI settings, your new PC will now be prepared to begin and optimally ready.
Good to know: You solely have to make most BIOS/UEFI changes as soon as. After that, your laptop will run completely with the optimum settings with no need any annoying readjustments.